Bass Trap Build
All the photos
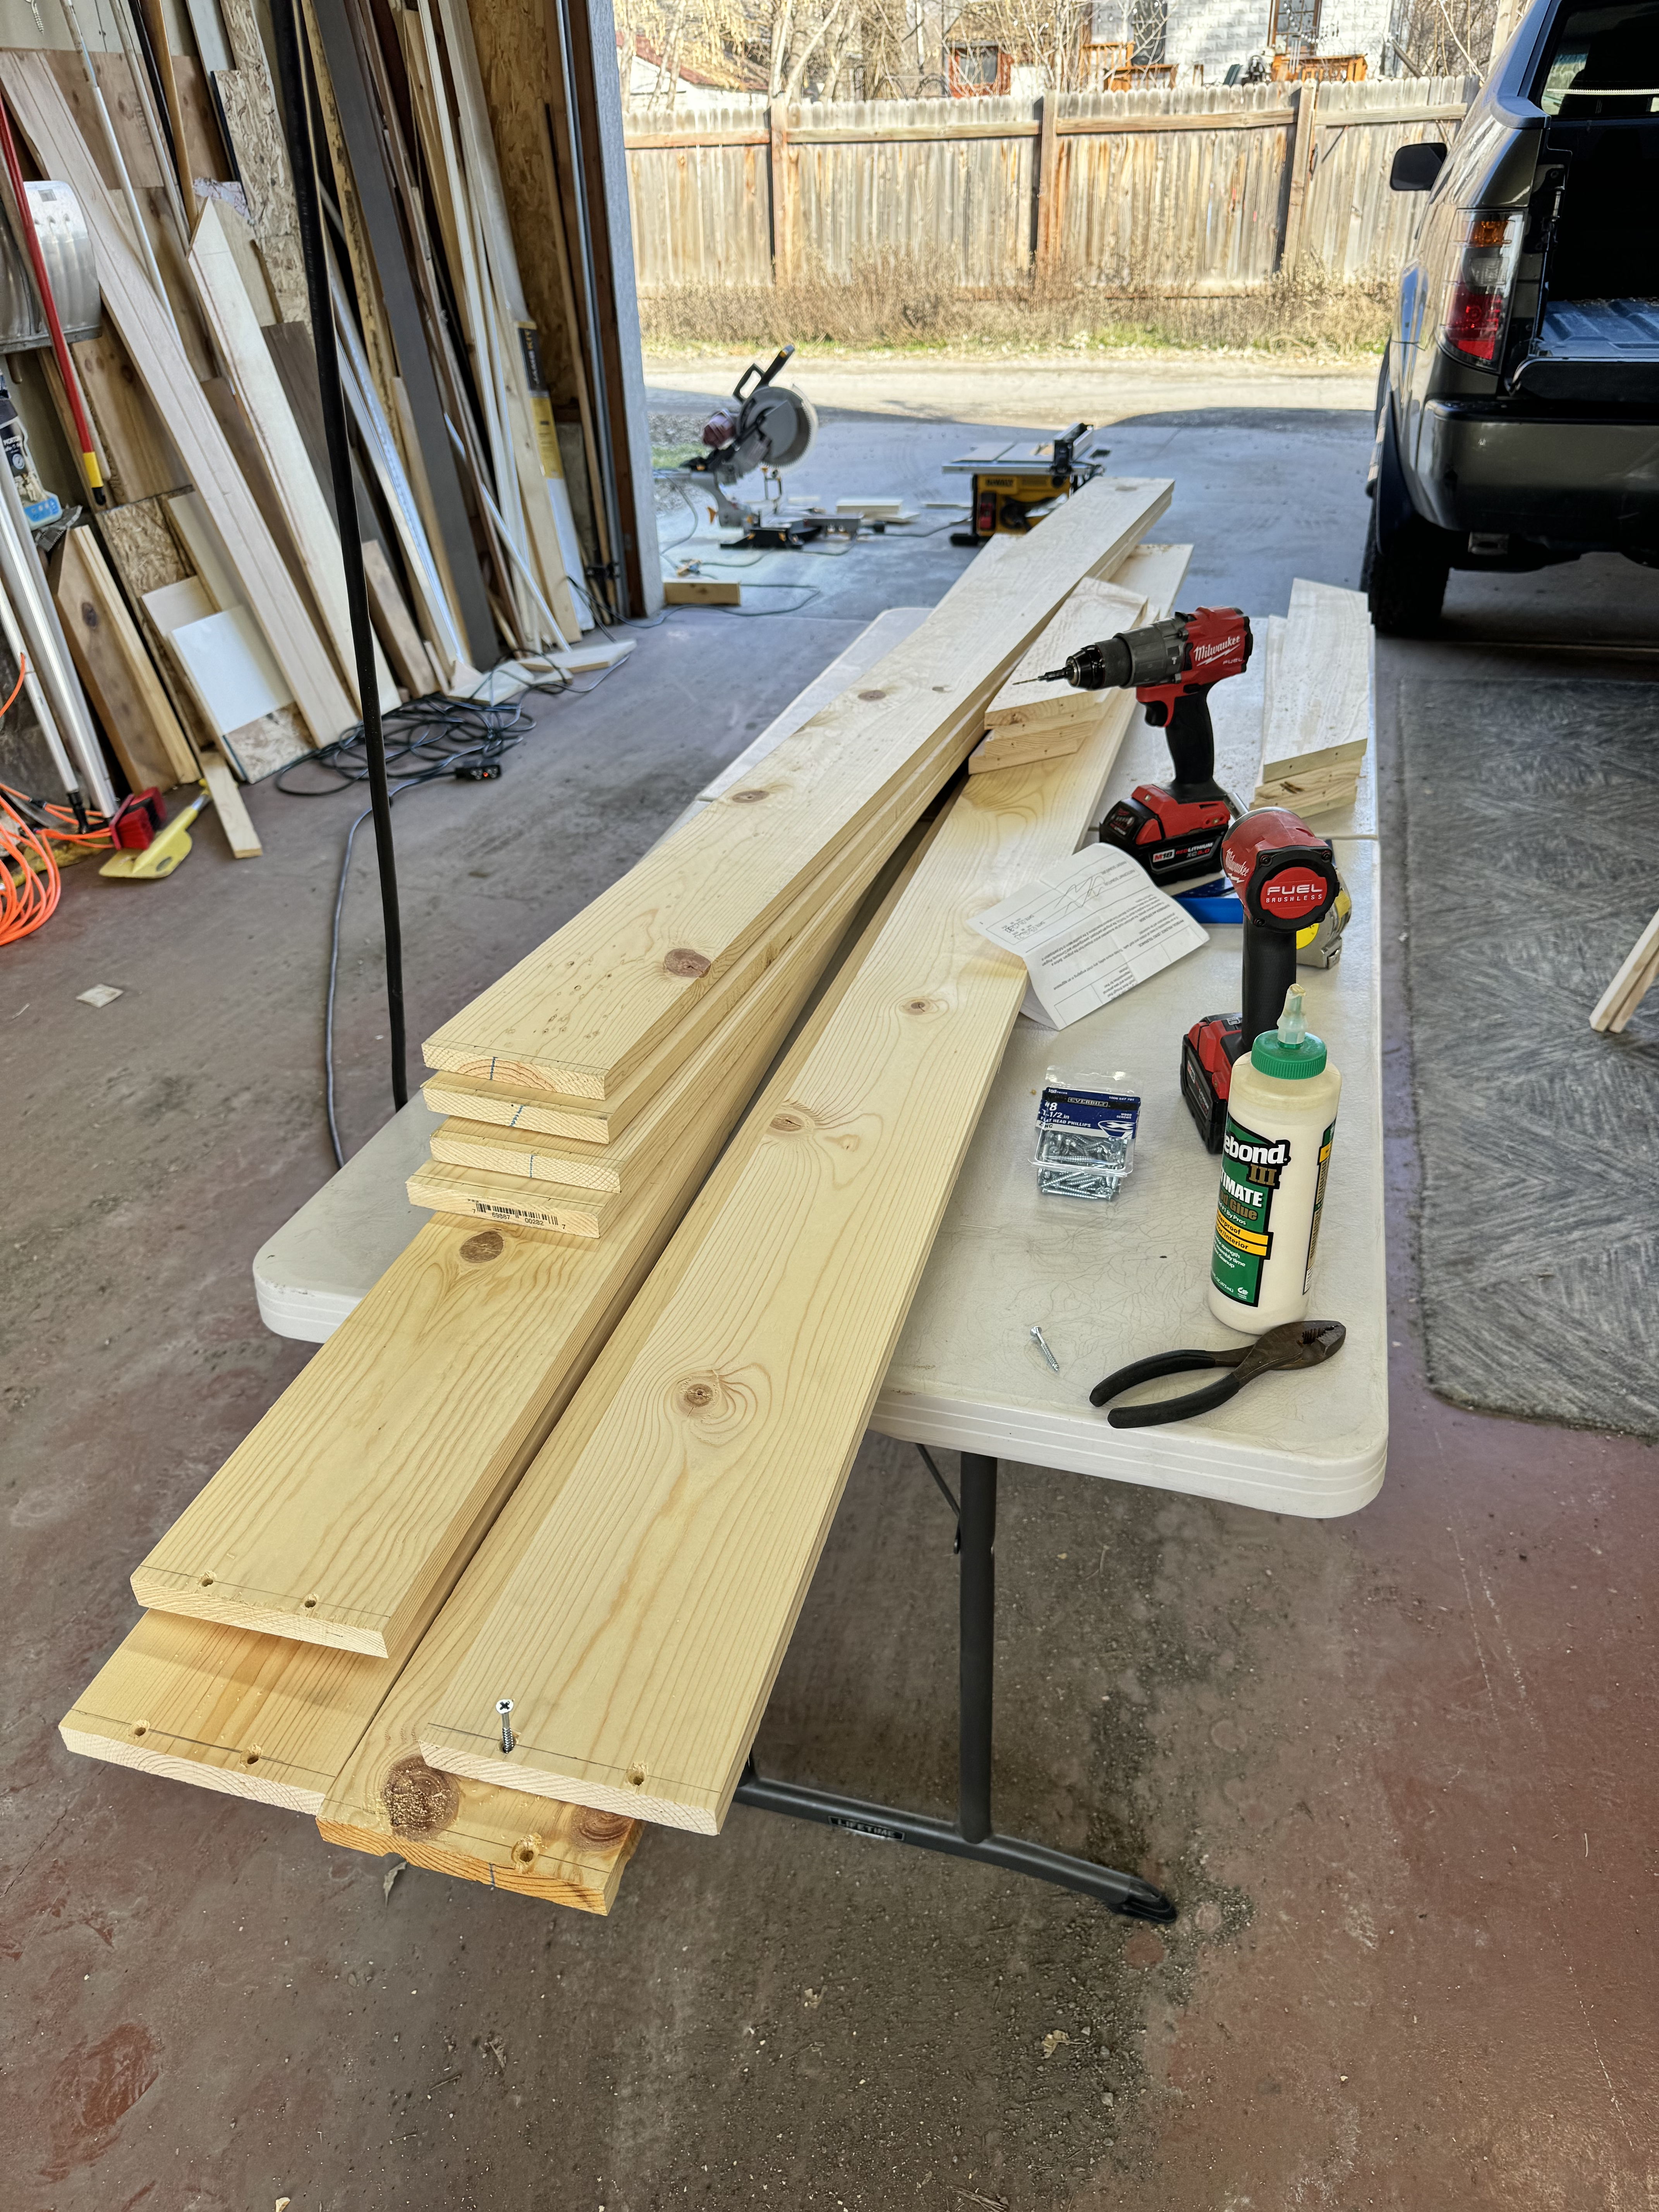
2 weekends have been spent working on bass traps for my 2-channel listening room. I decided to try building them myself to a) save money and b) 3 of the 4 corners of my room have doors so I needed a solution to move the panels into place and out of the way of the doors. I wasn't very confident modifying some commercial ones, so I figured custom building them would turn out better (and I was right)! Here's one of the cheaper options for commercial ones: https://www.acoustimac.com/bass-traps/Acm-bt-all . ~$500 (incl. shipping) for one 96" one. My cost for 4: ~$400
1) Raw materials
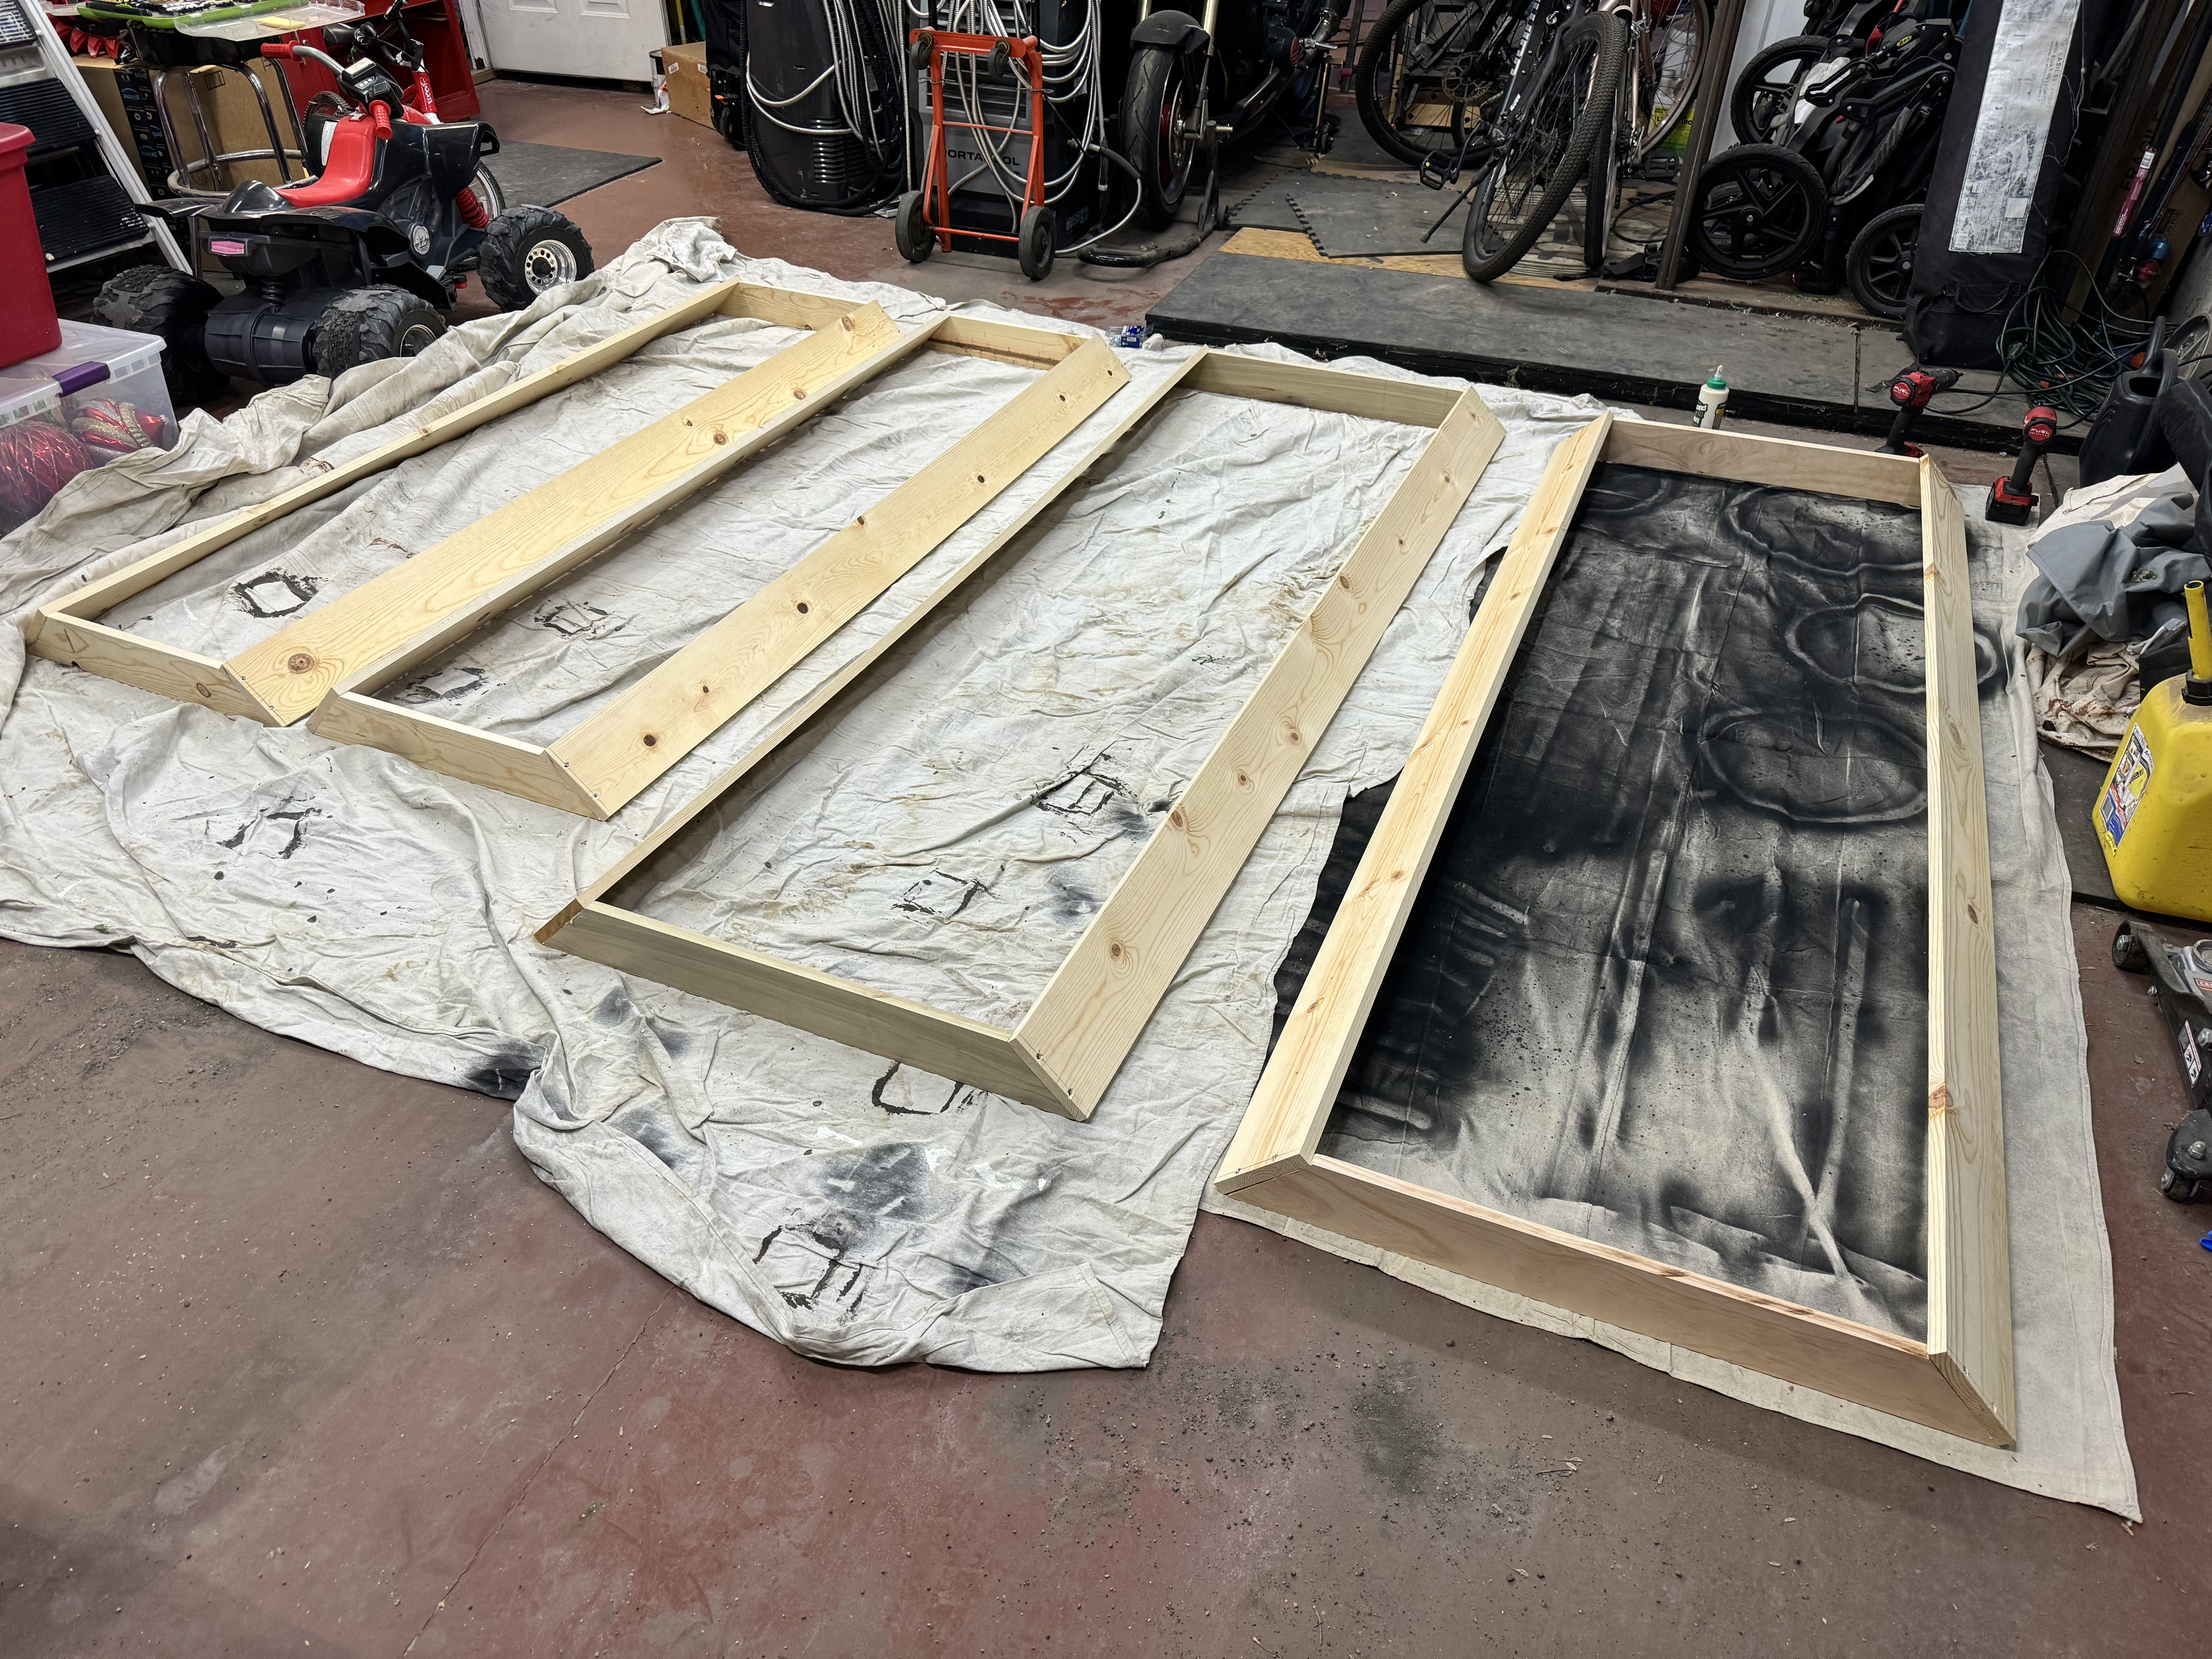
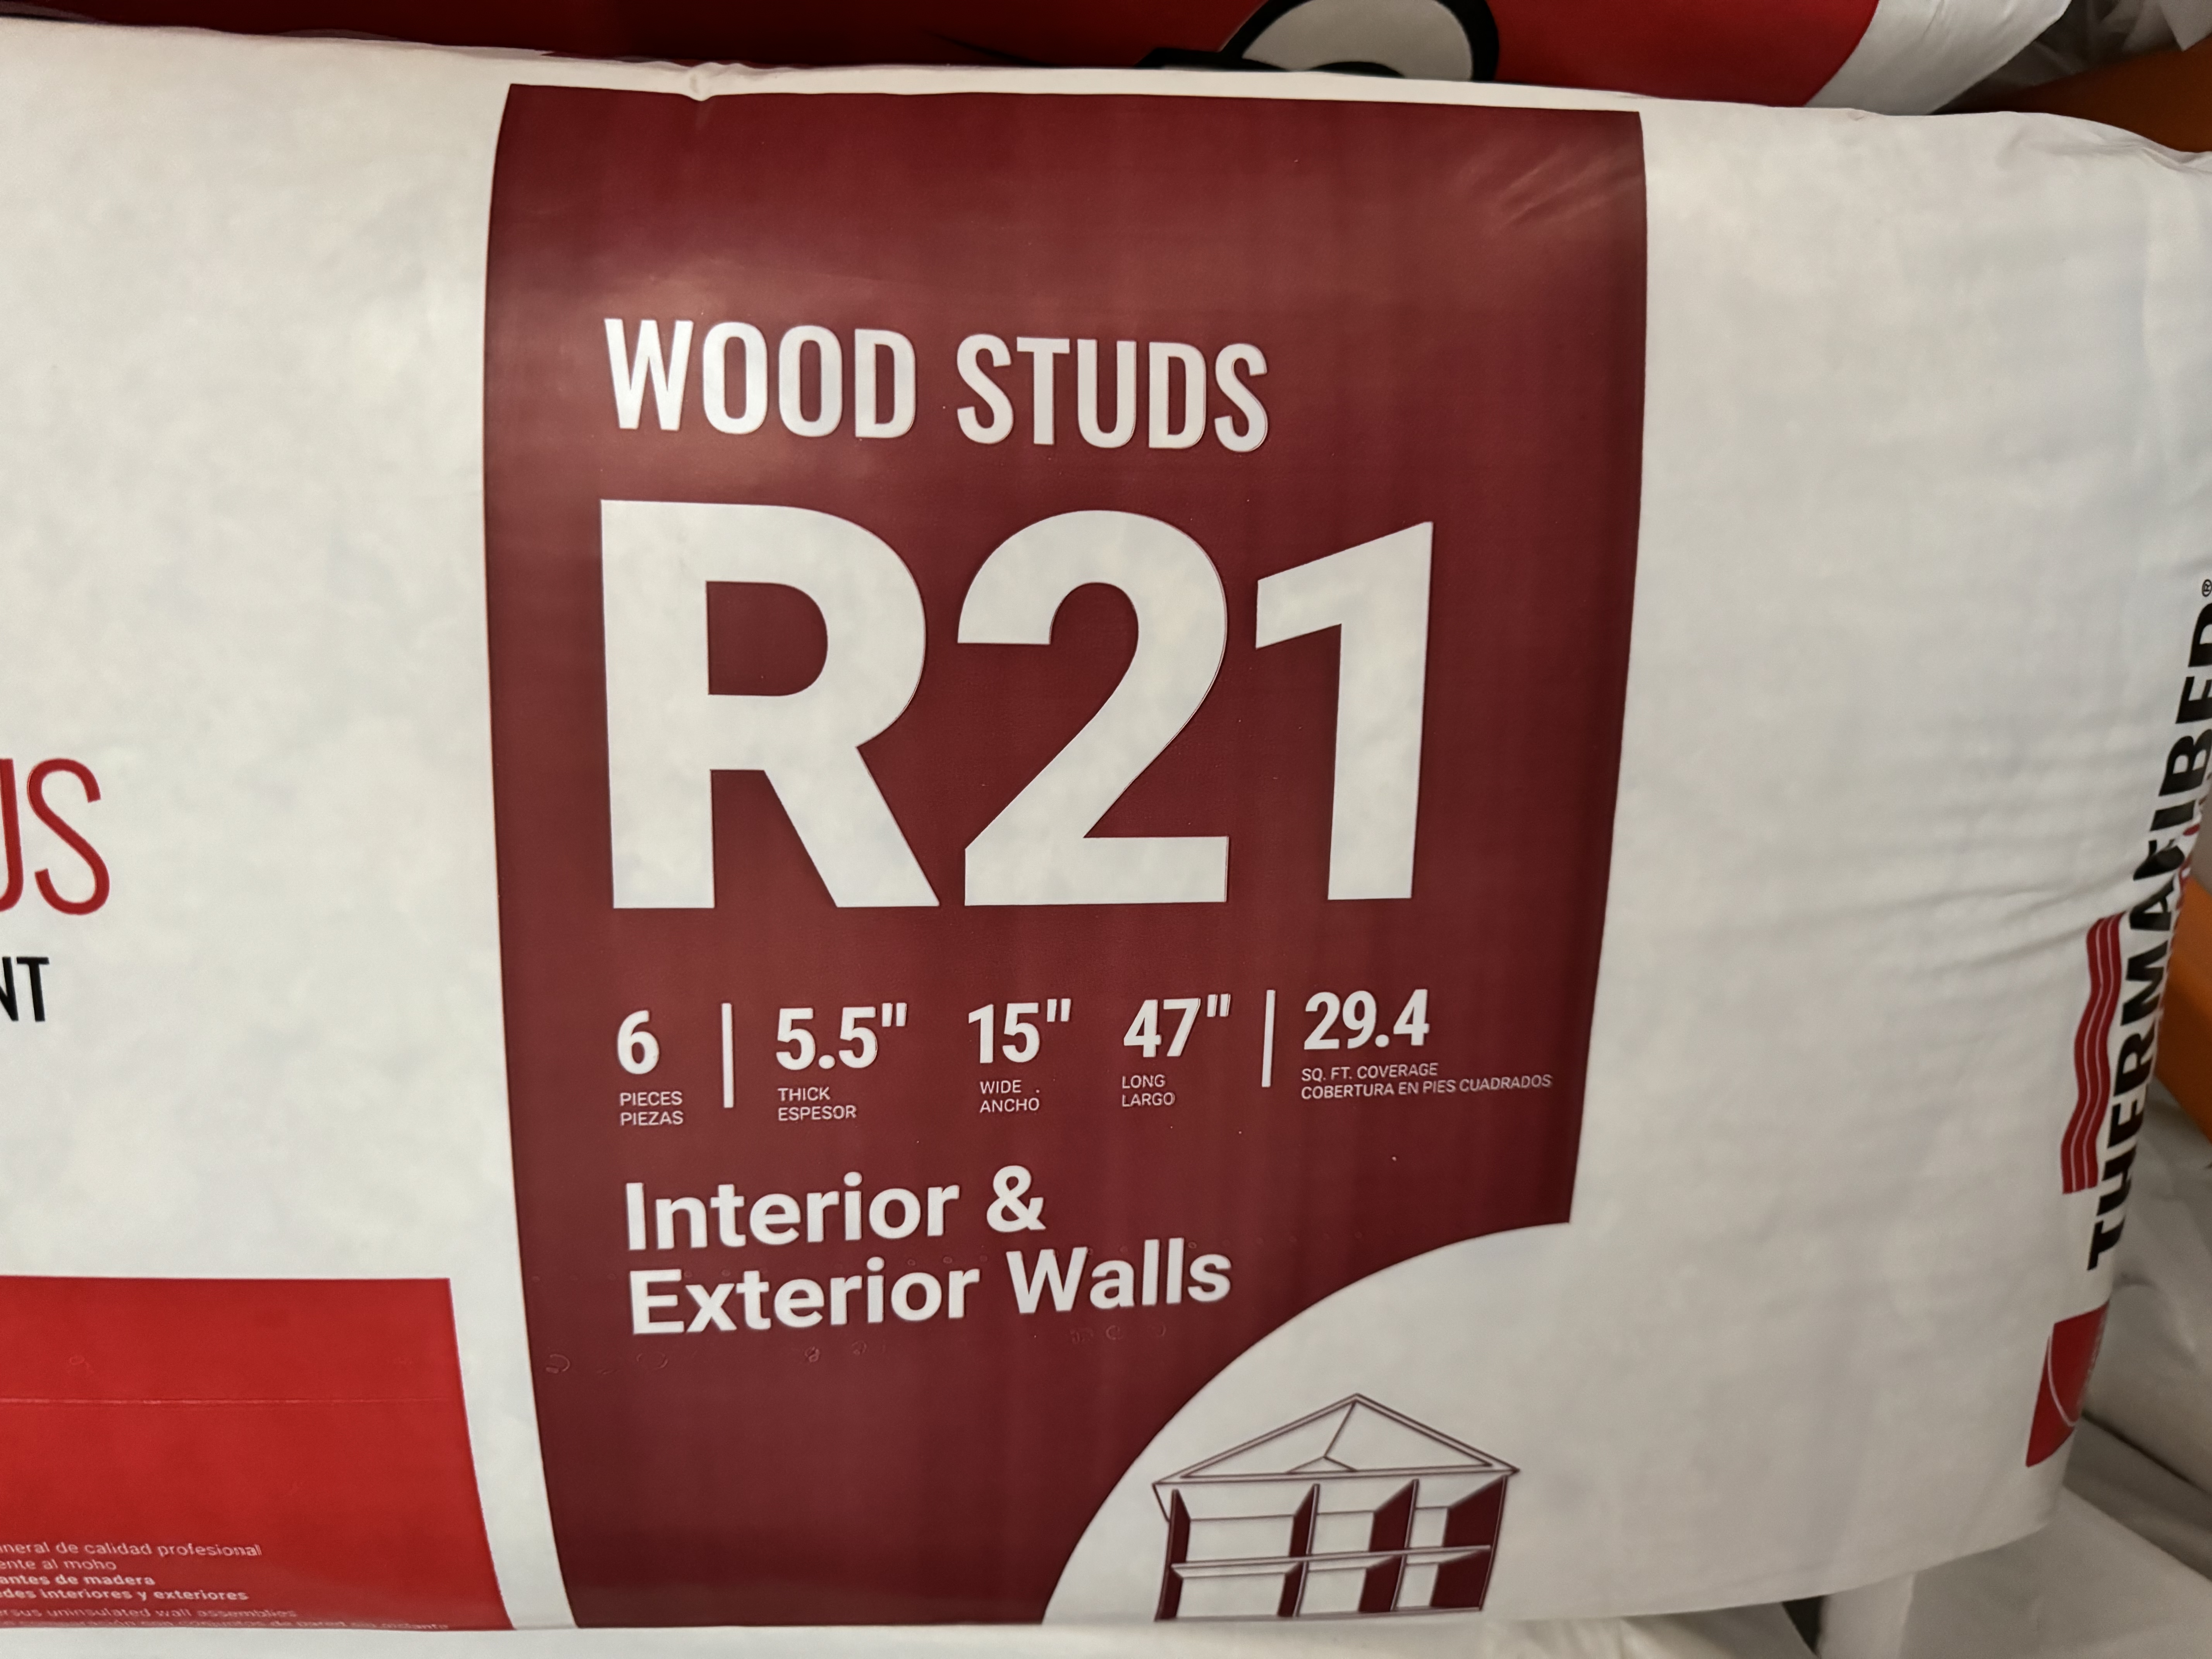
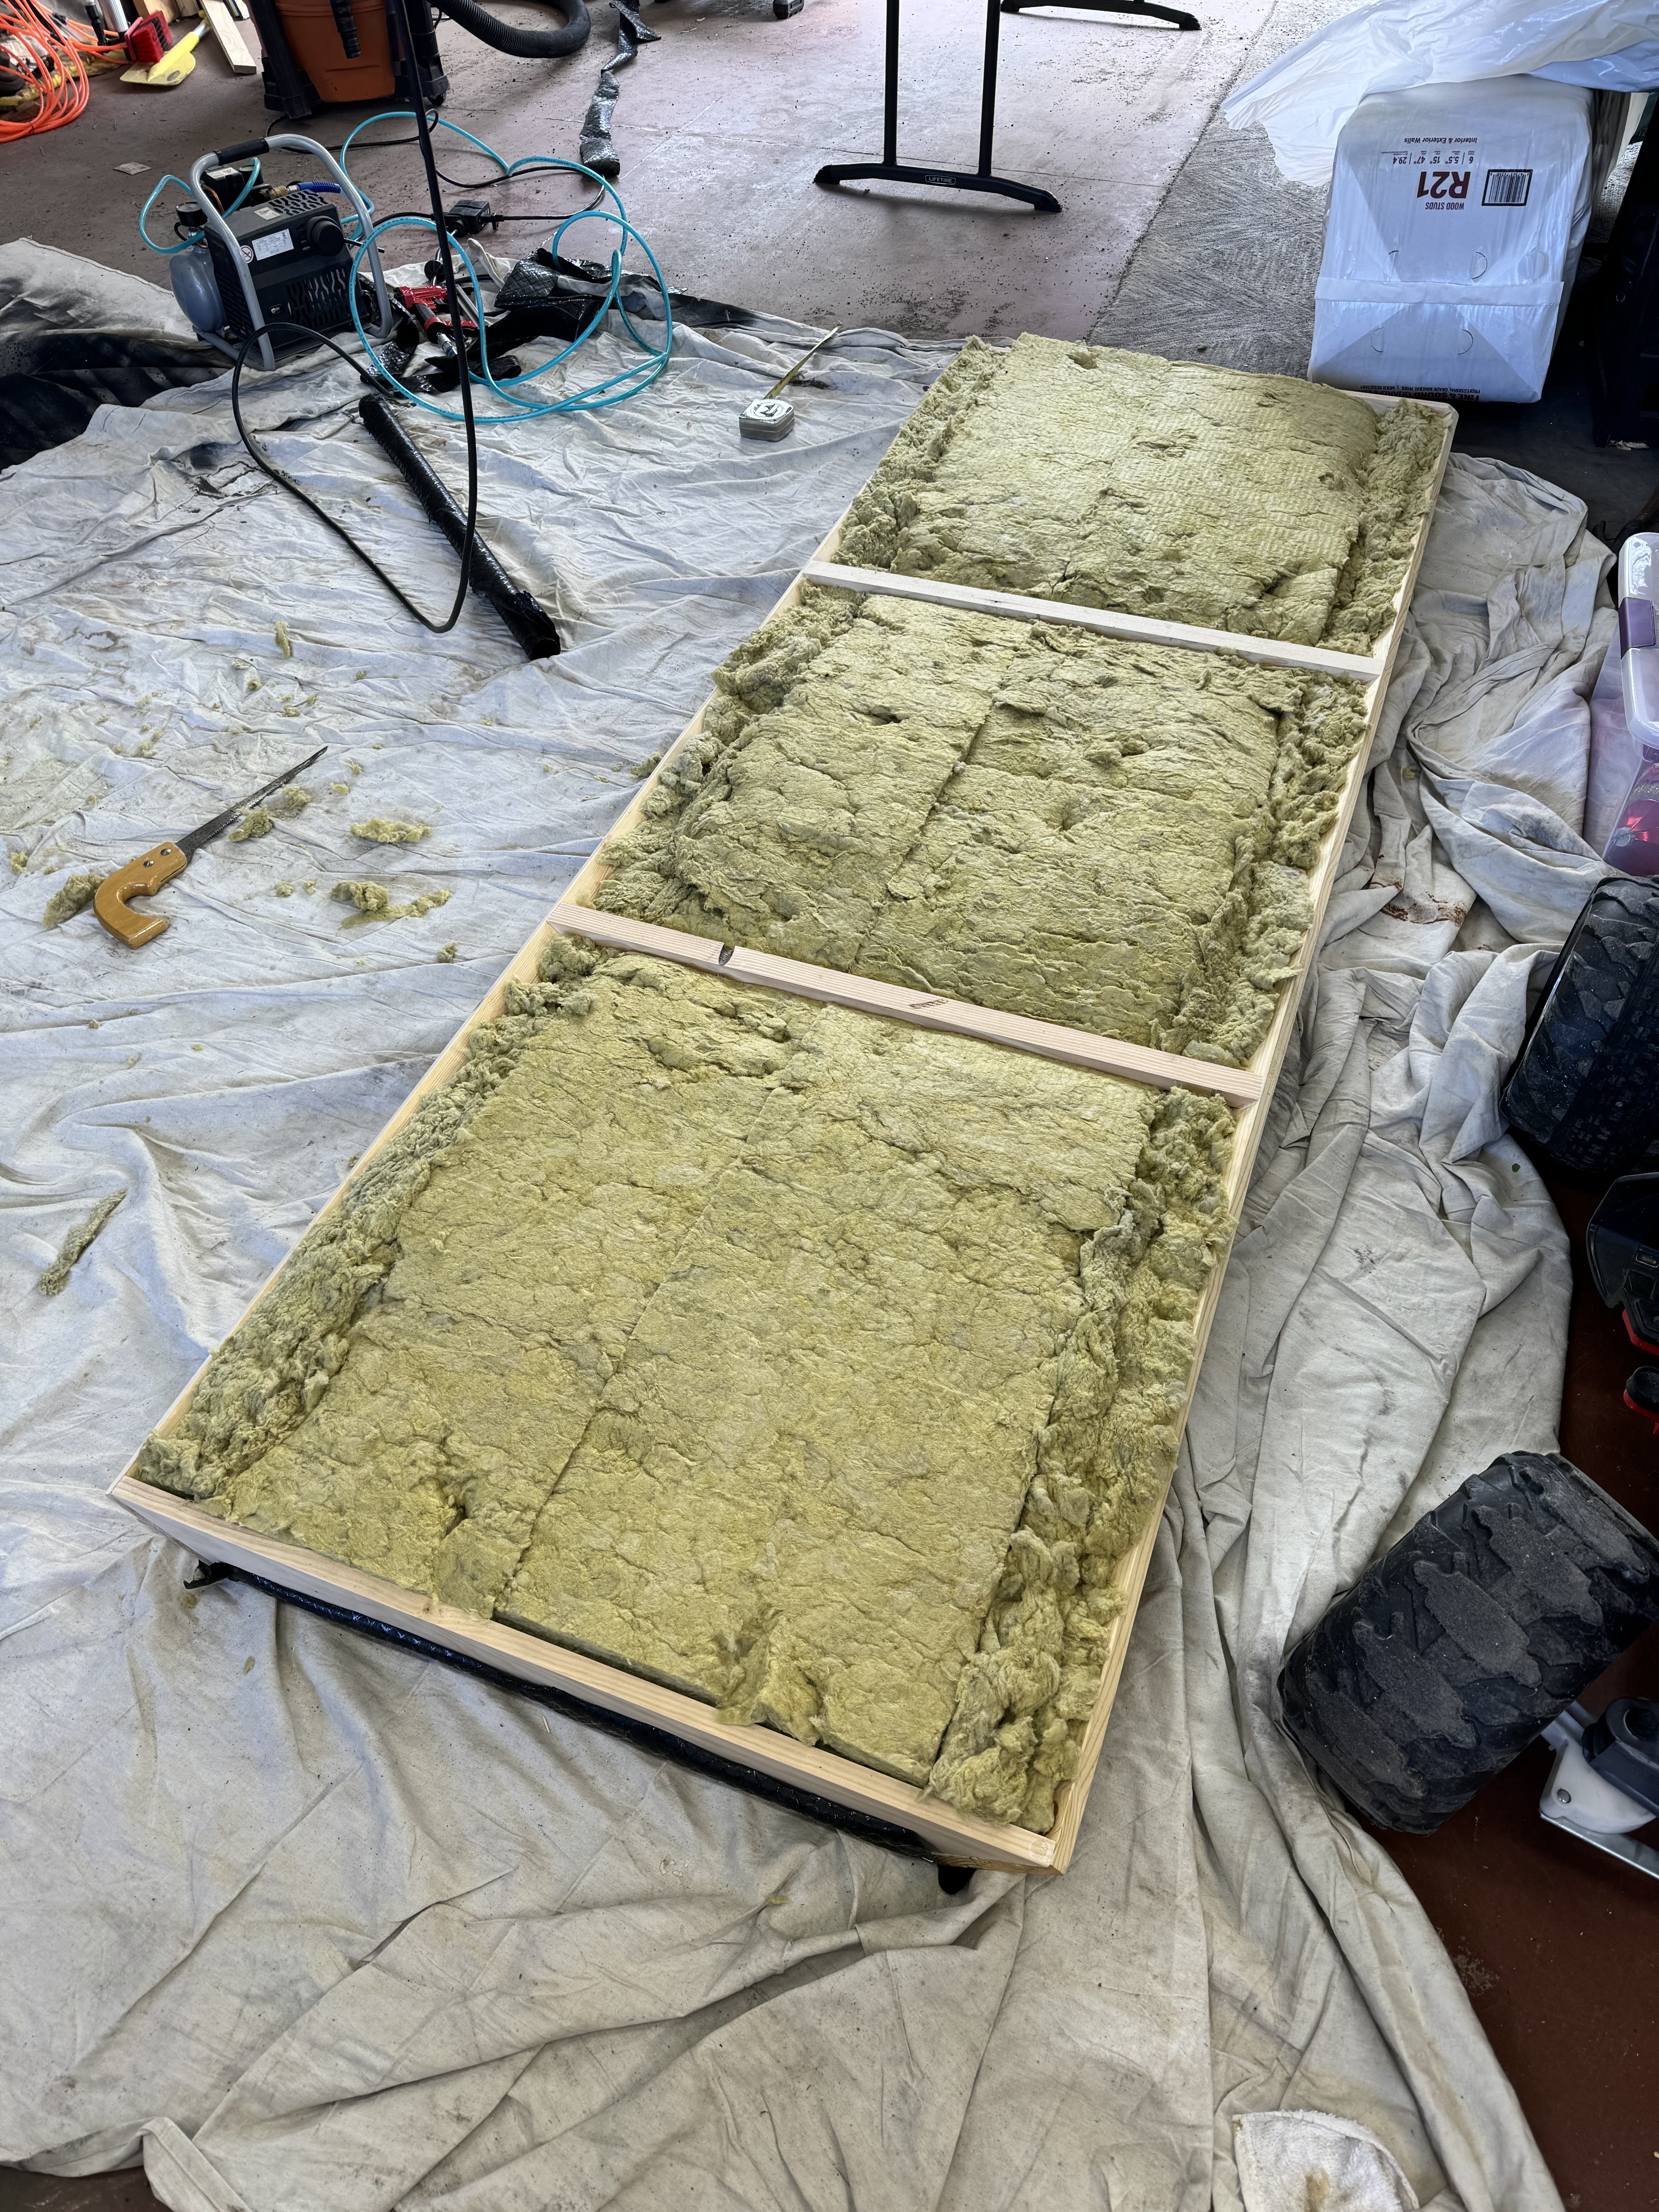
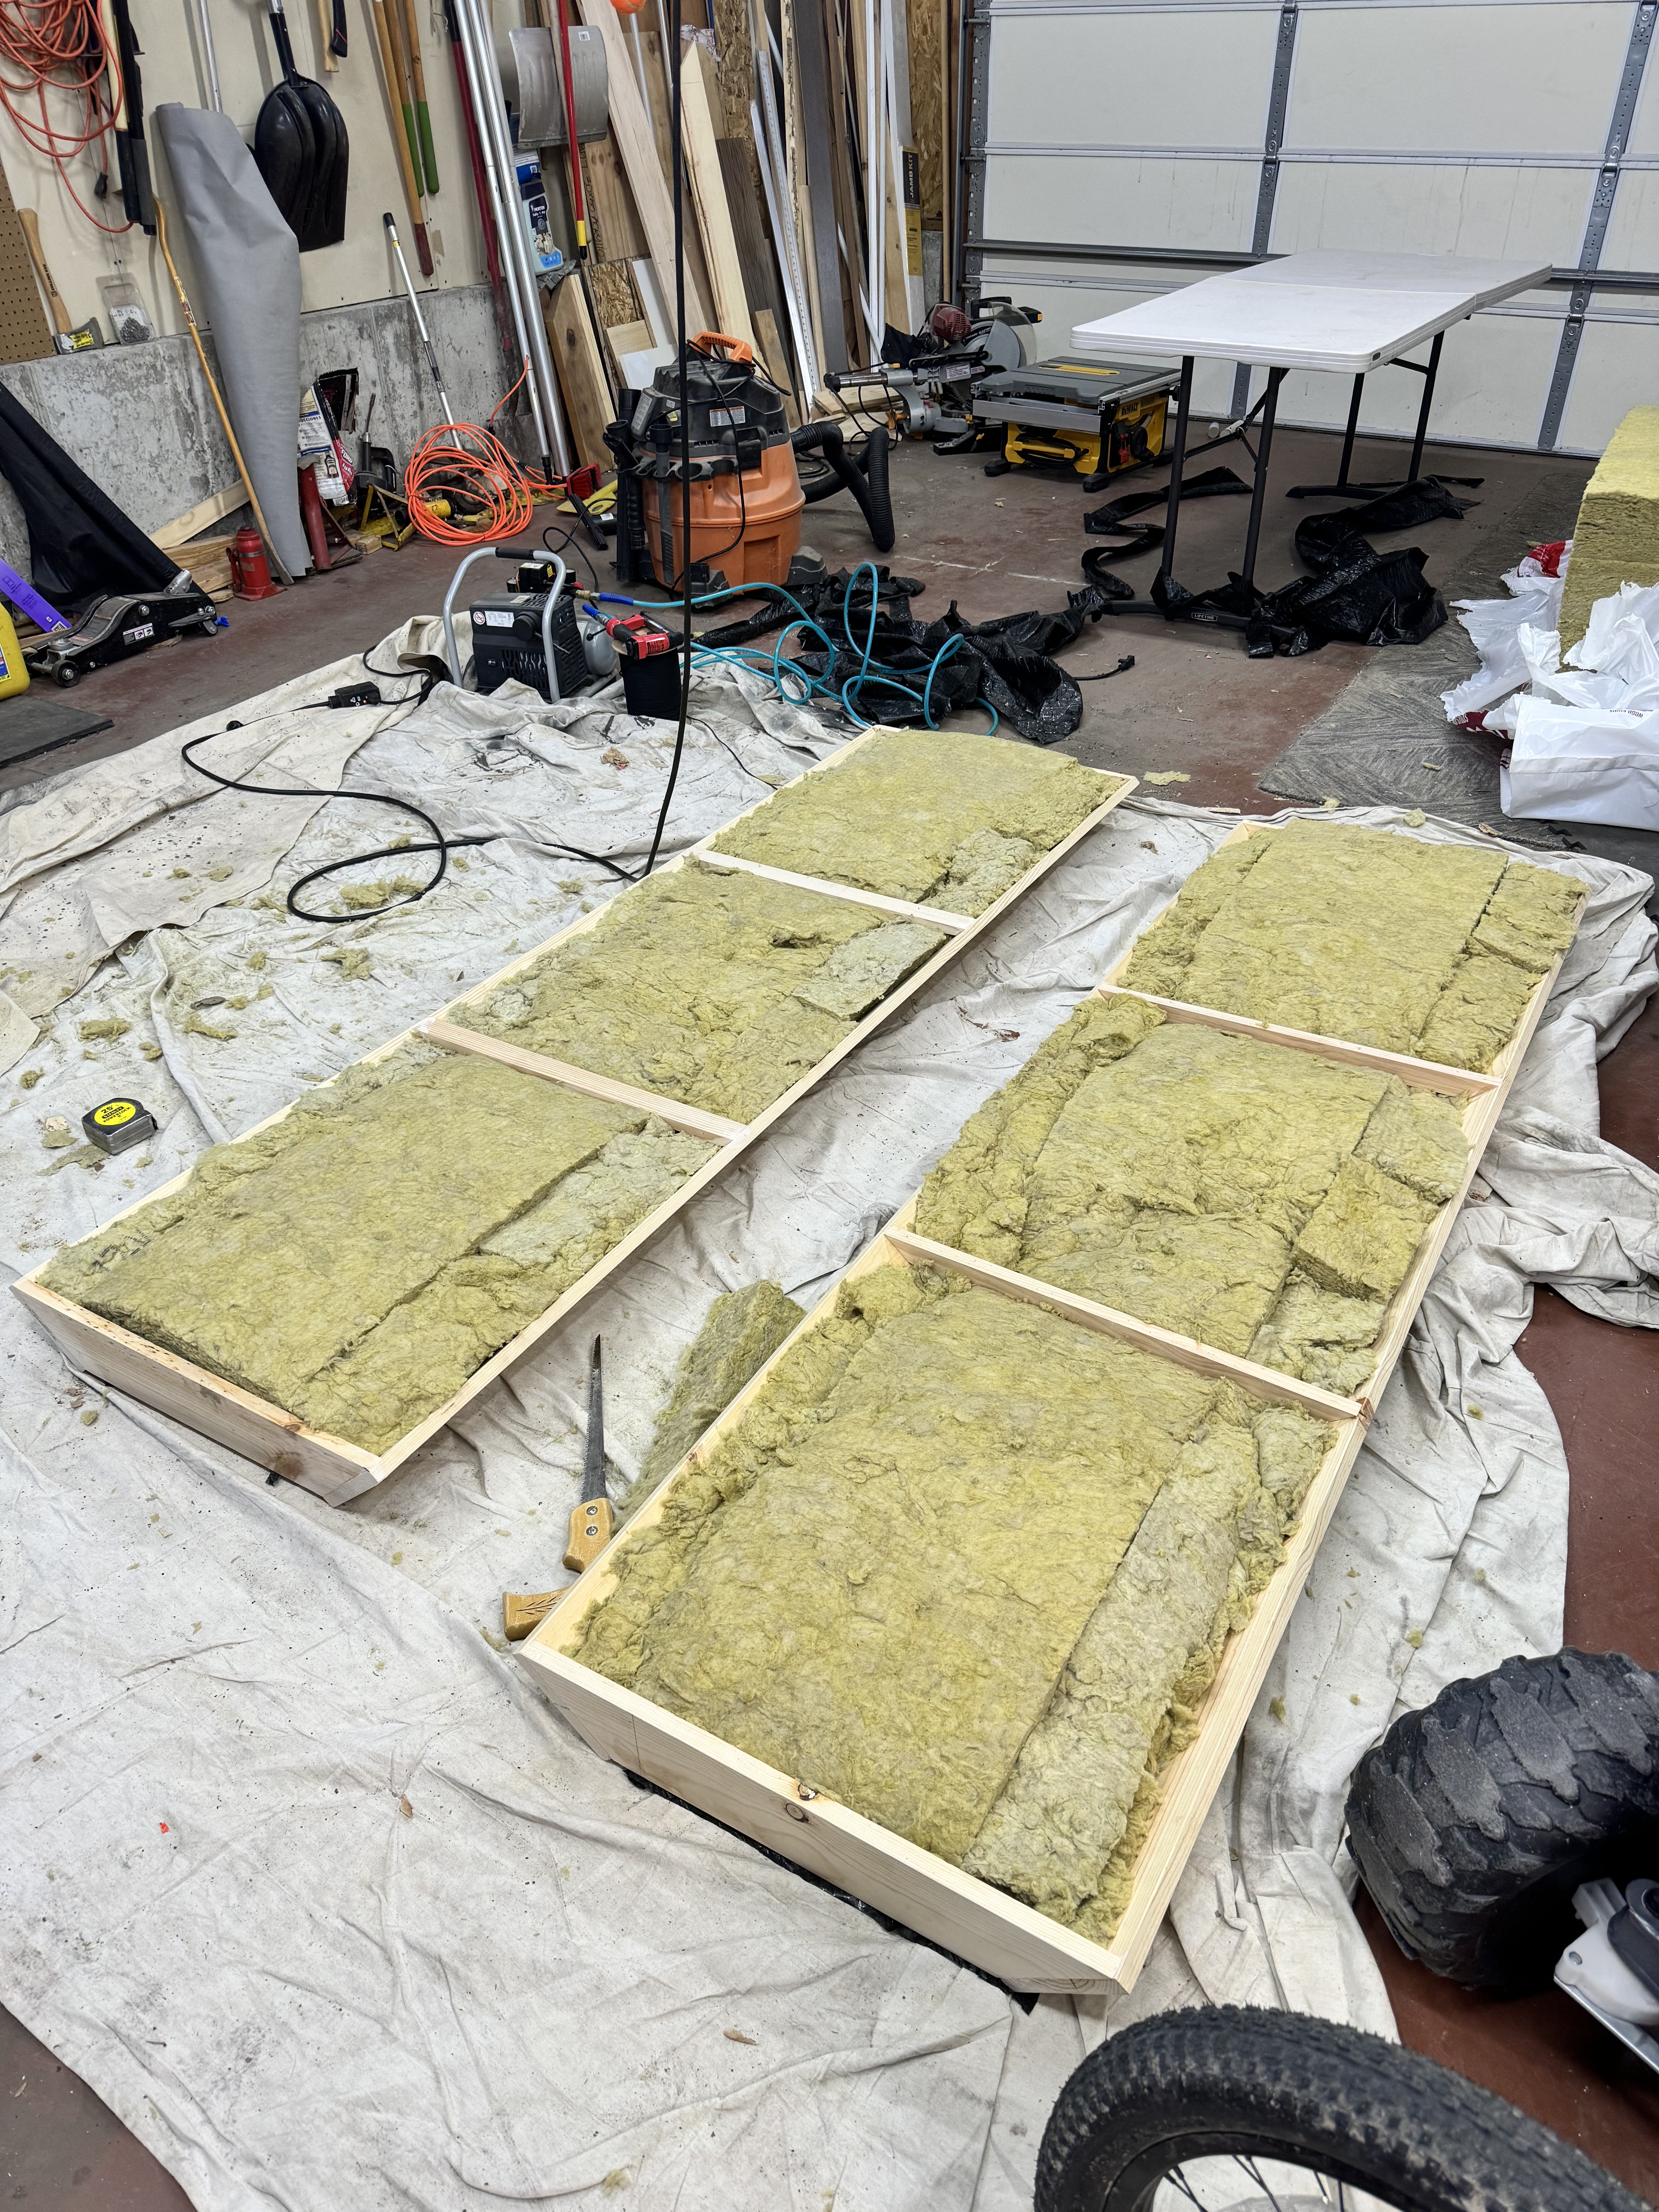
2) Frames assembled - 96" (8') x 33.25" for the front corners (behind each speaker). 85" x 24" for the rear corners. Each ends up being ~4" deep but the wood on the sides is 6" angled at a 45. I probably should have cut the insulation down as it's 5.5" thick, but it was already a pain to cut + deal with, that wouldn't have been fun. As such the panels are a bit lumpy in parts and I now understand why the professional companies use rigid insulation to give a flatter appearance.
3) Cross braces installed

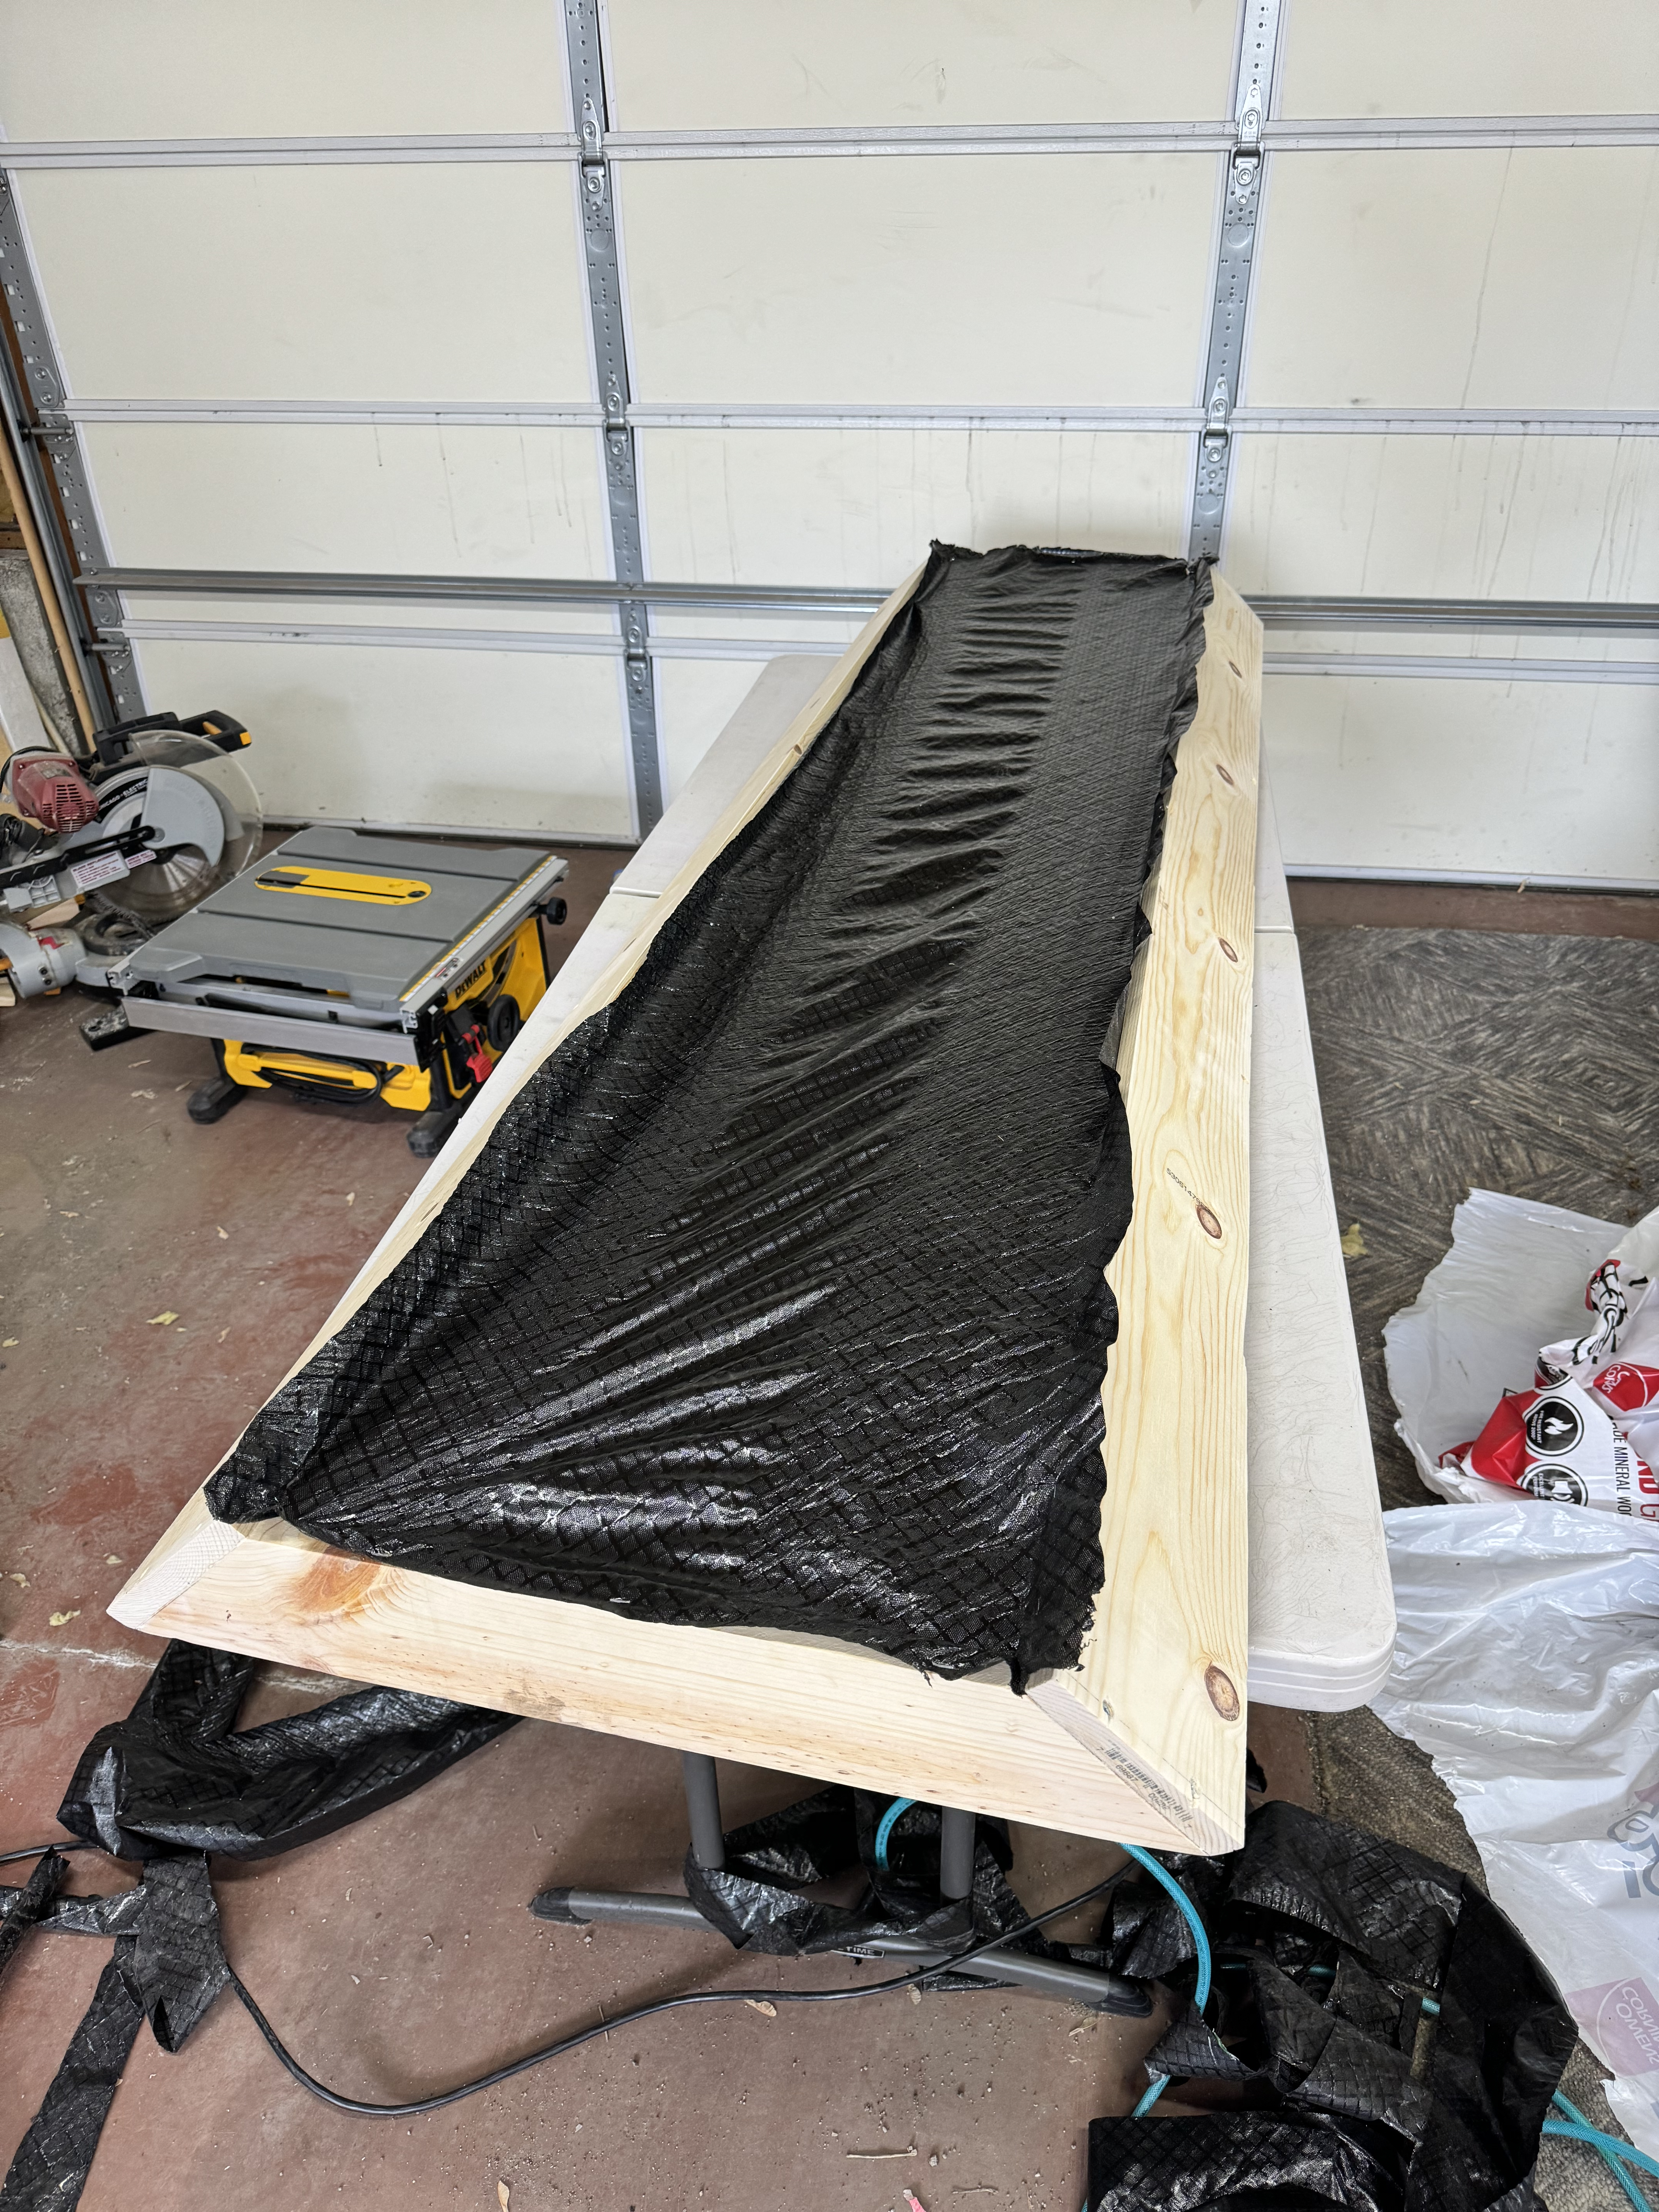
4) Weed paper installed on the back to hold the insulation in
6) Insulation added
7) 2 smaller, rear panels with insulation added
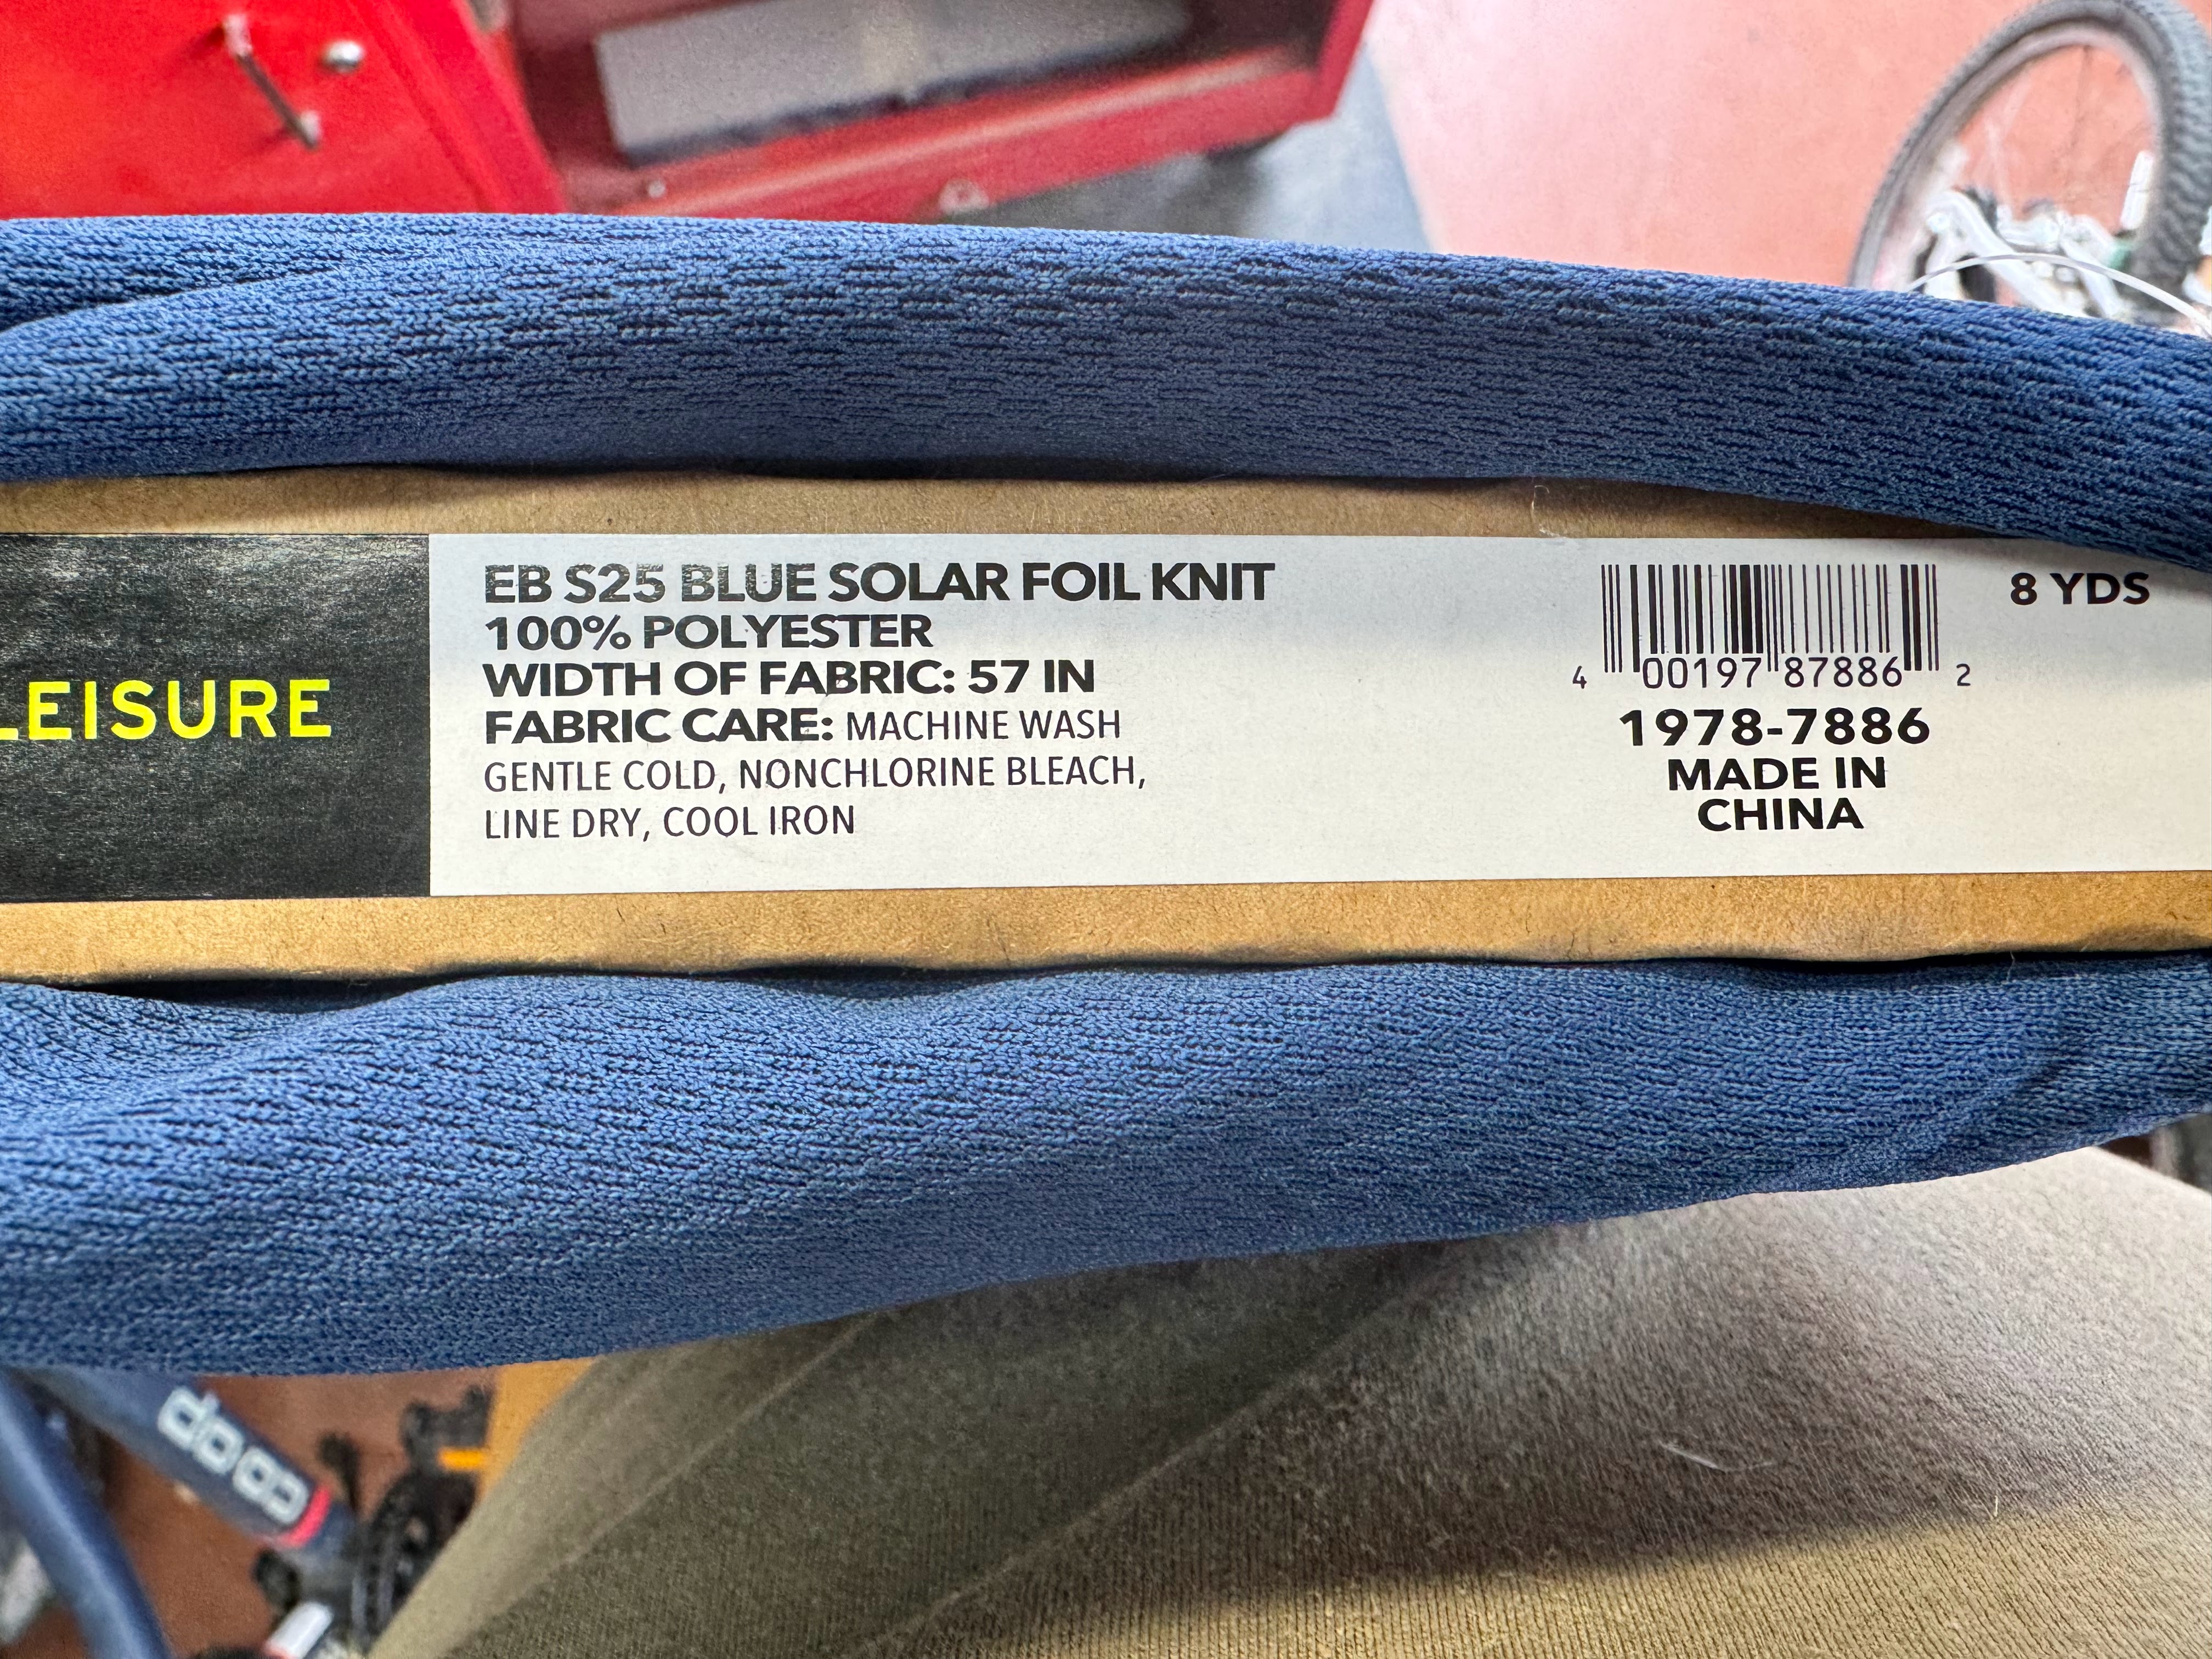
8) Fabric I chose. A little too stretchy, I probably should have gone with something that didn't stretch so much, but I was concerned about the "acoustically transparent" part.
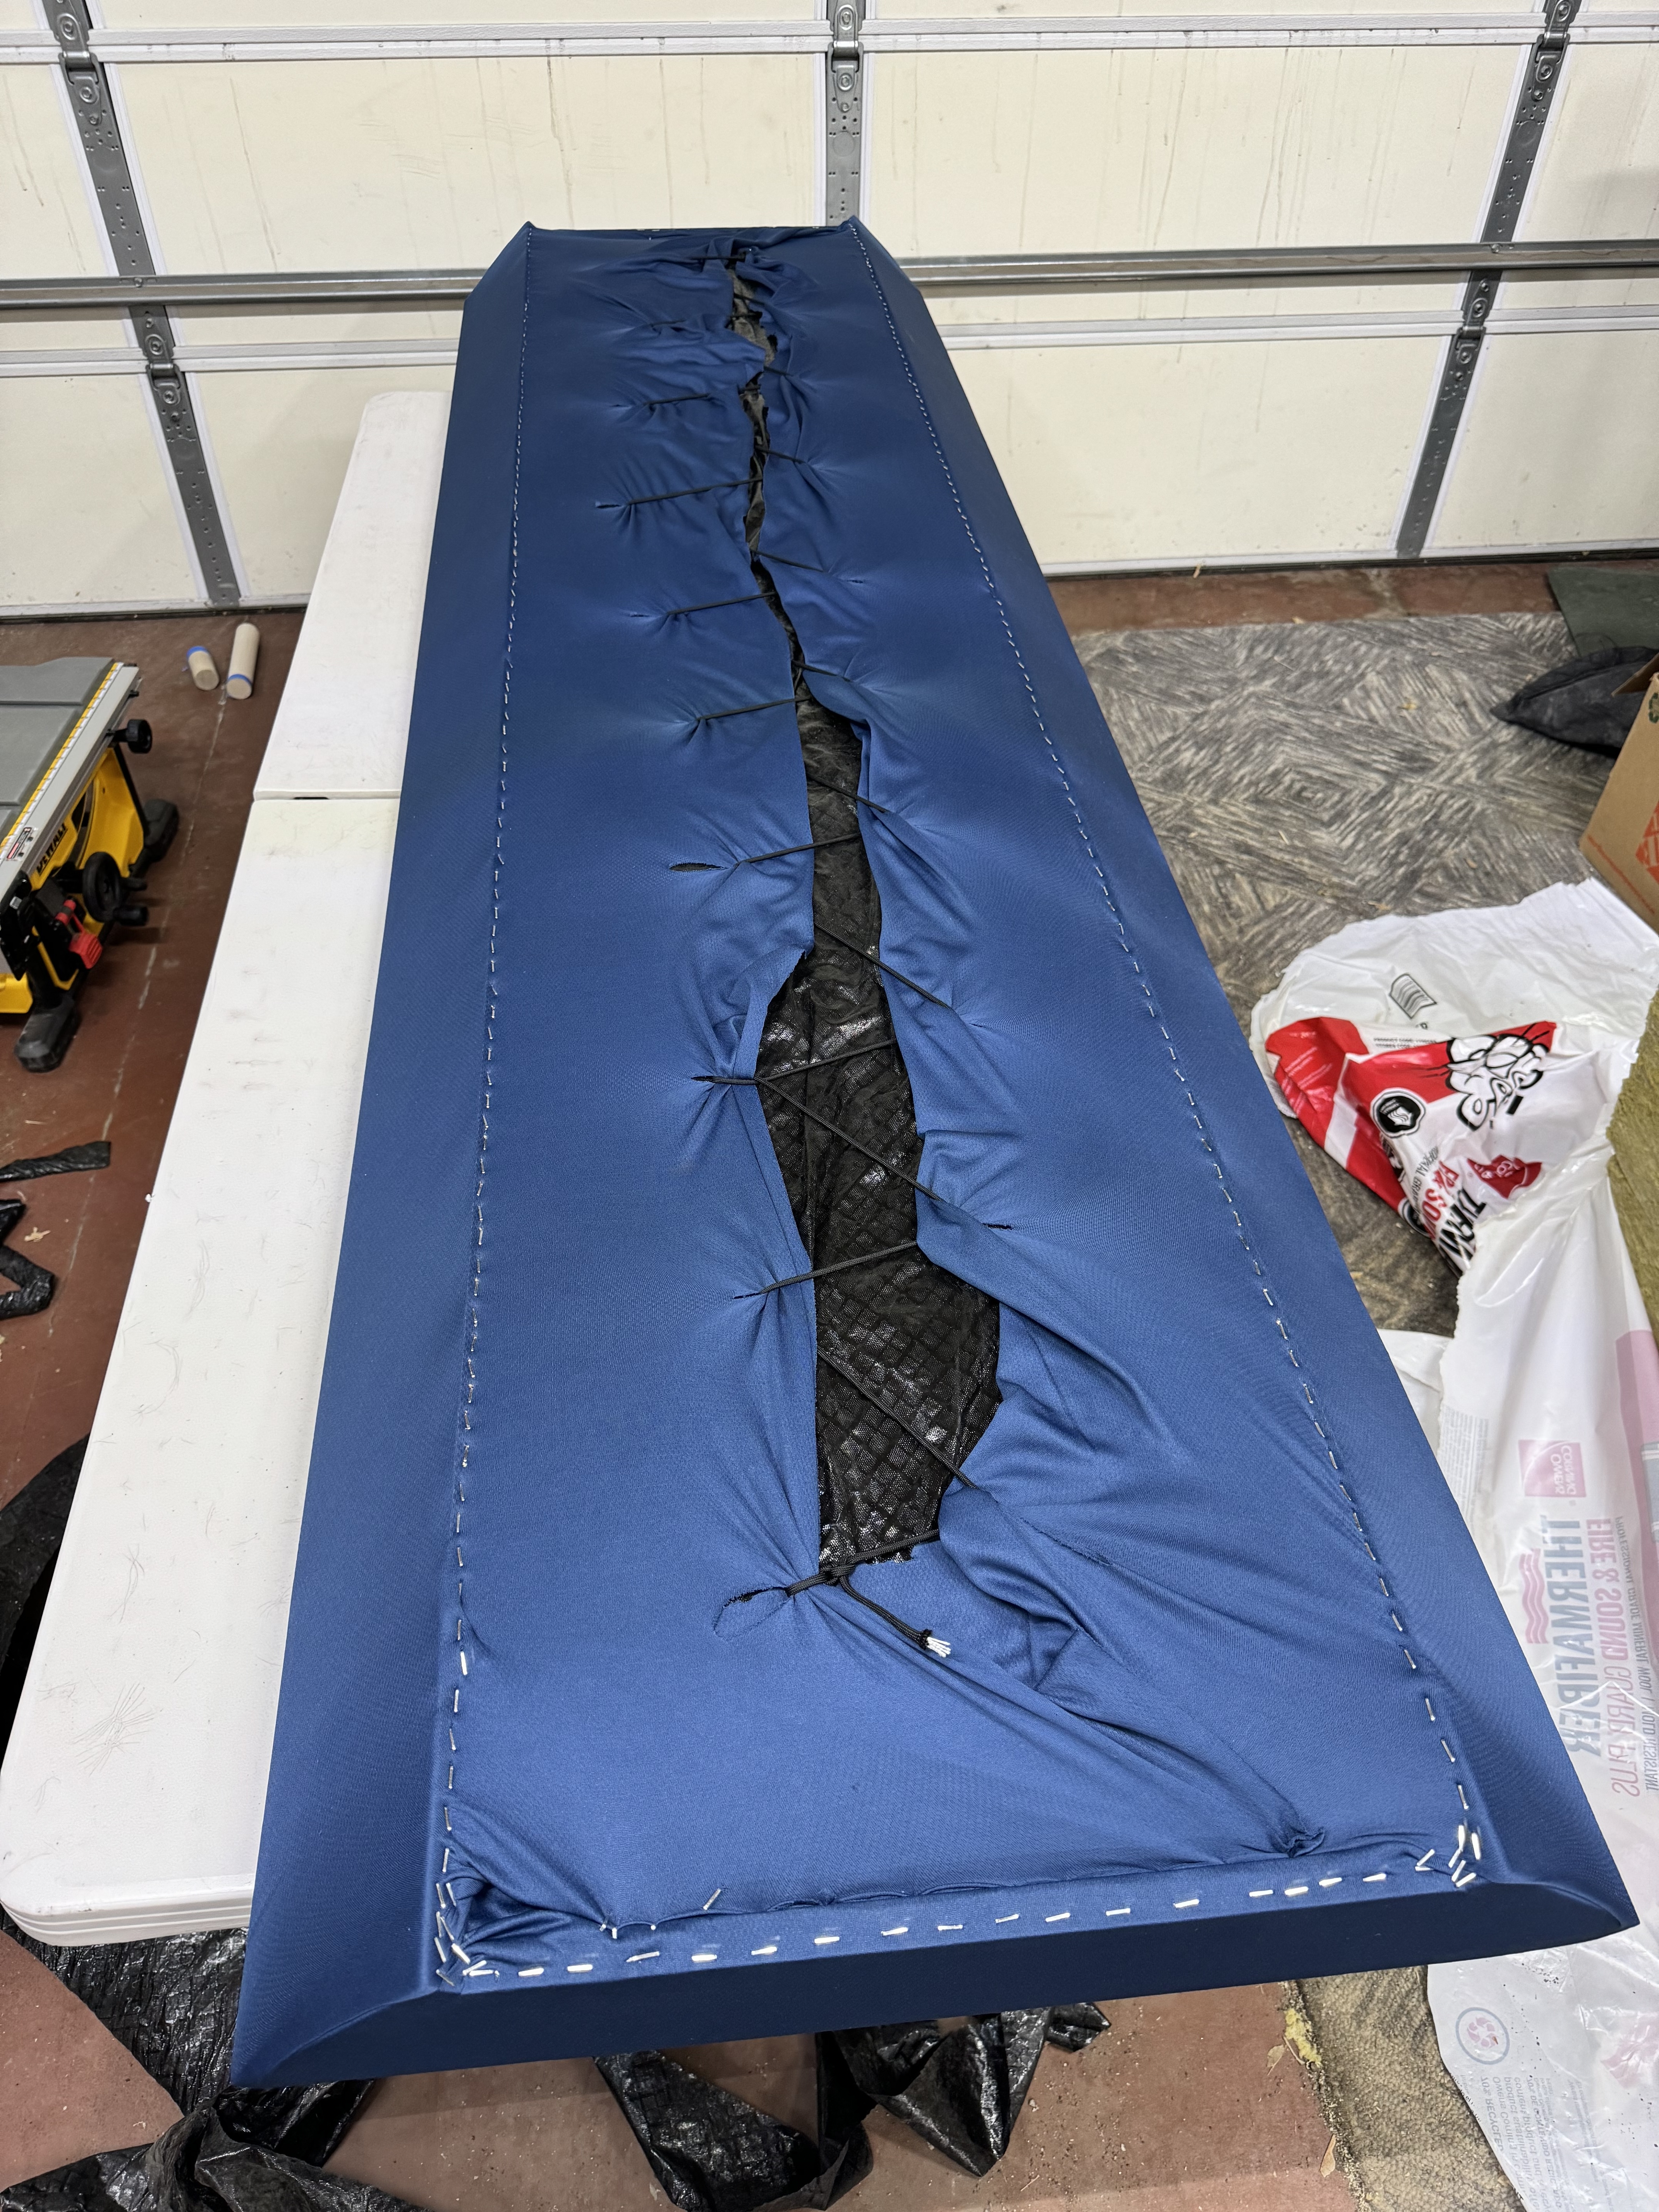
9) Extra material was shoelace'd (?) together with some paracord. I contemplated sewing but I think this actually looks pretty good and was way easier + faster
10) The back of one of the smaller panels
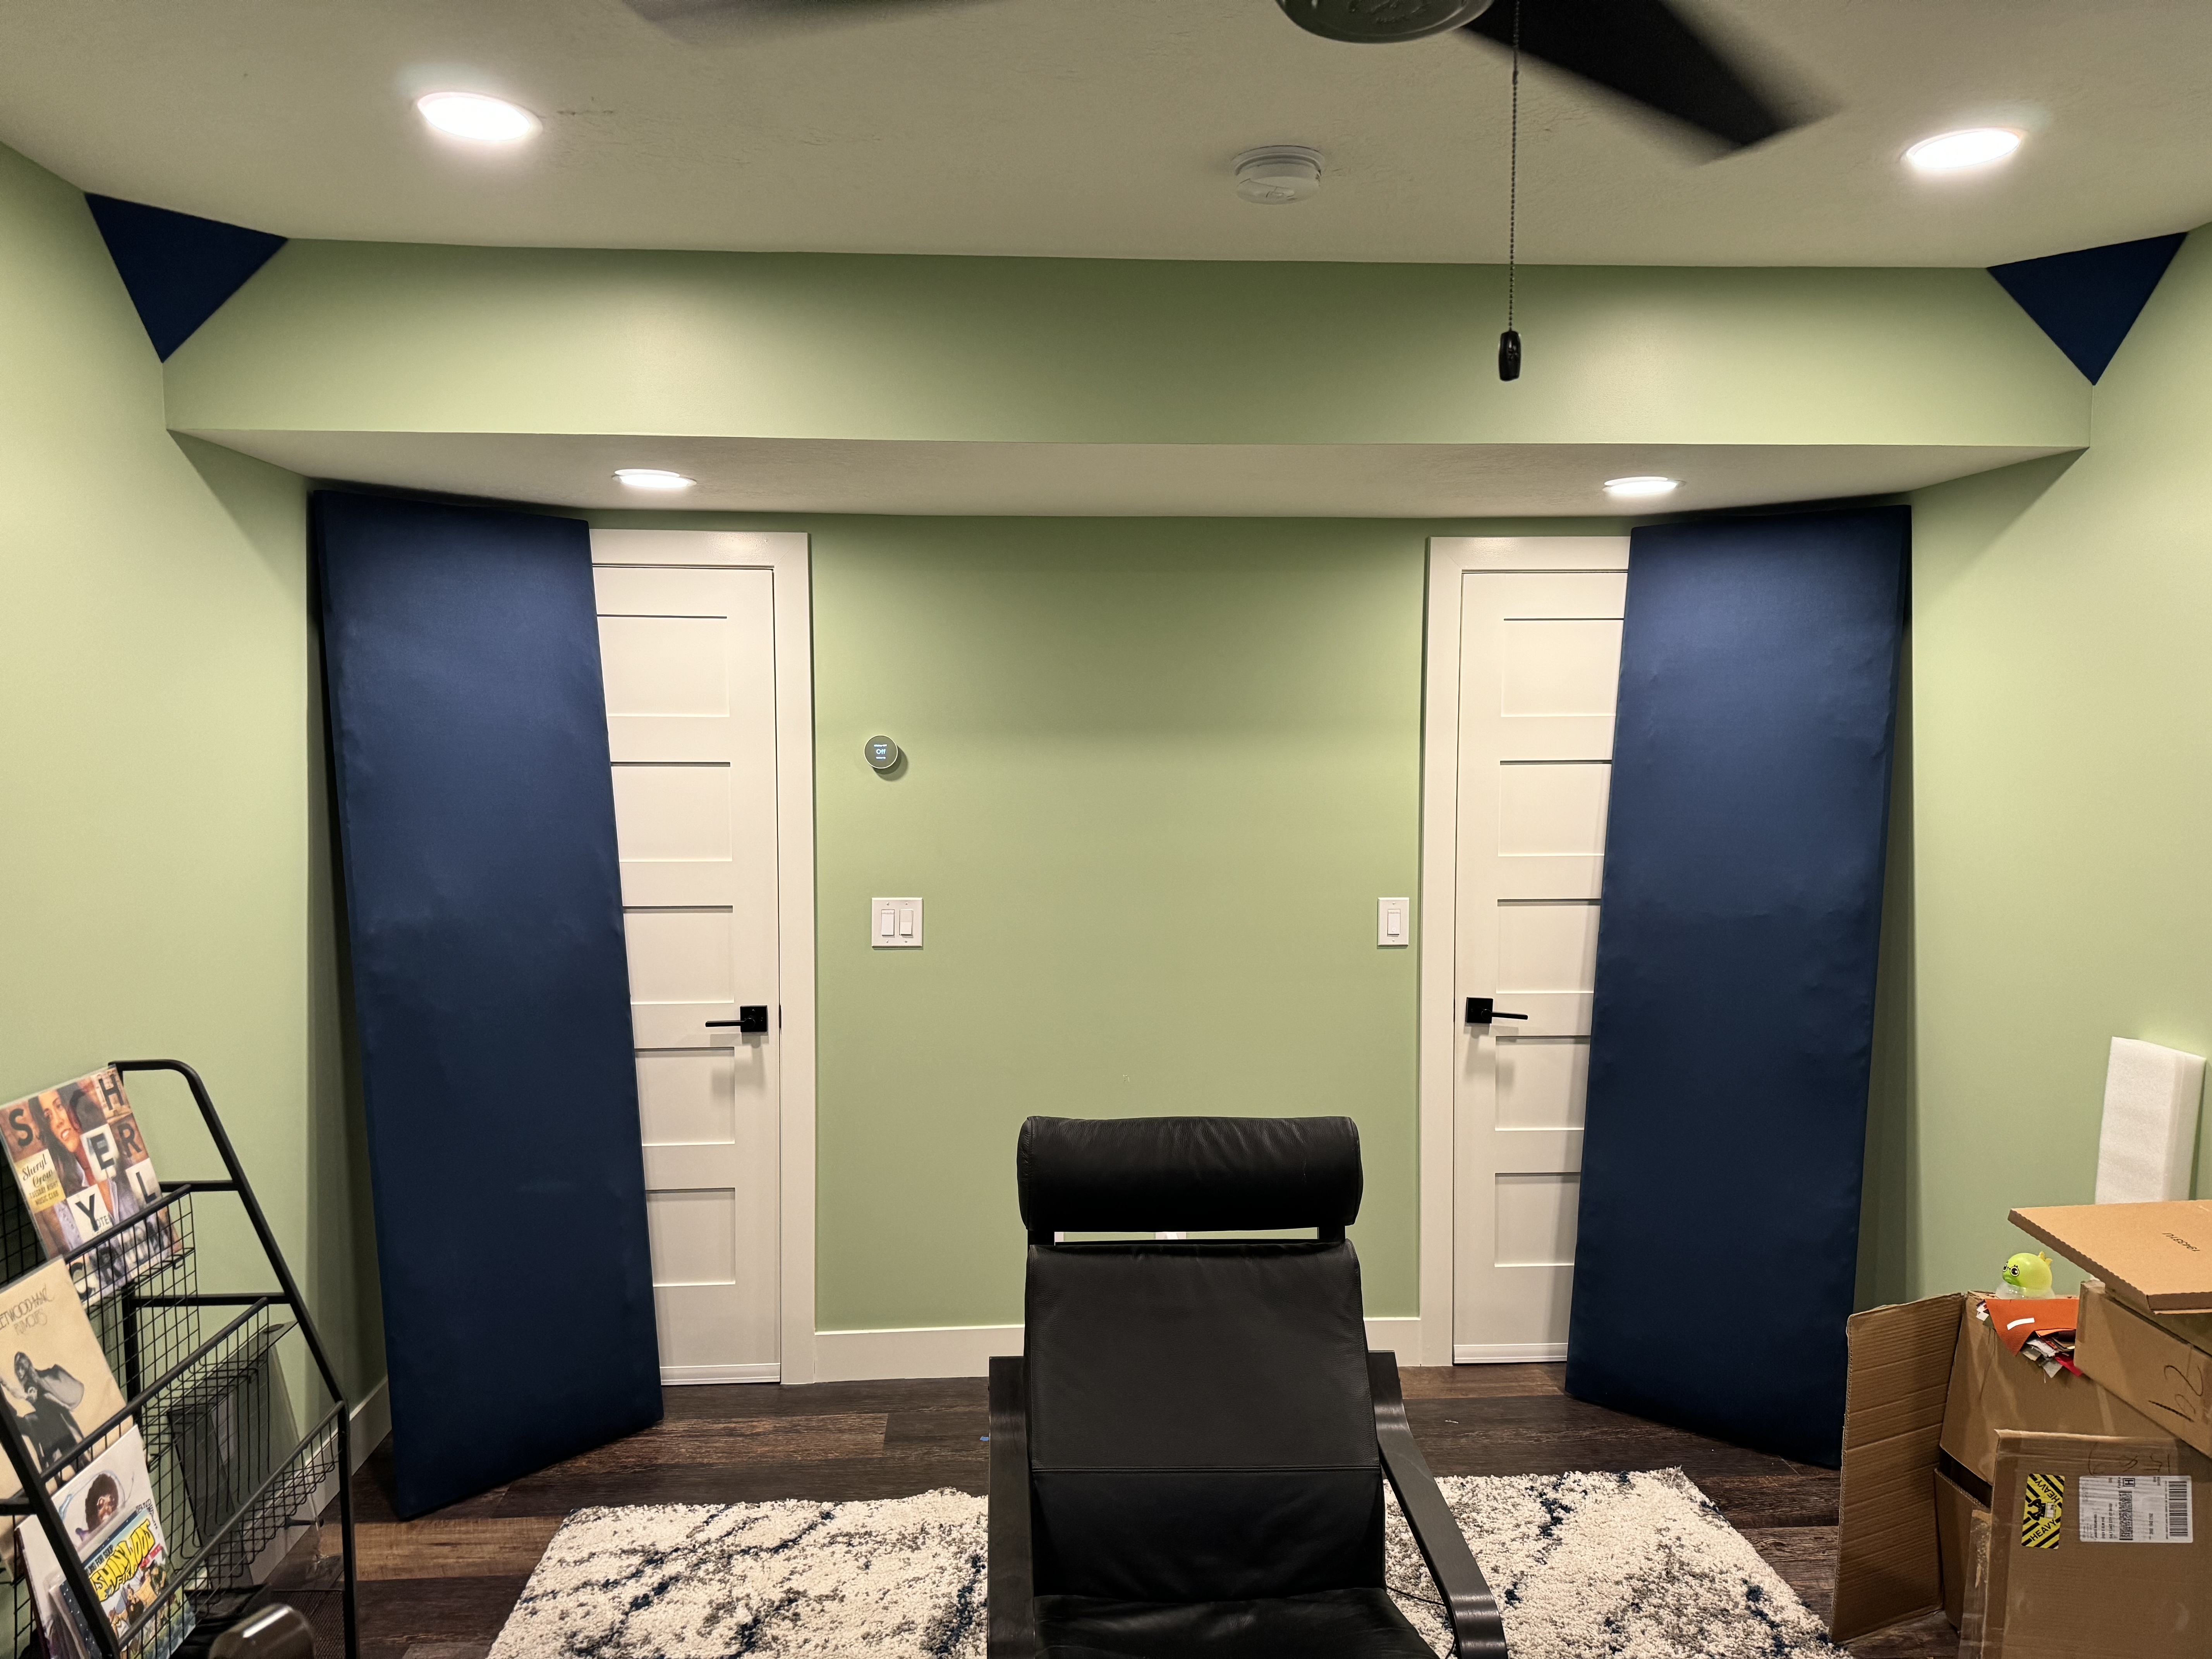
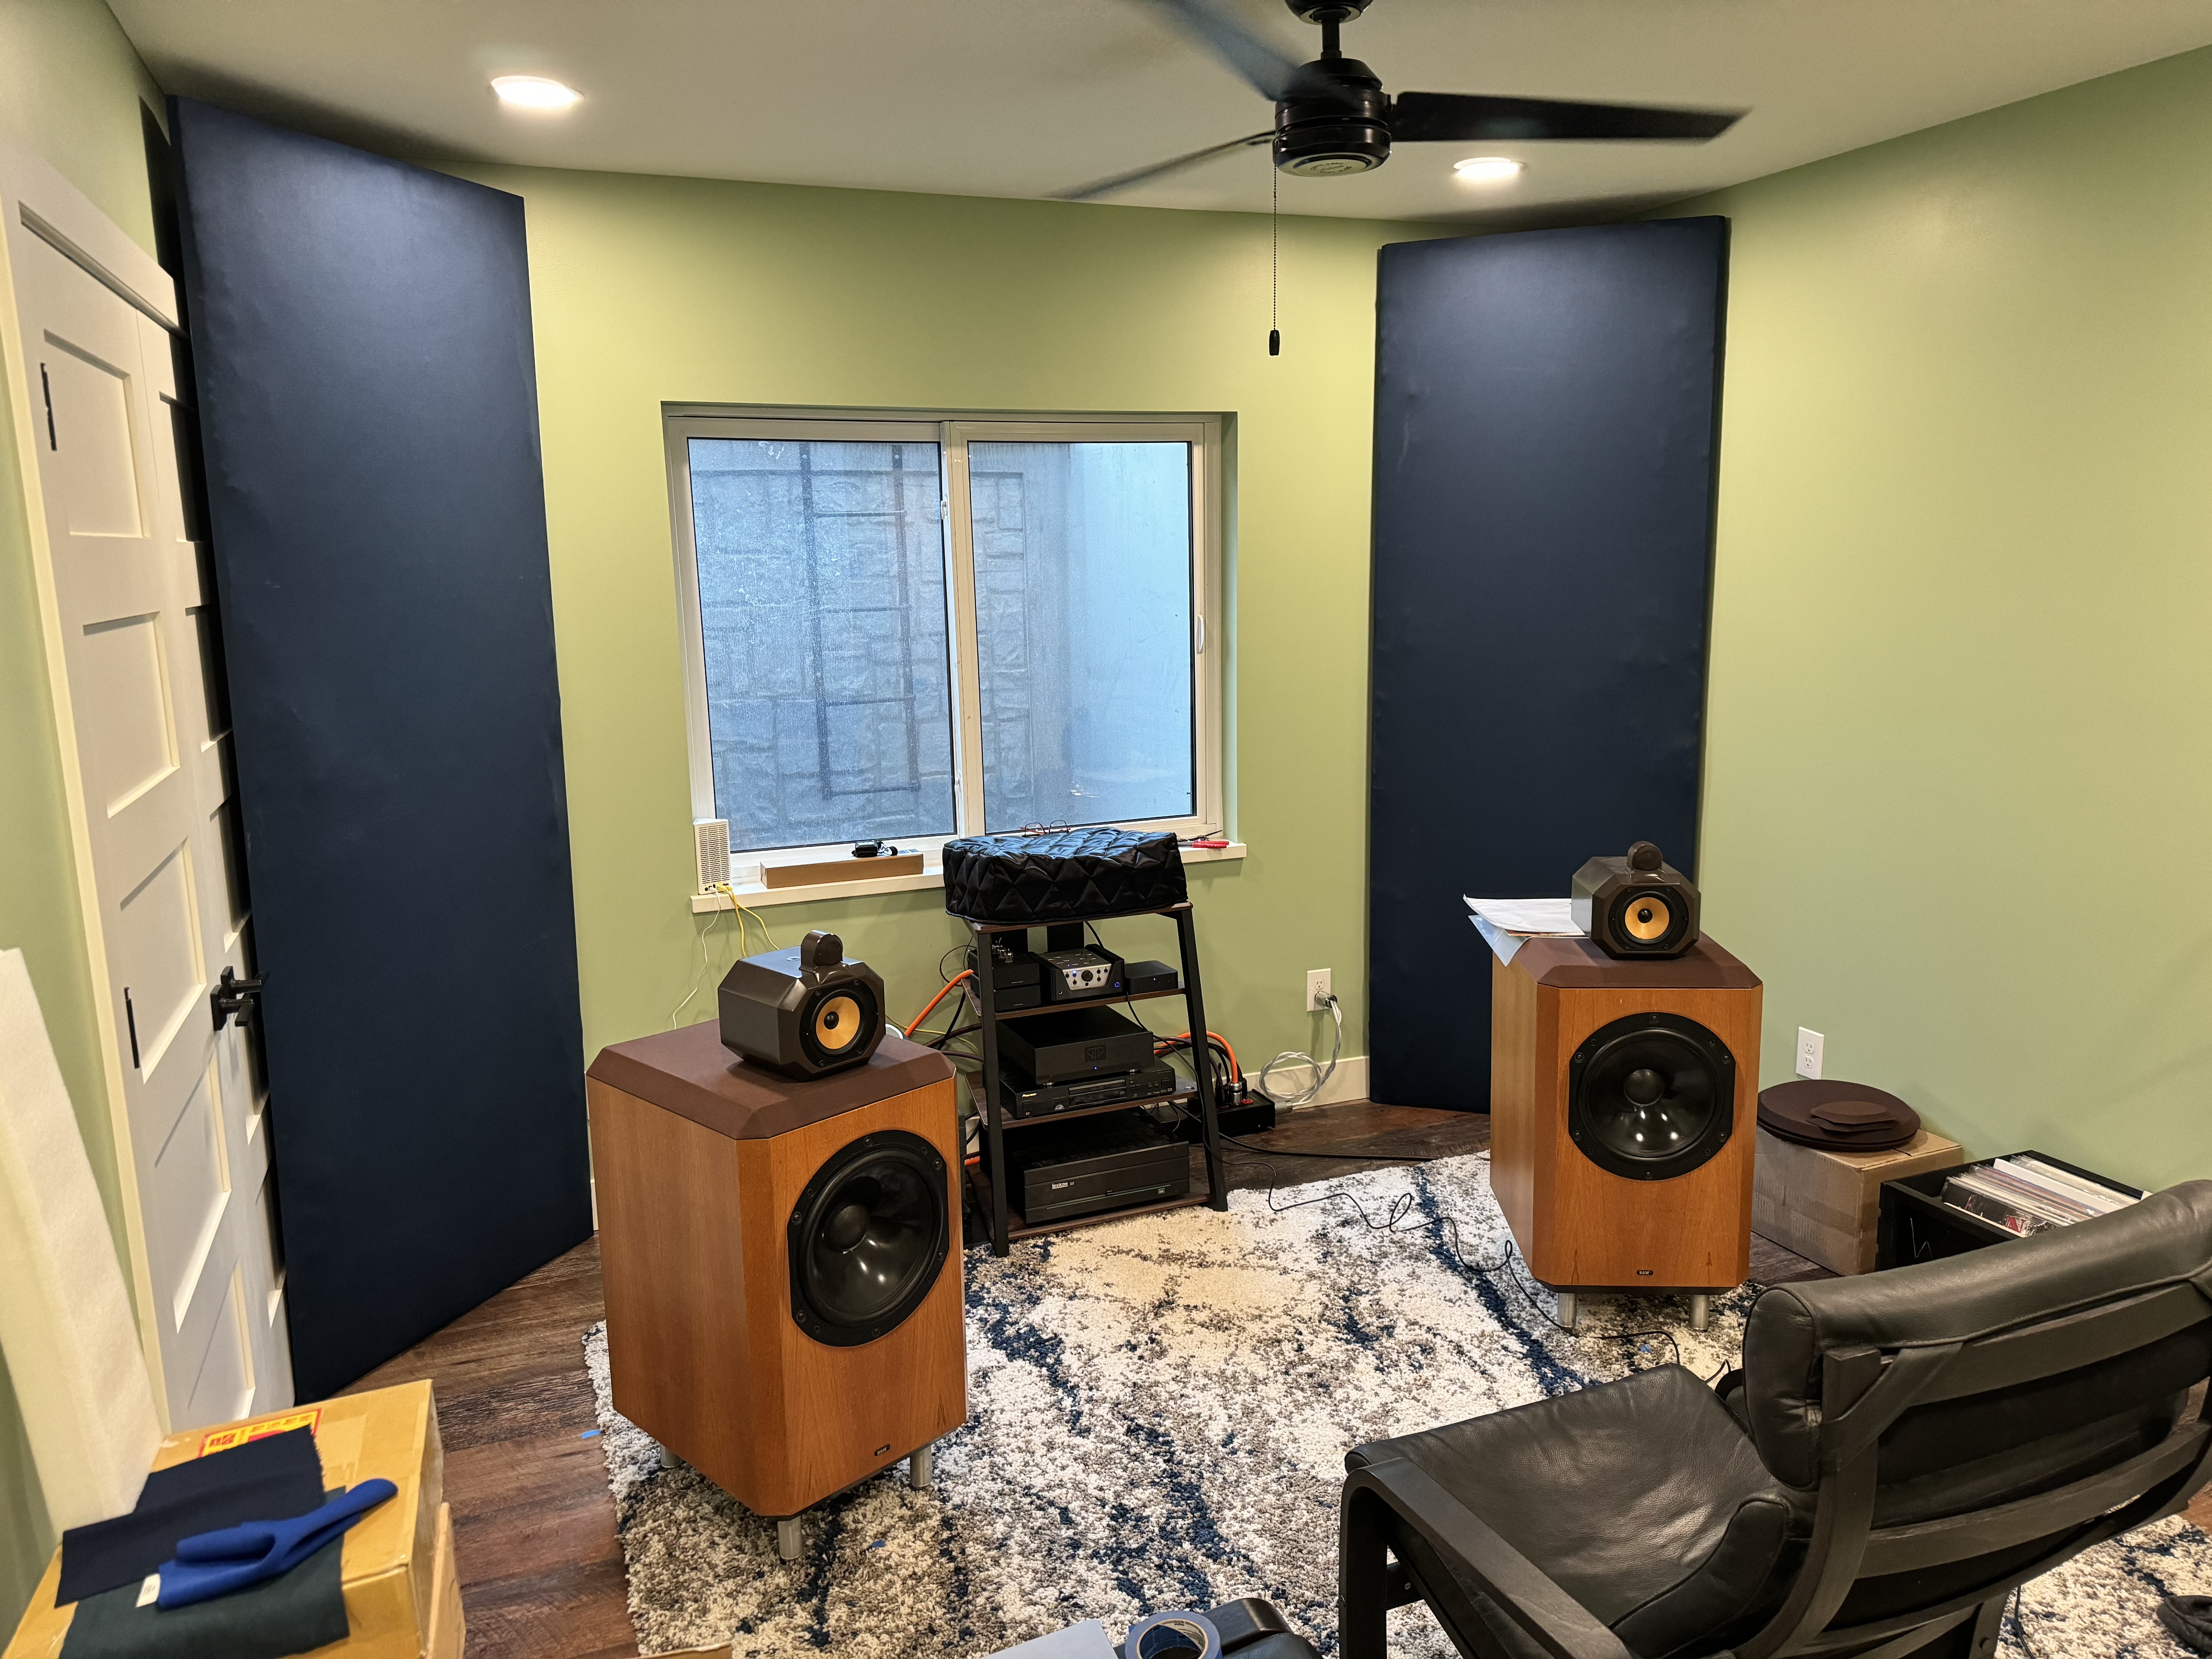
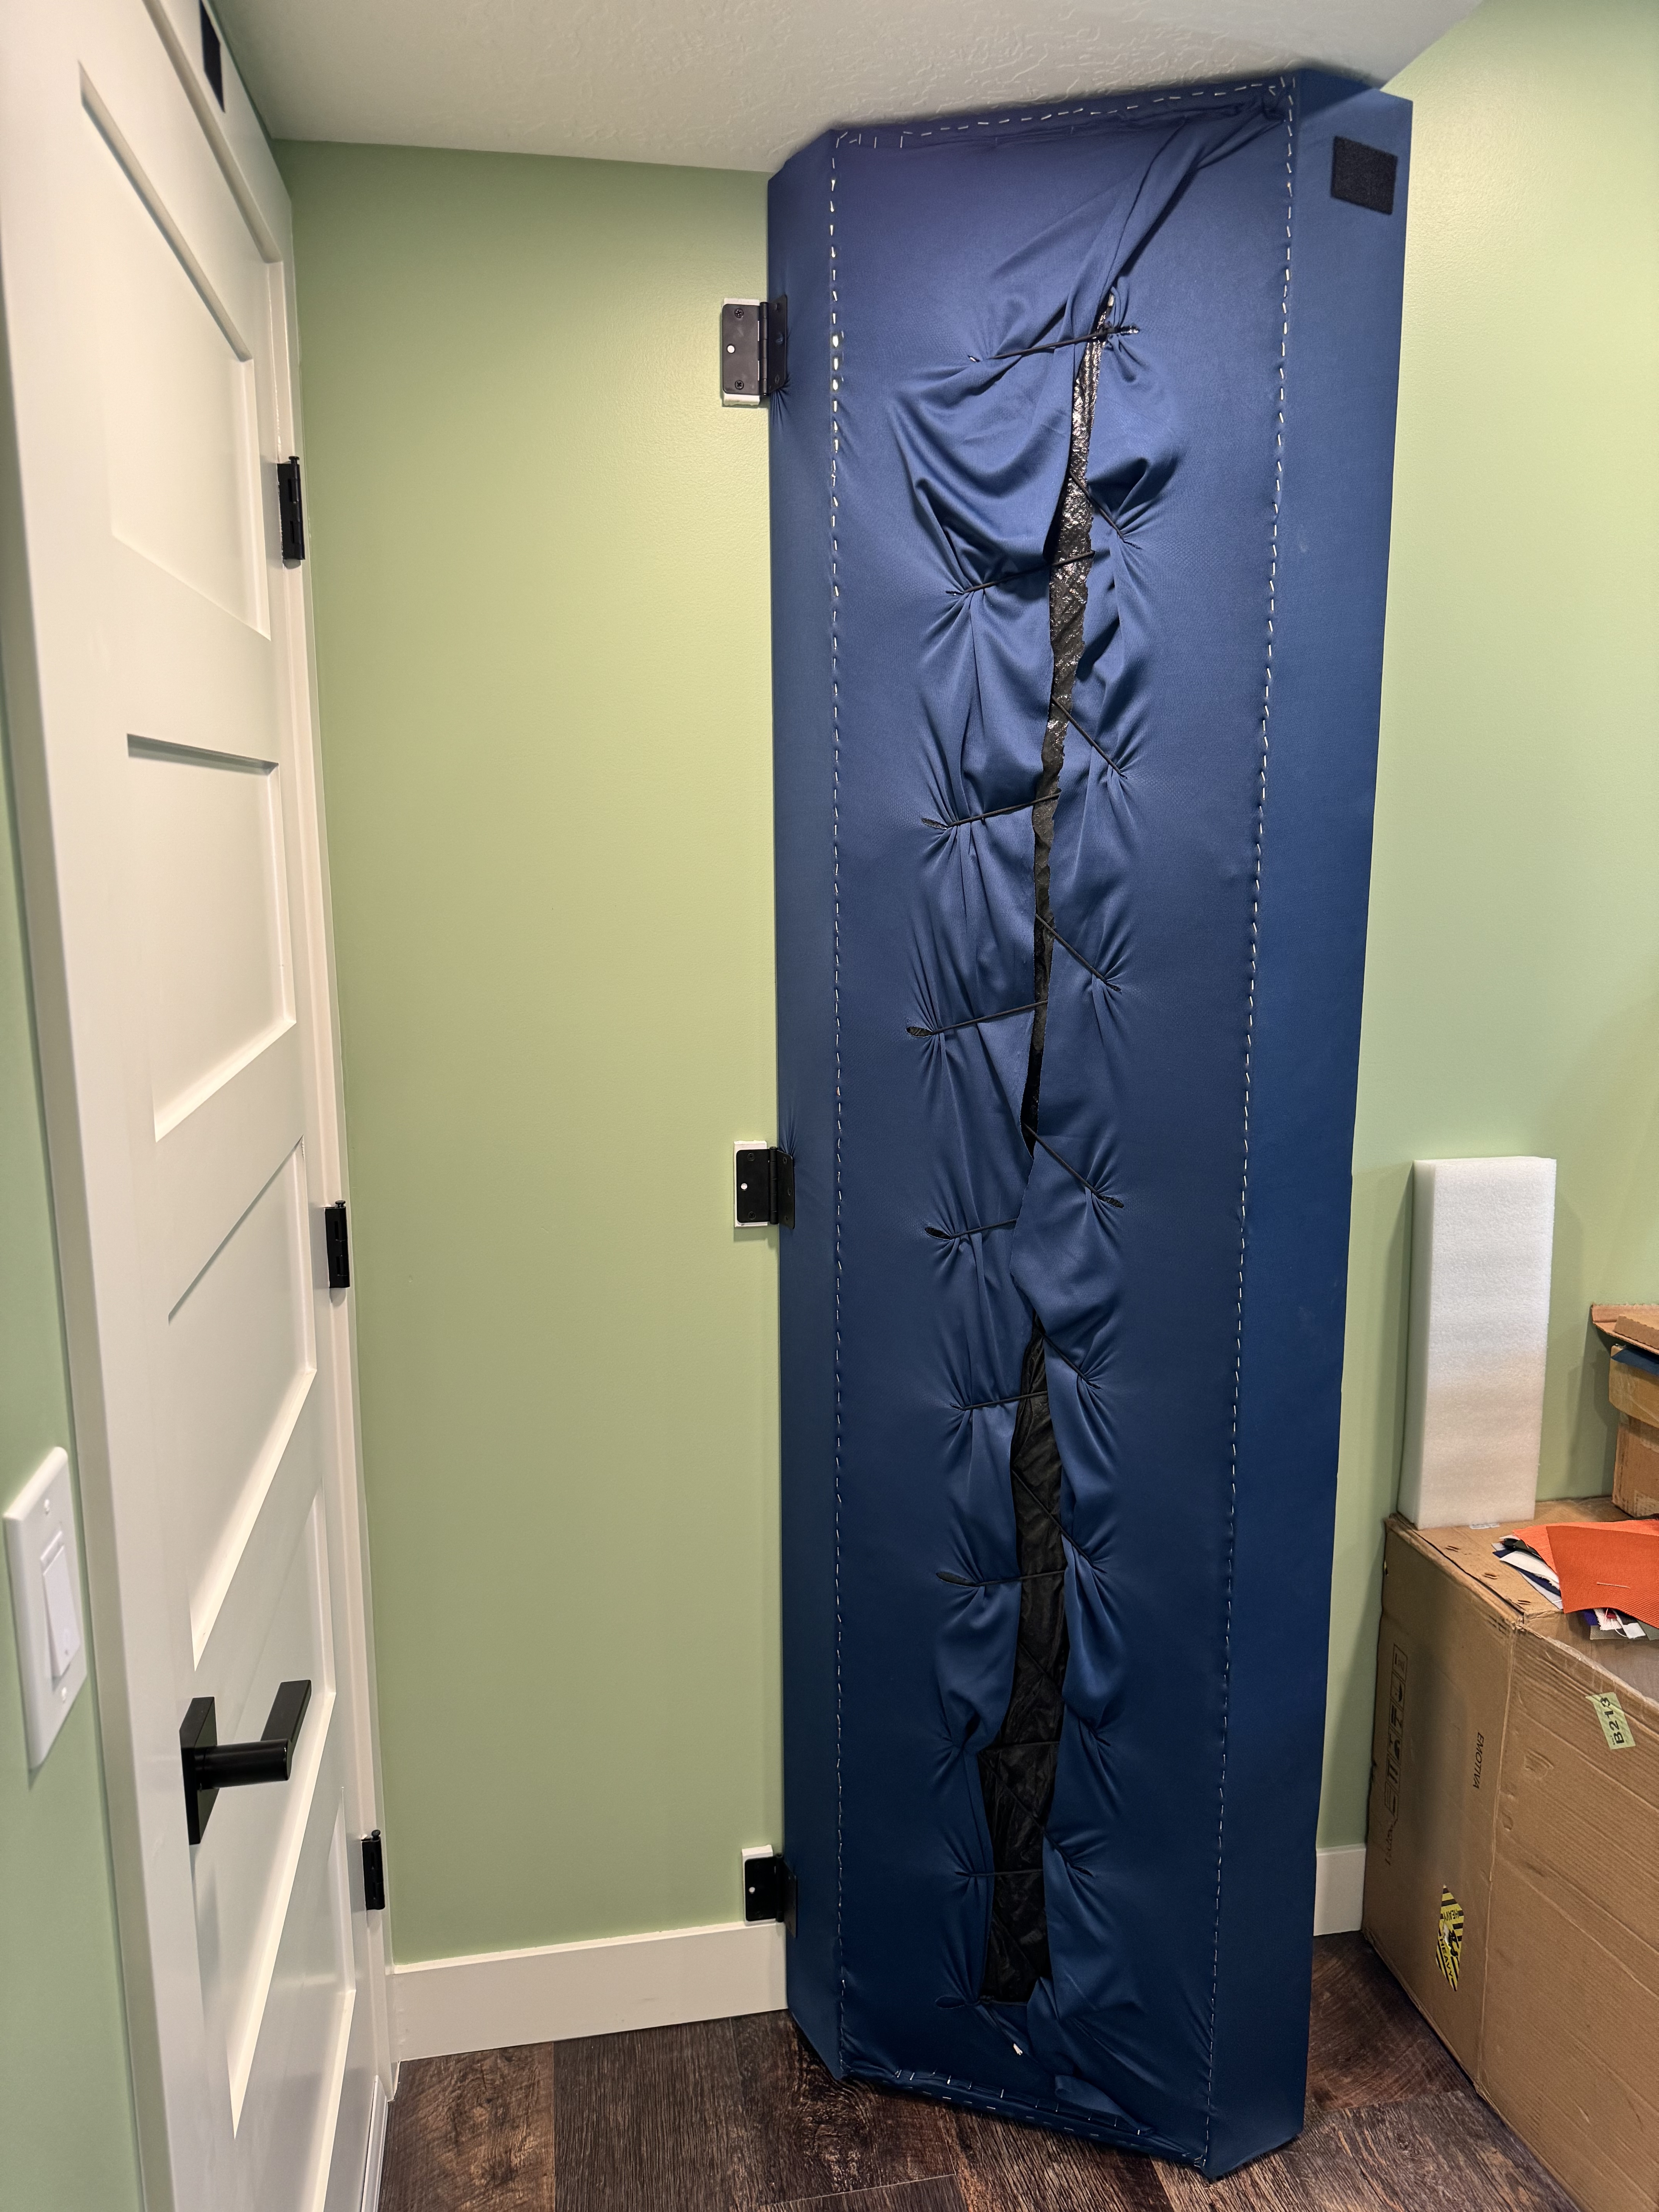
11) Leaned in the corners (for listening tests). My listening room has doors in 3 of the 4 corners, so I put them on hinges to swing out of the way of the doors
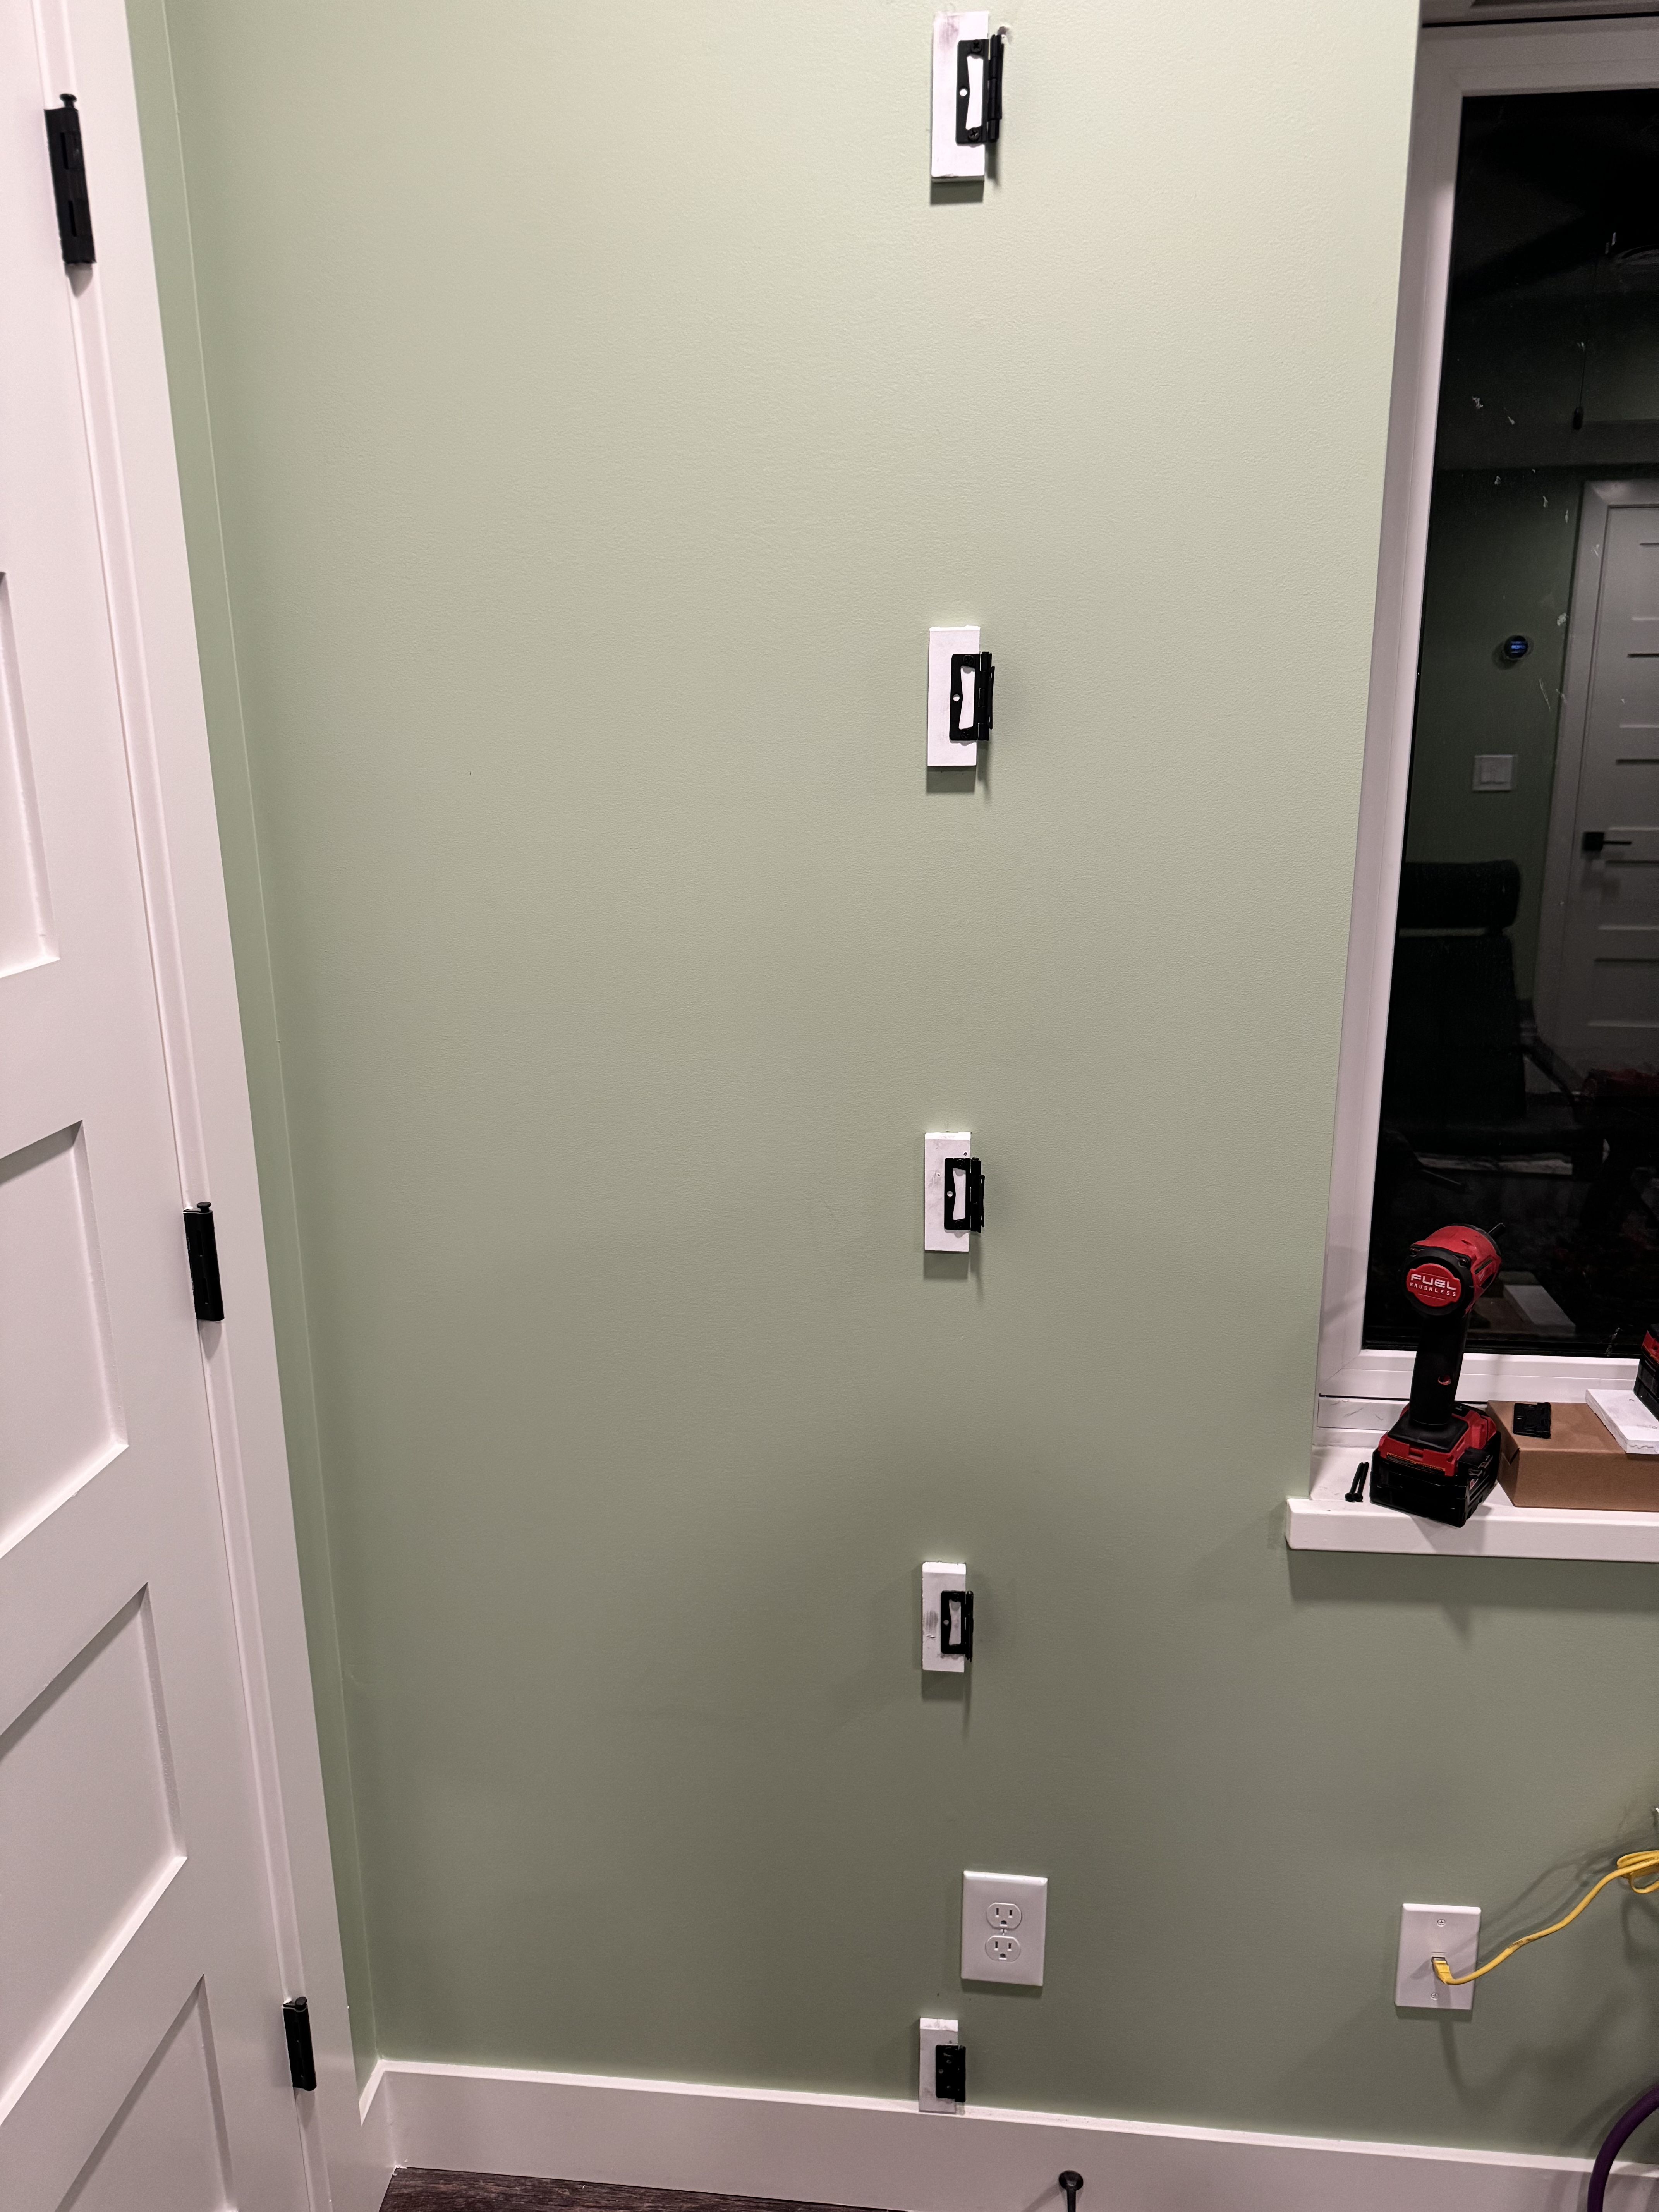
12) Fronts sitting upright (but not hung yet). For listening tests, naturally. Yes, they do in fact do their job!
13) Ok, I probably went overkill with the brackets here which is why I returned the rest of these and bought bigger ones for the rear panels. The white blocks are baseboard material that I cut + painted to match and sit the panel off the wall enough for the hinge to work and it not be sticking out further on the bottom (because of the baseboard).
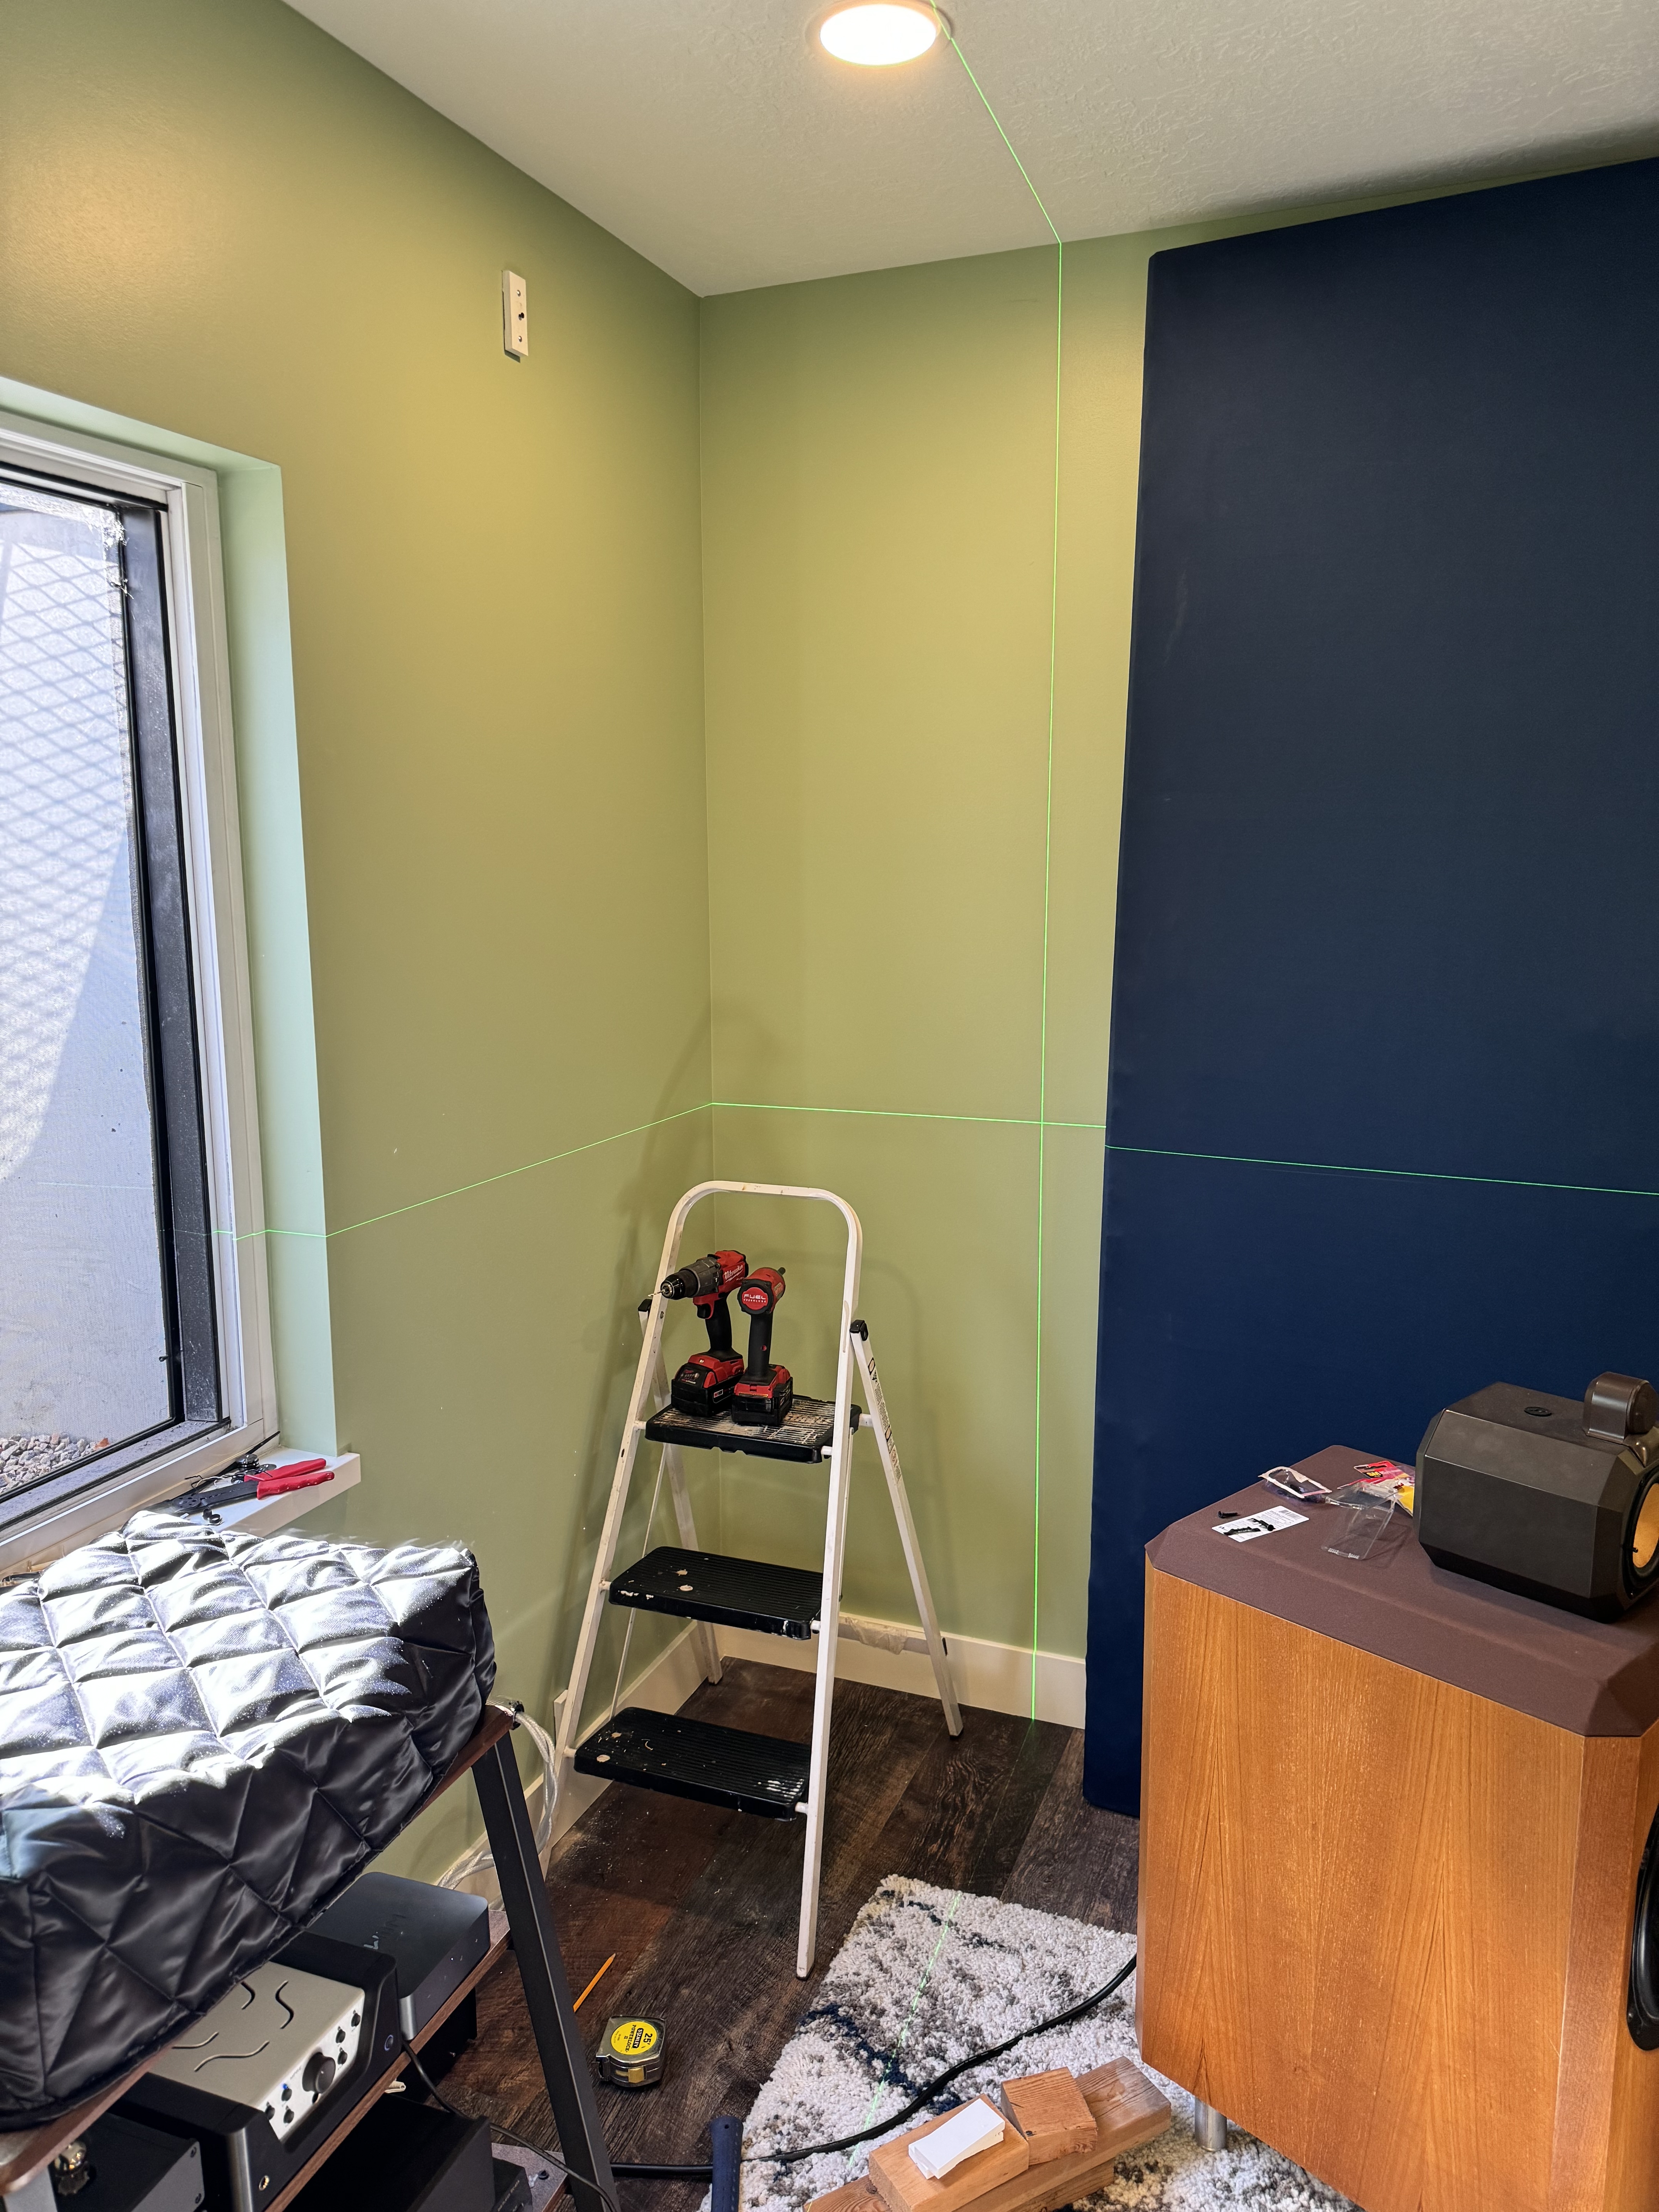
14) Another new tool - laser level! Uh, I should have bought one of these way sooner, they make the job so much easier!
15) Rear panel hung (notice the greatly reduced number of brackets lol)
16) Halfway closed, I added a velcro strip near the top where the panel hits the door frame so it will stay in place when swung "closed"
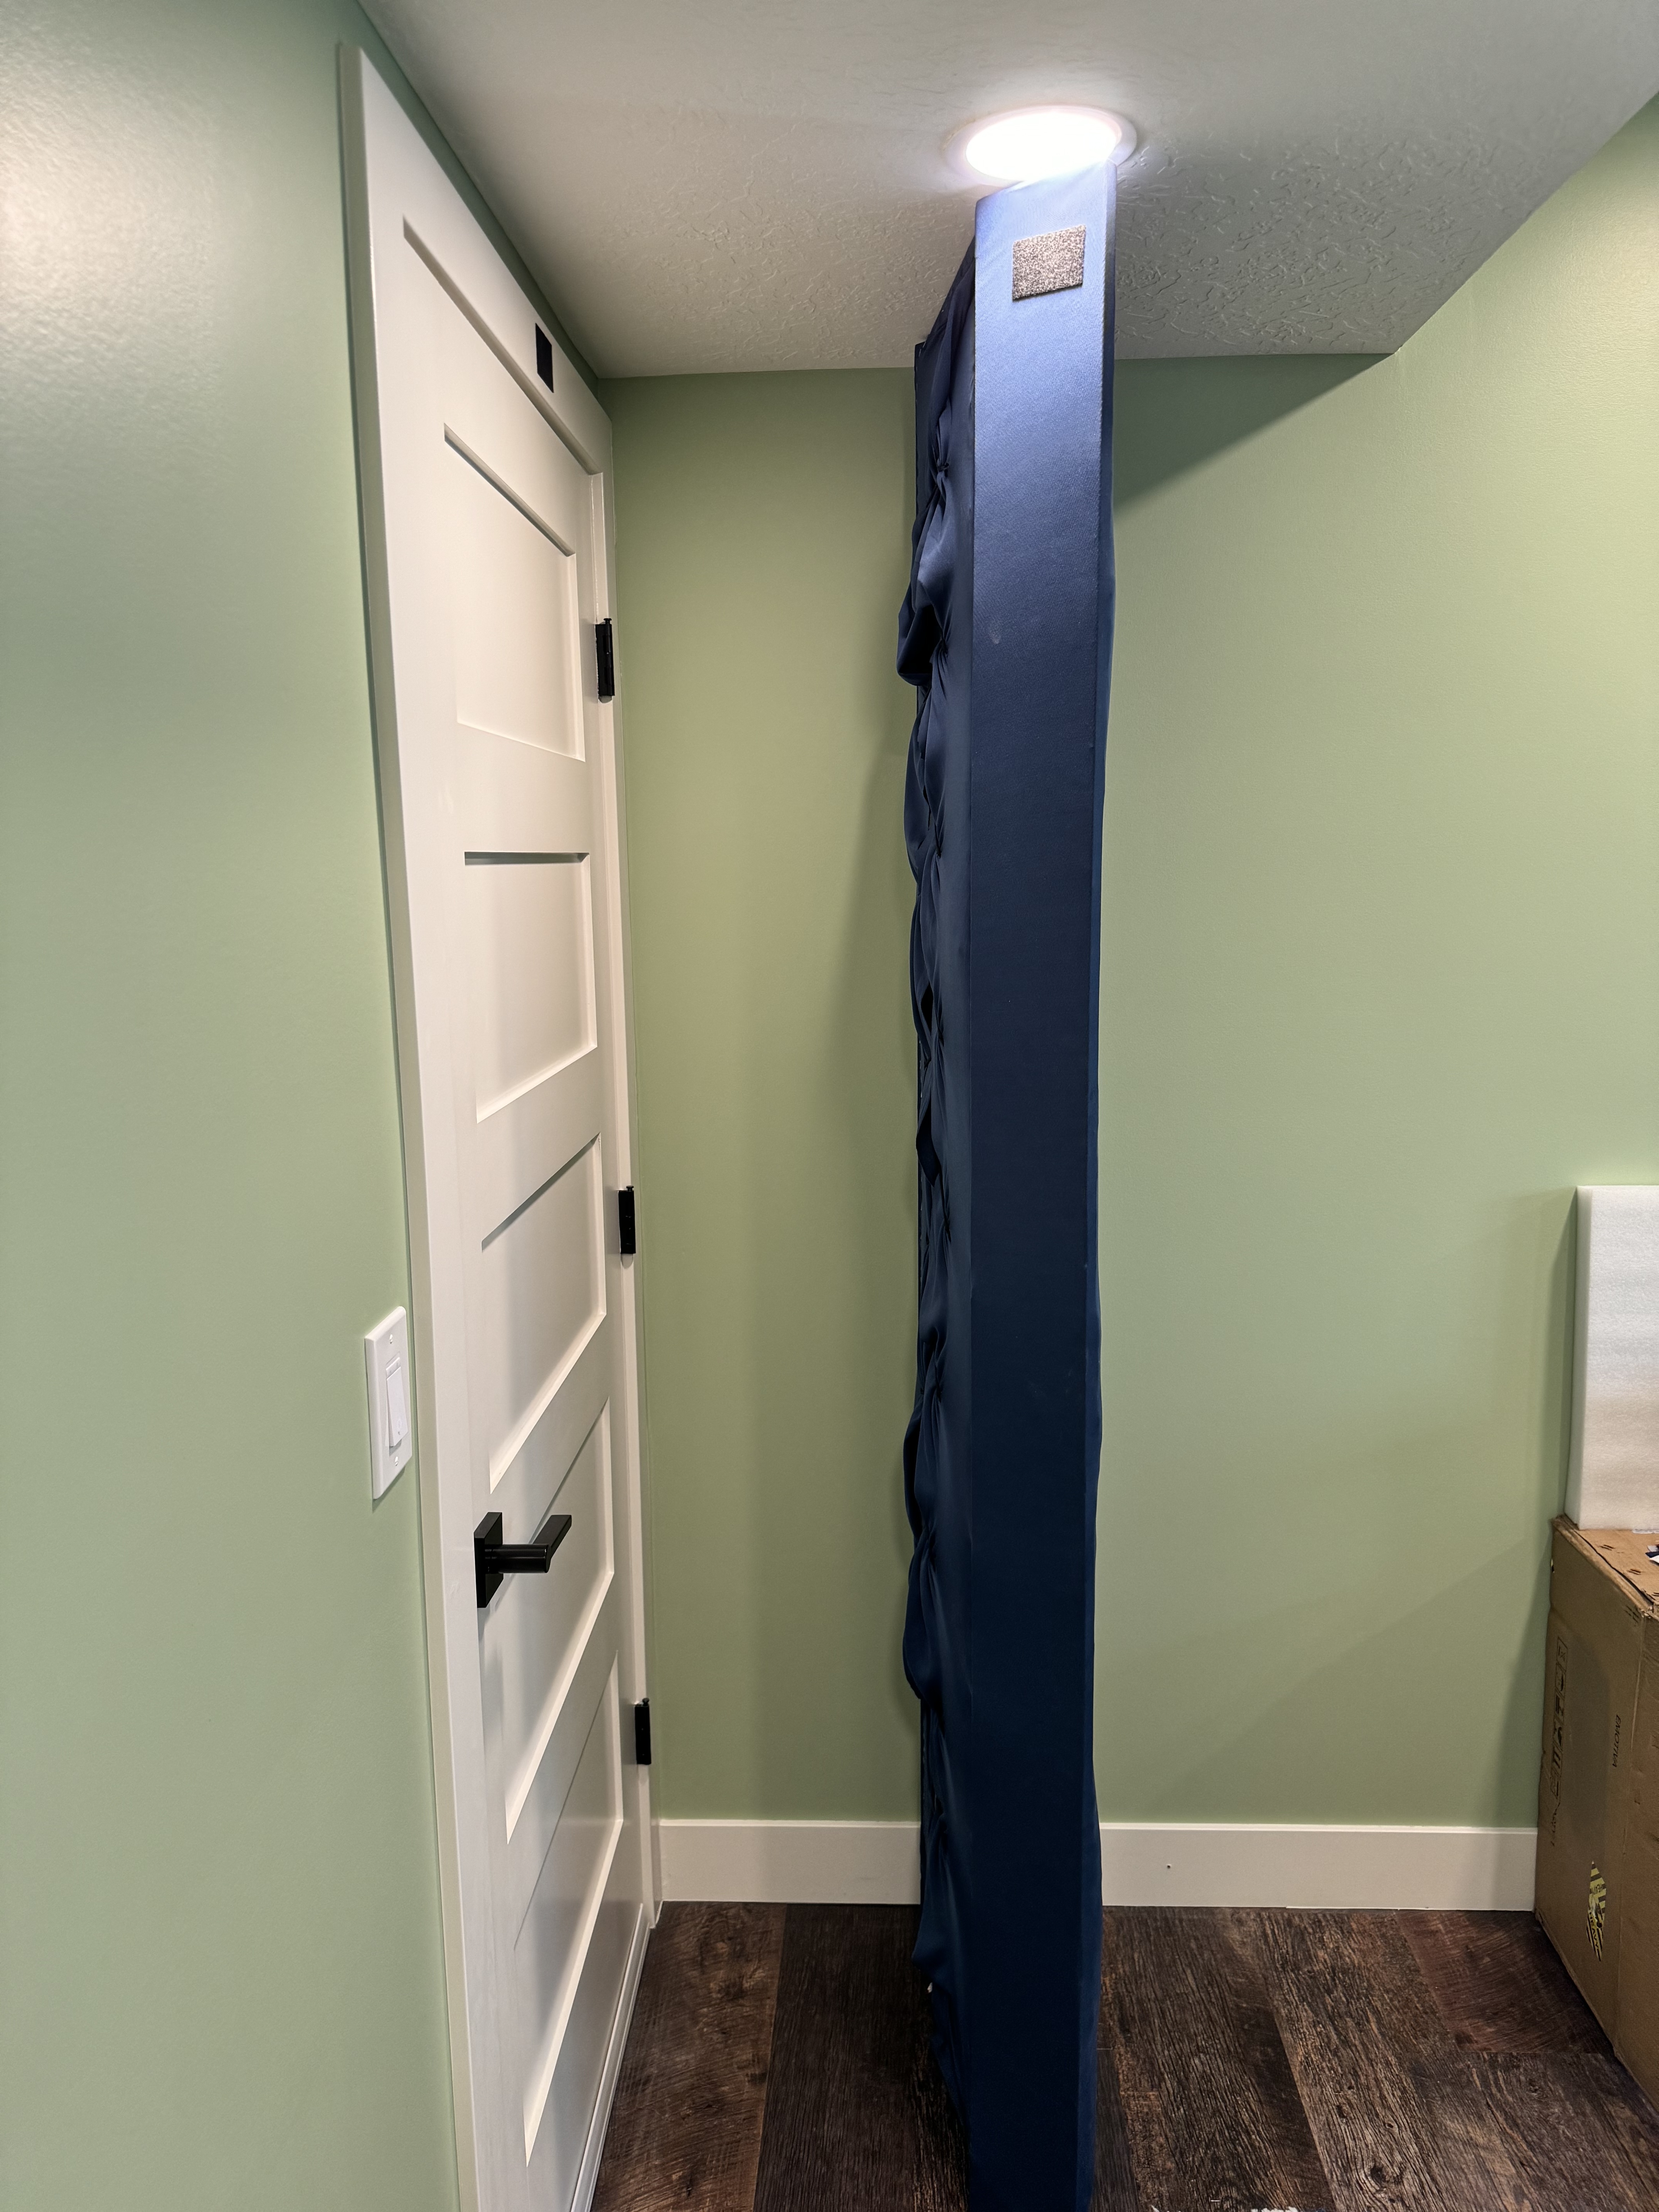
17) Closed position
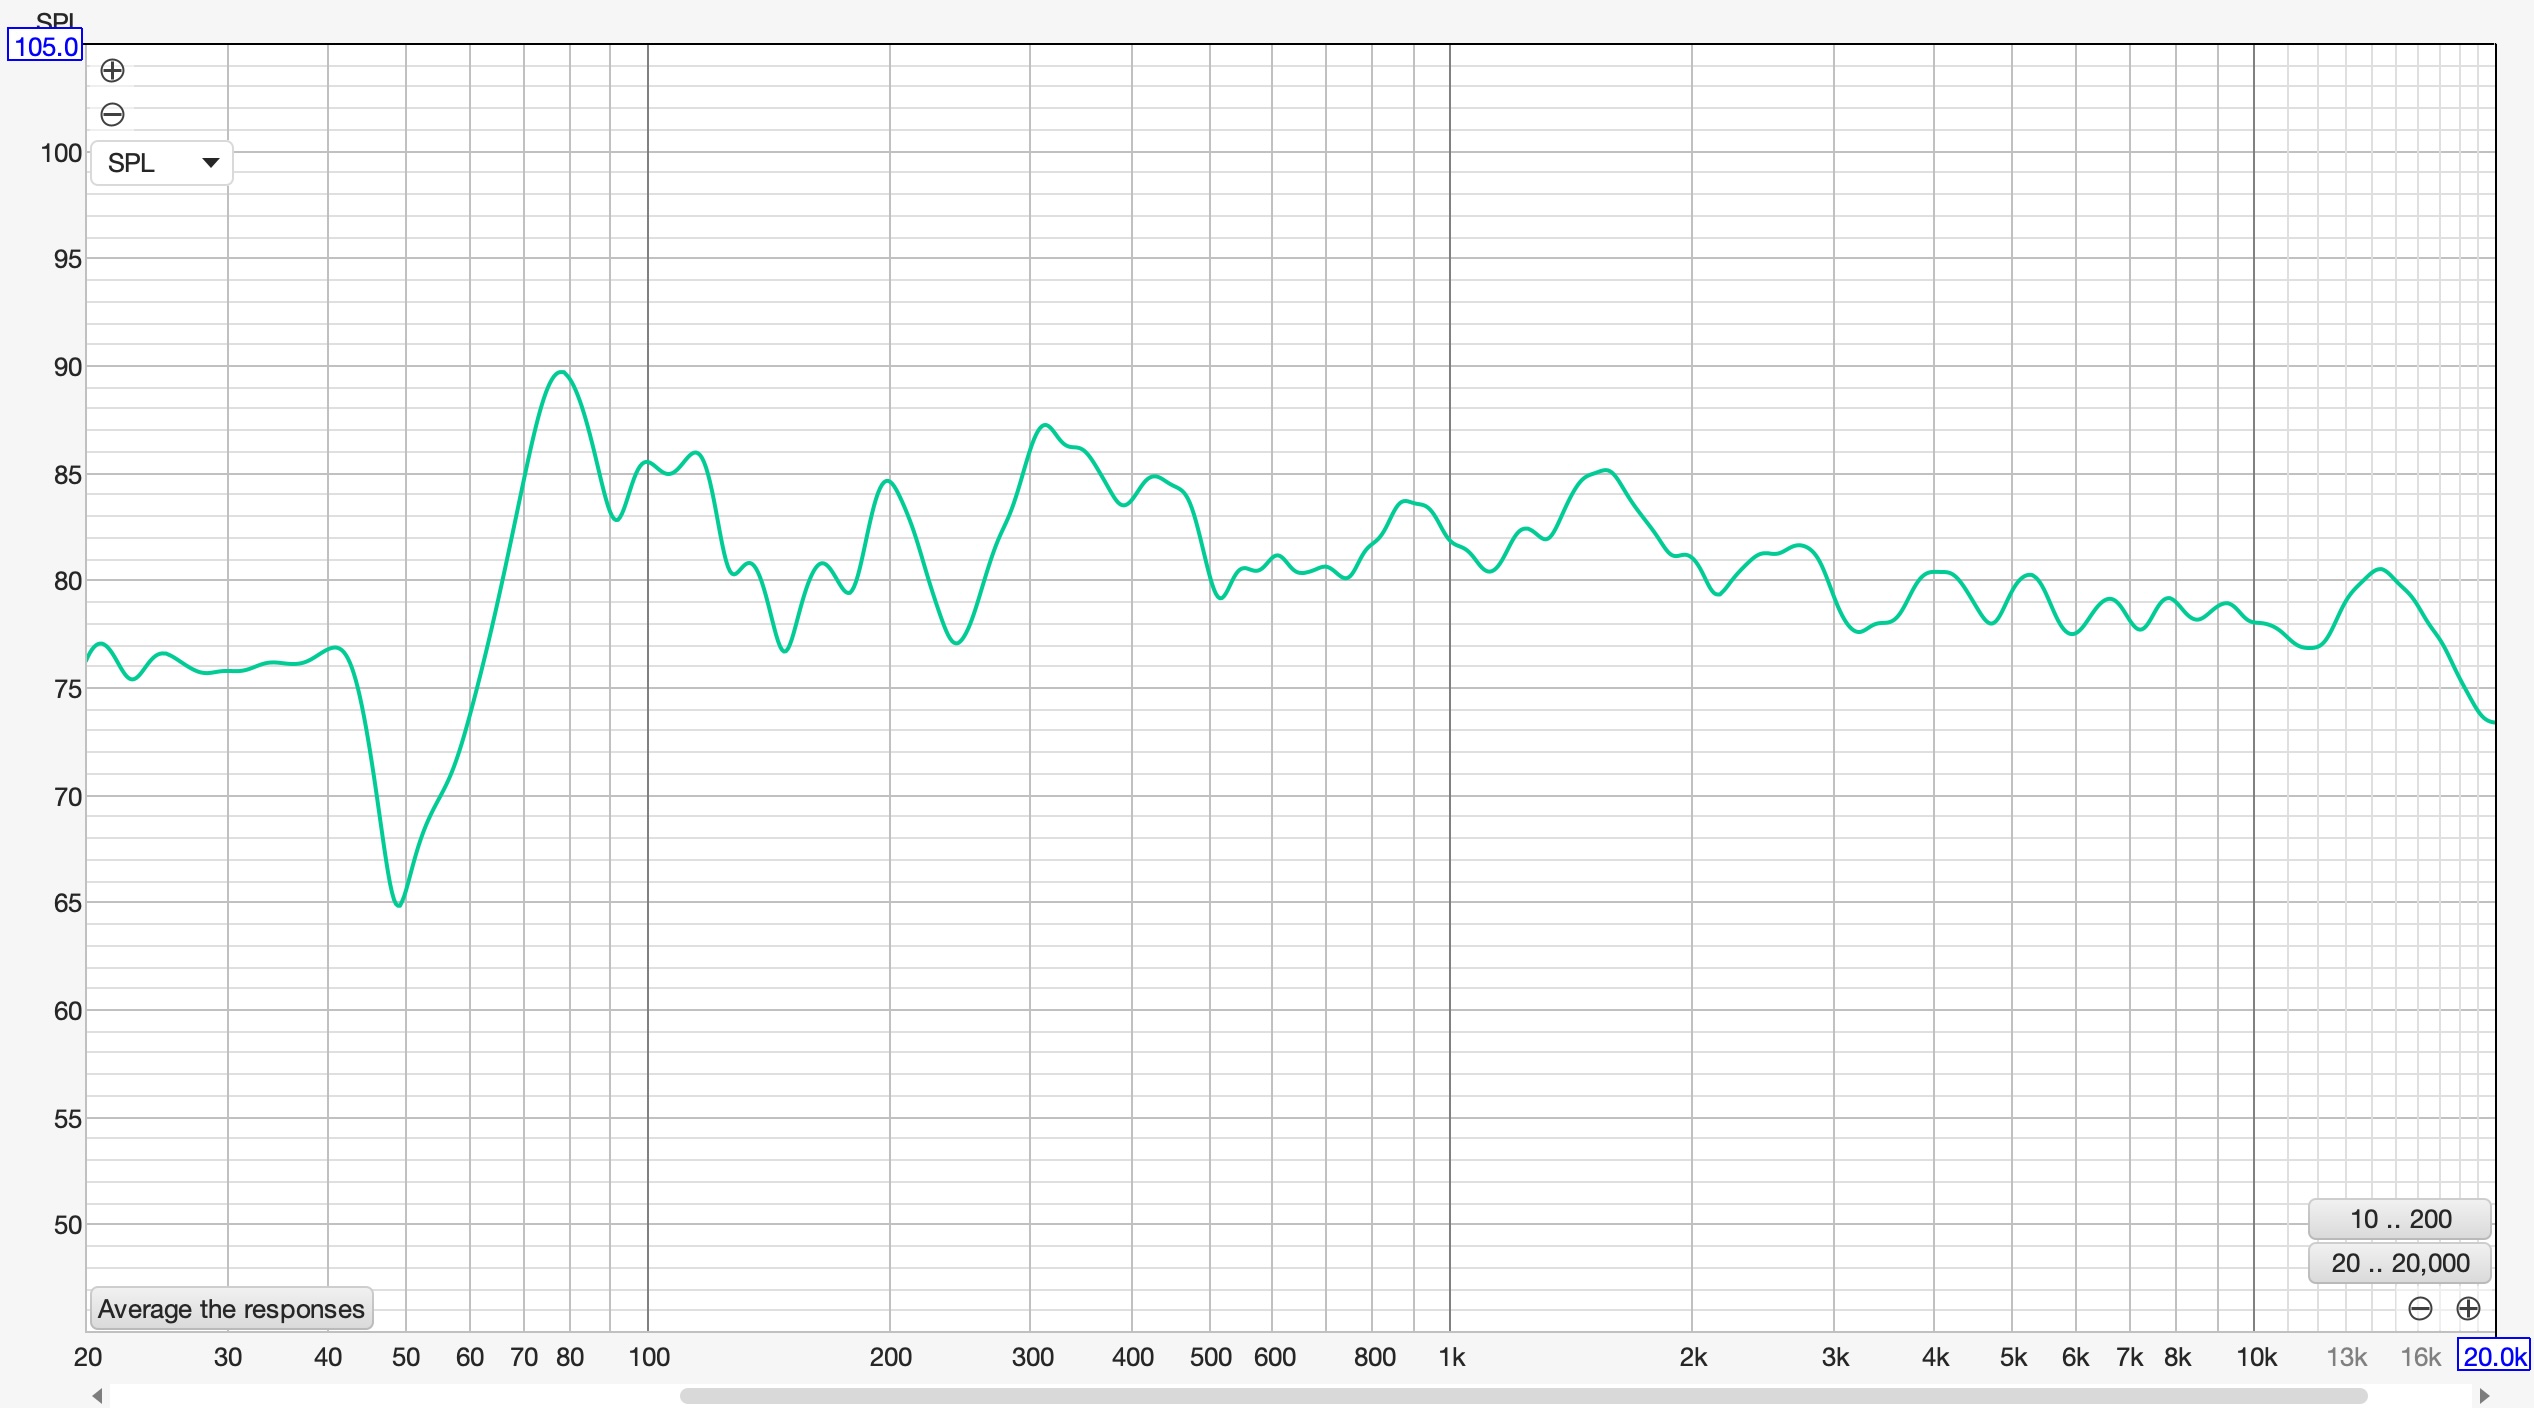
18) Without room treatment
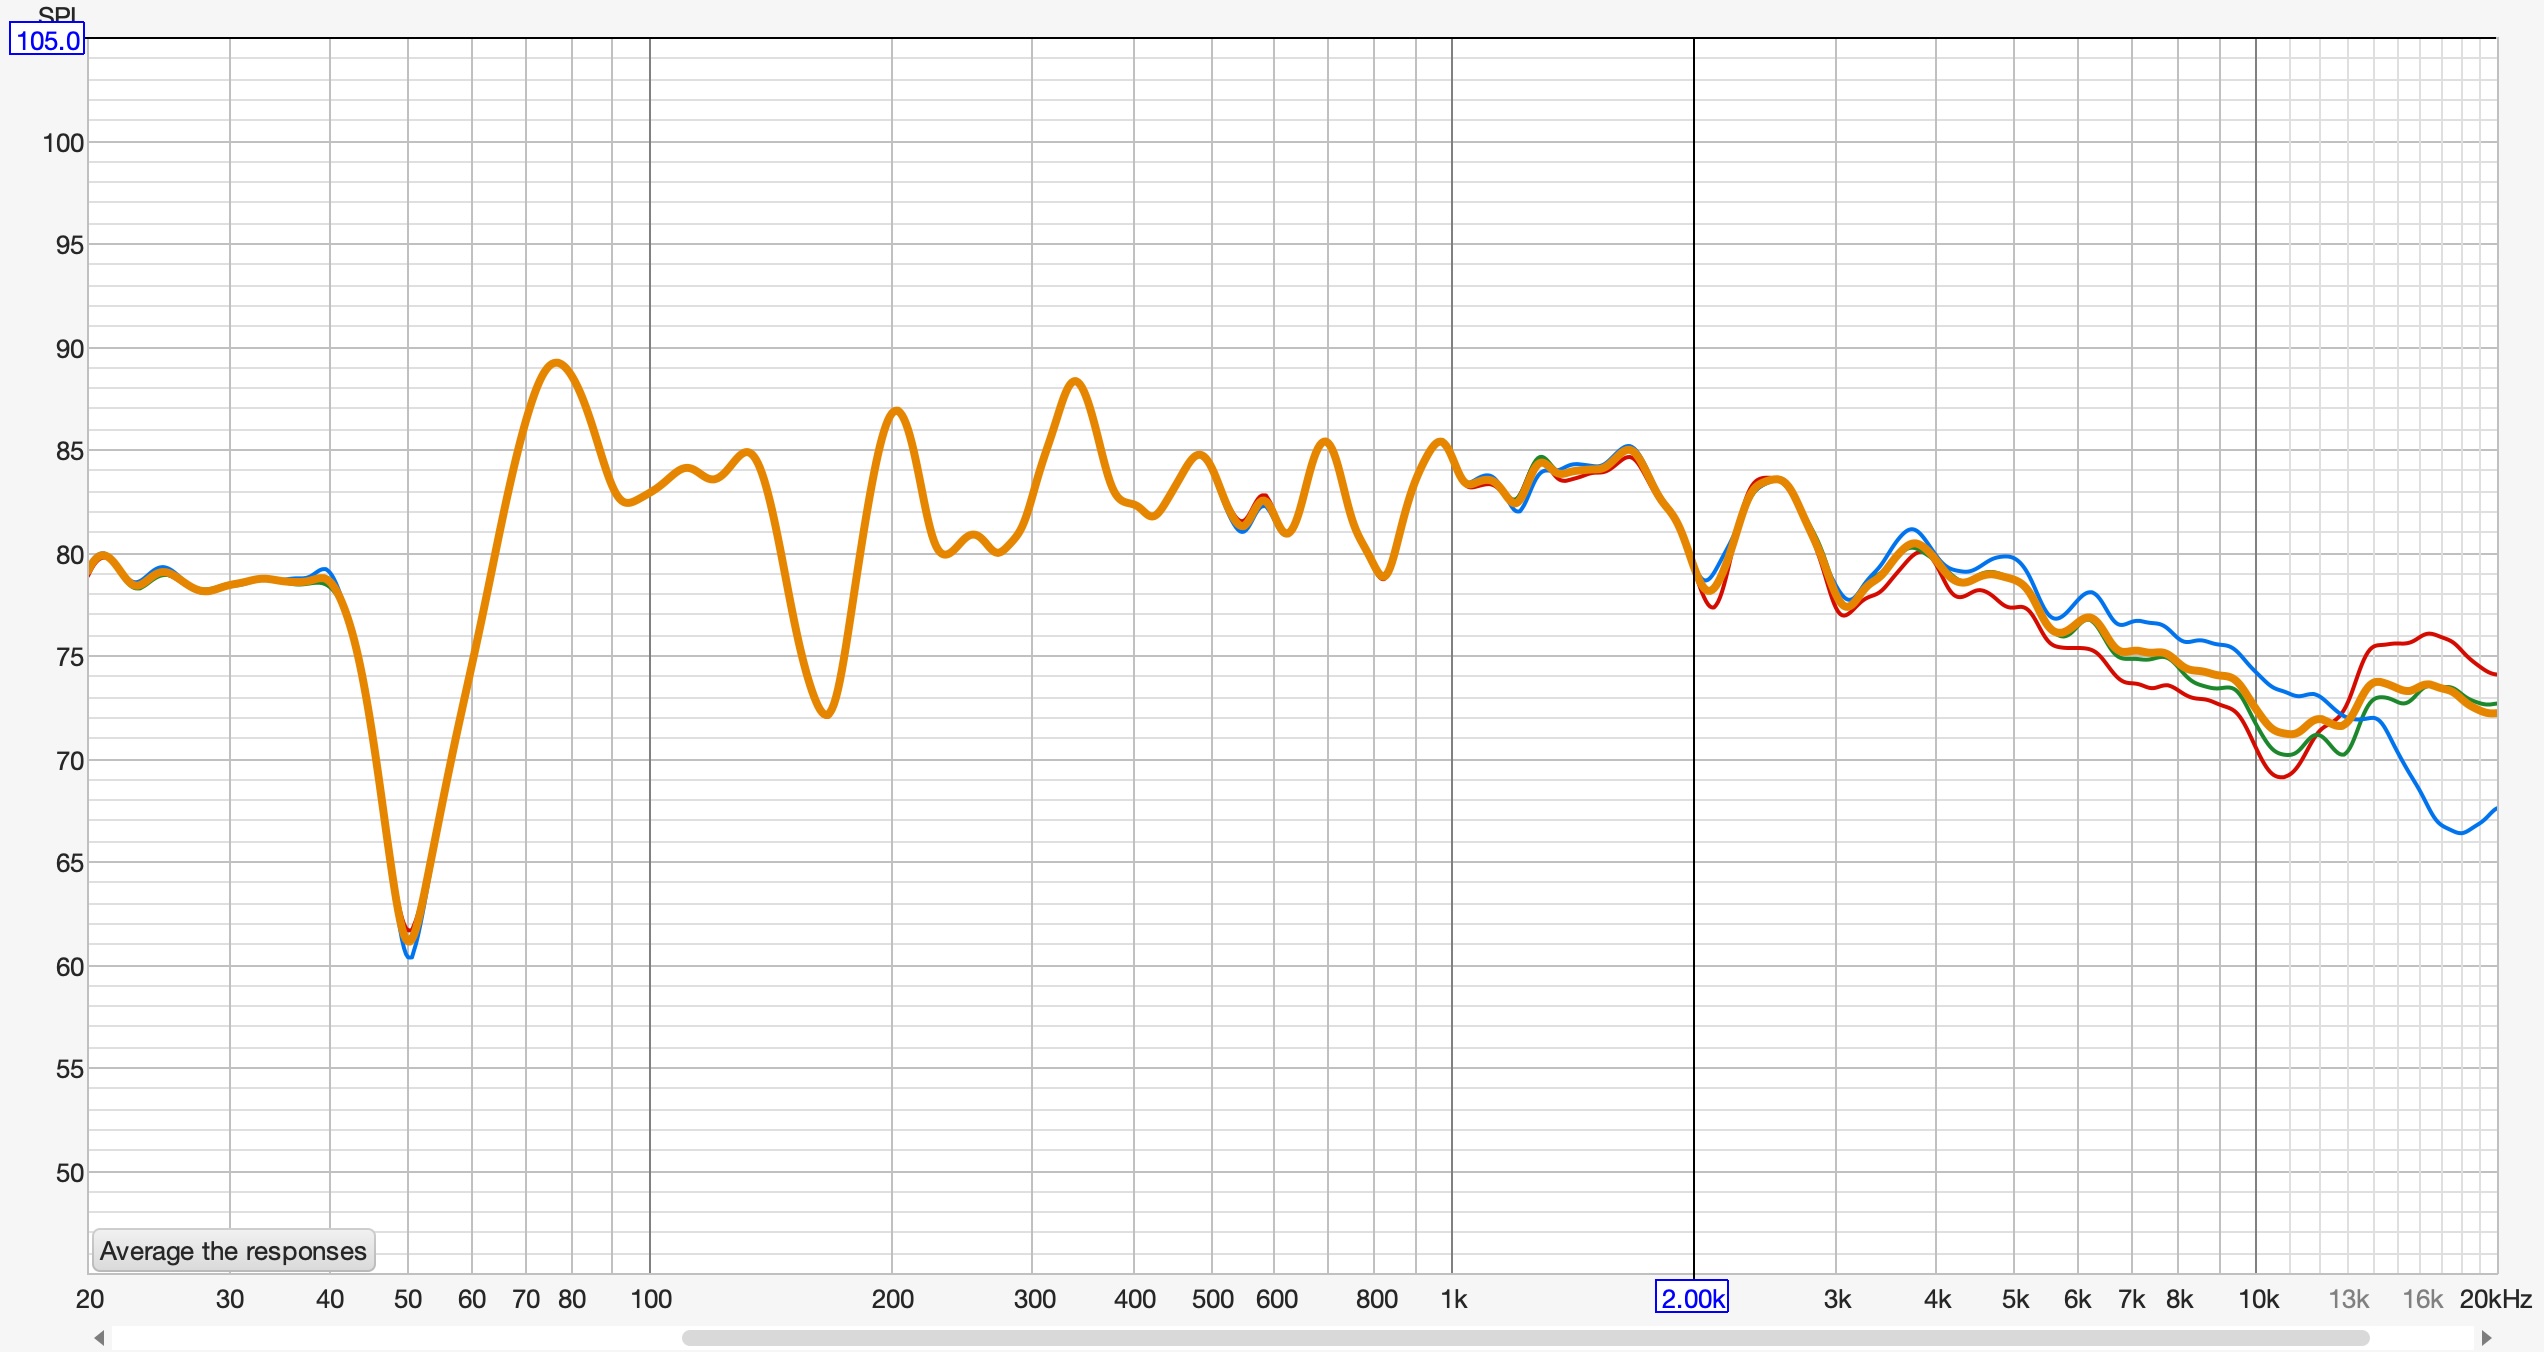
19) With room treatment. Still have quite the dip at 50Hz and spike at 100Hz but not as bad and more even response throughout. I need to play more with the listening position and speaker positions.