All the photos
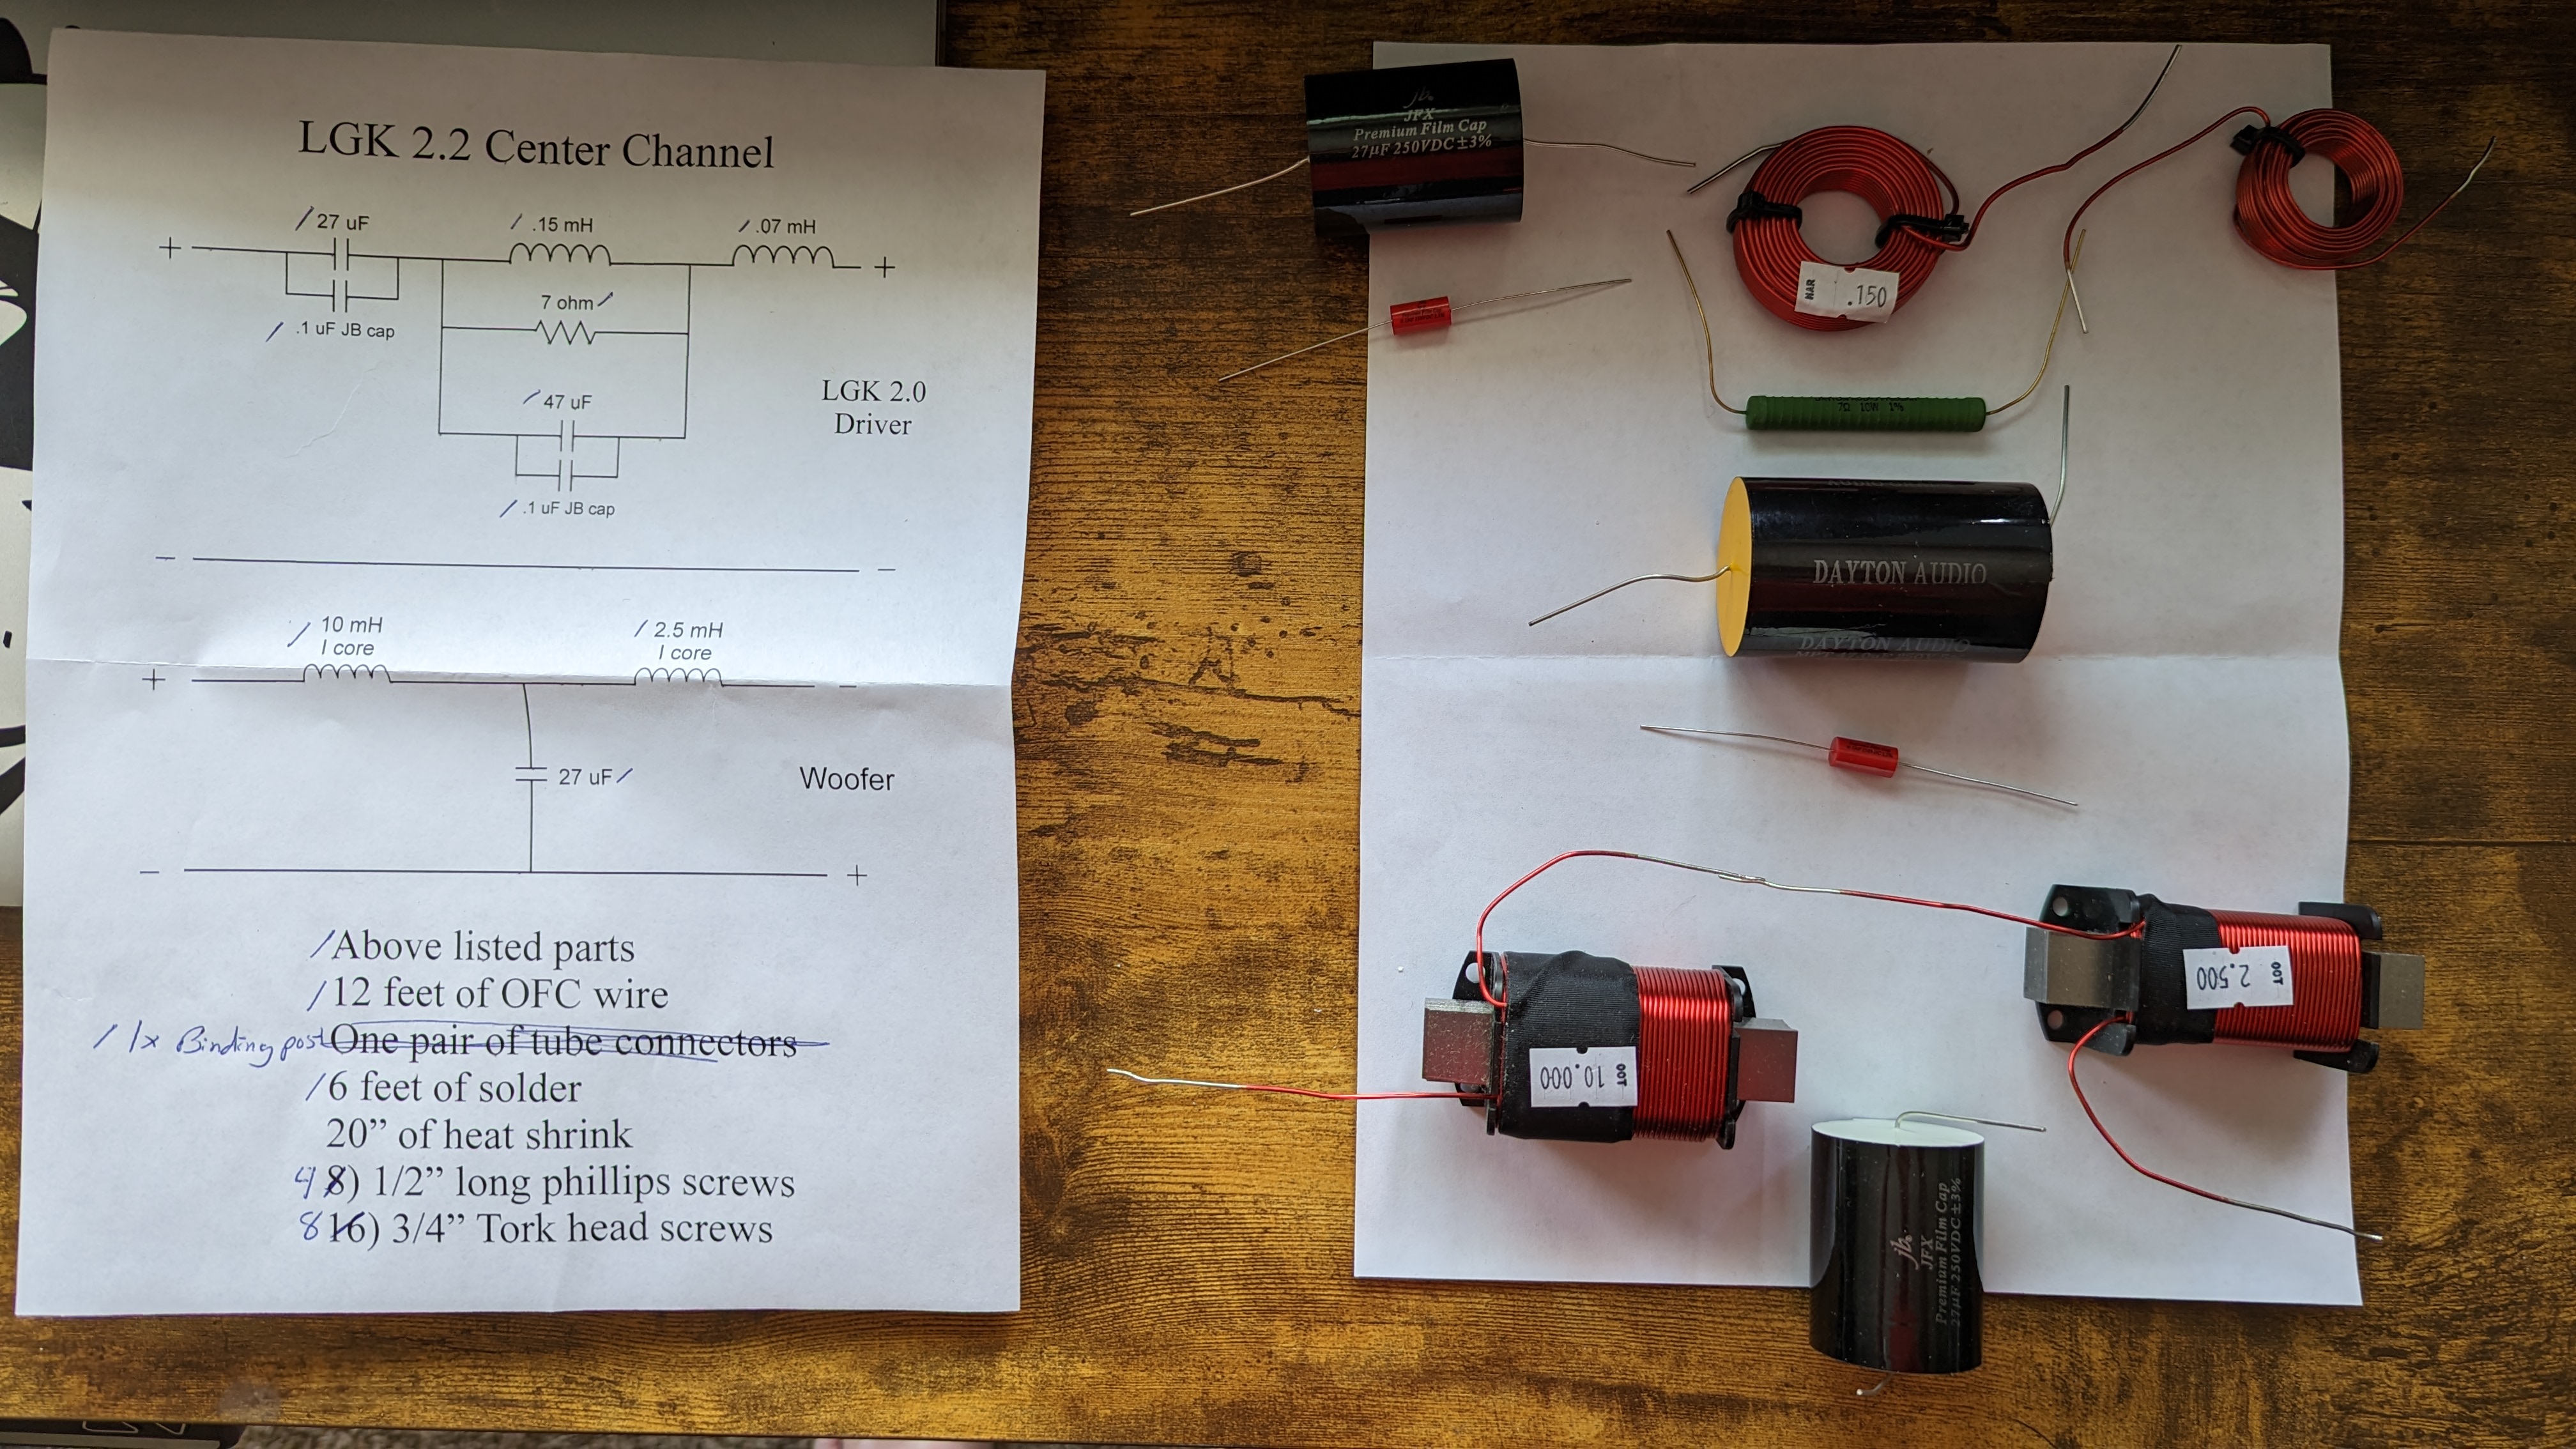
1) Laying out the crossover components per the diagram
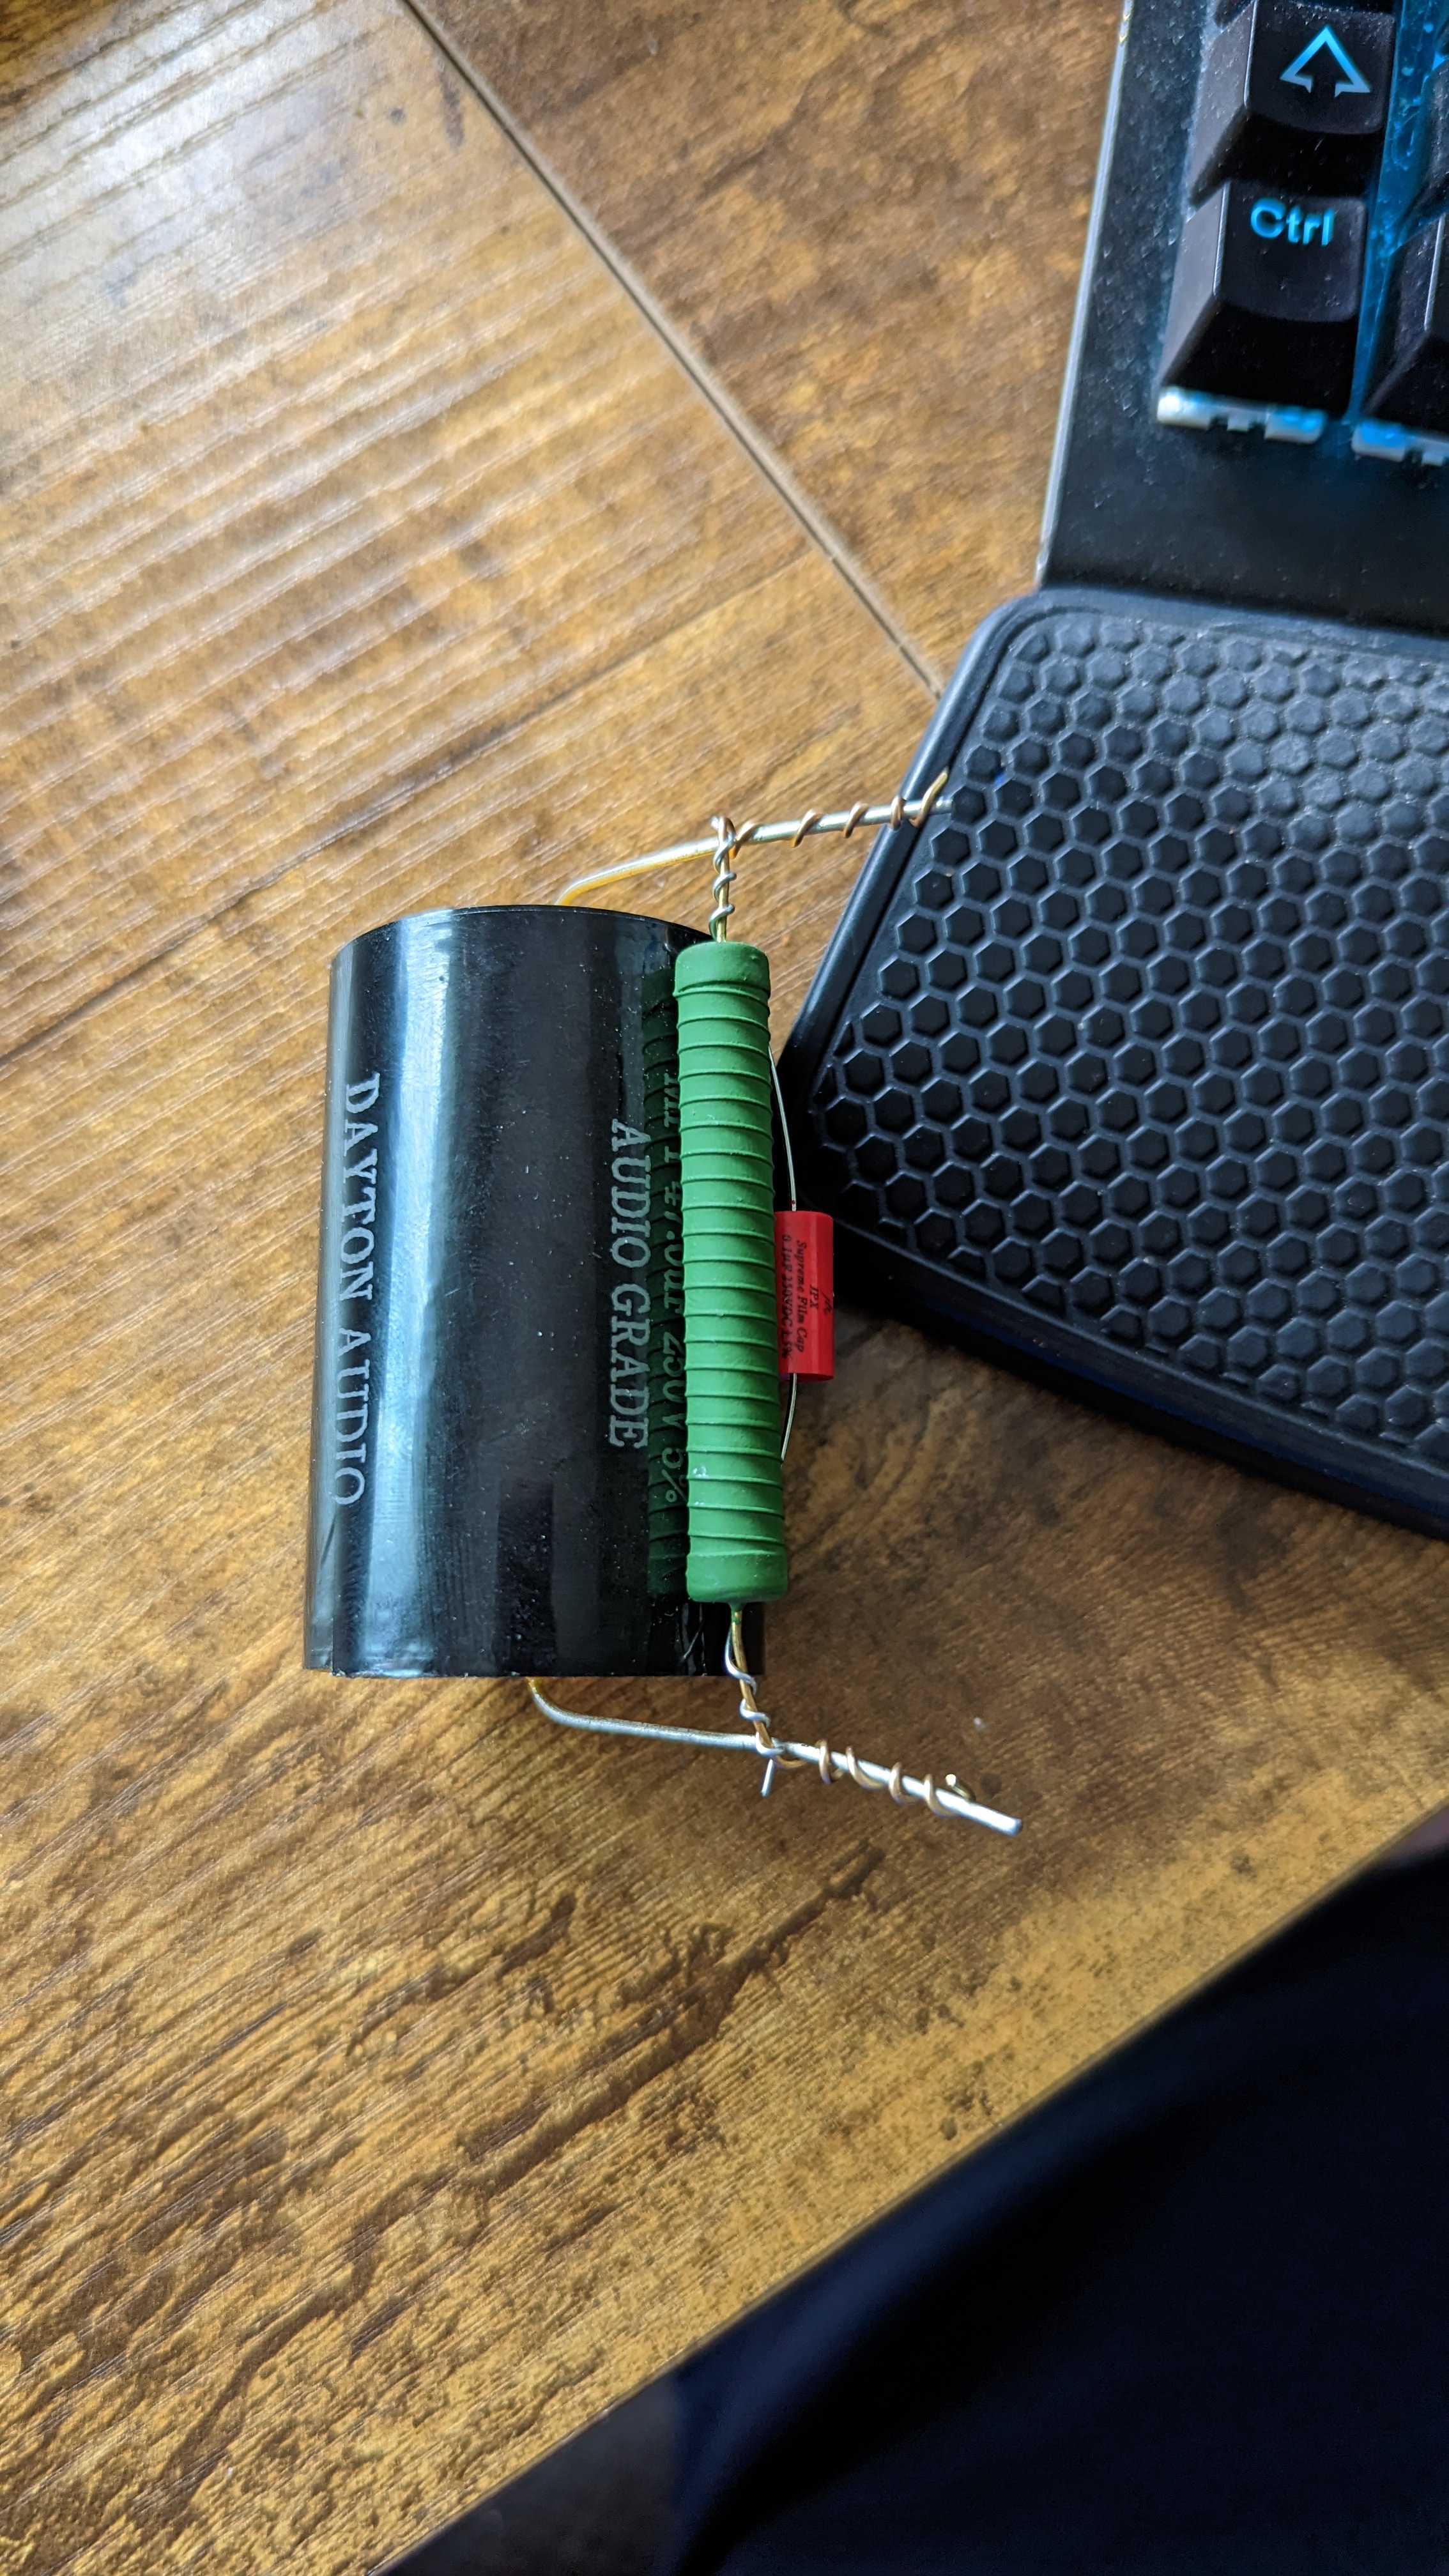
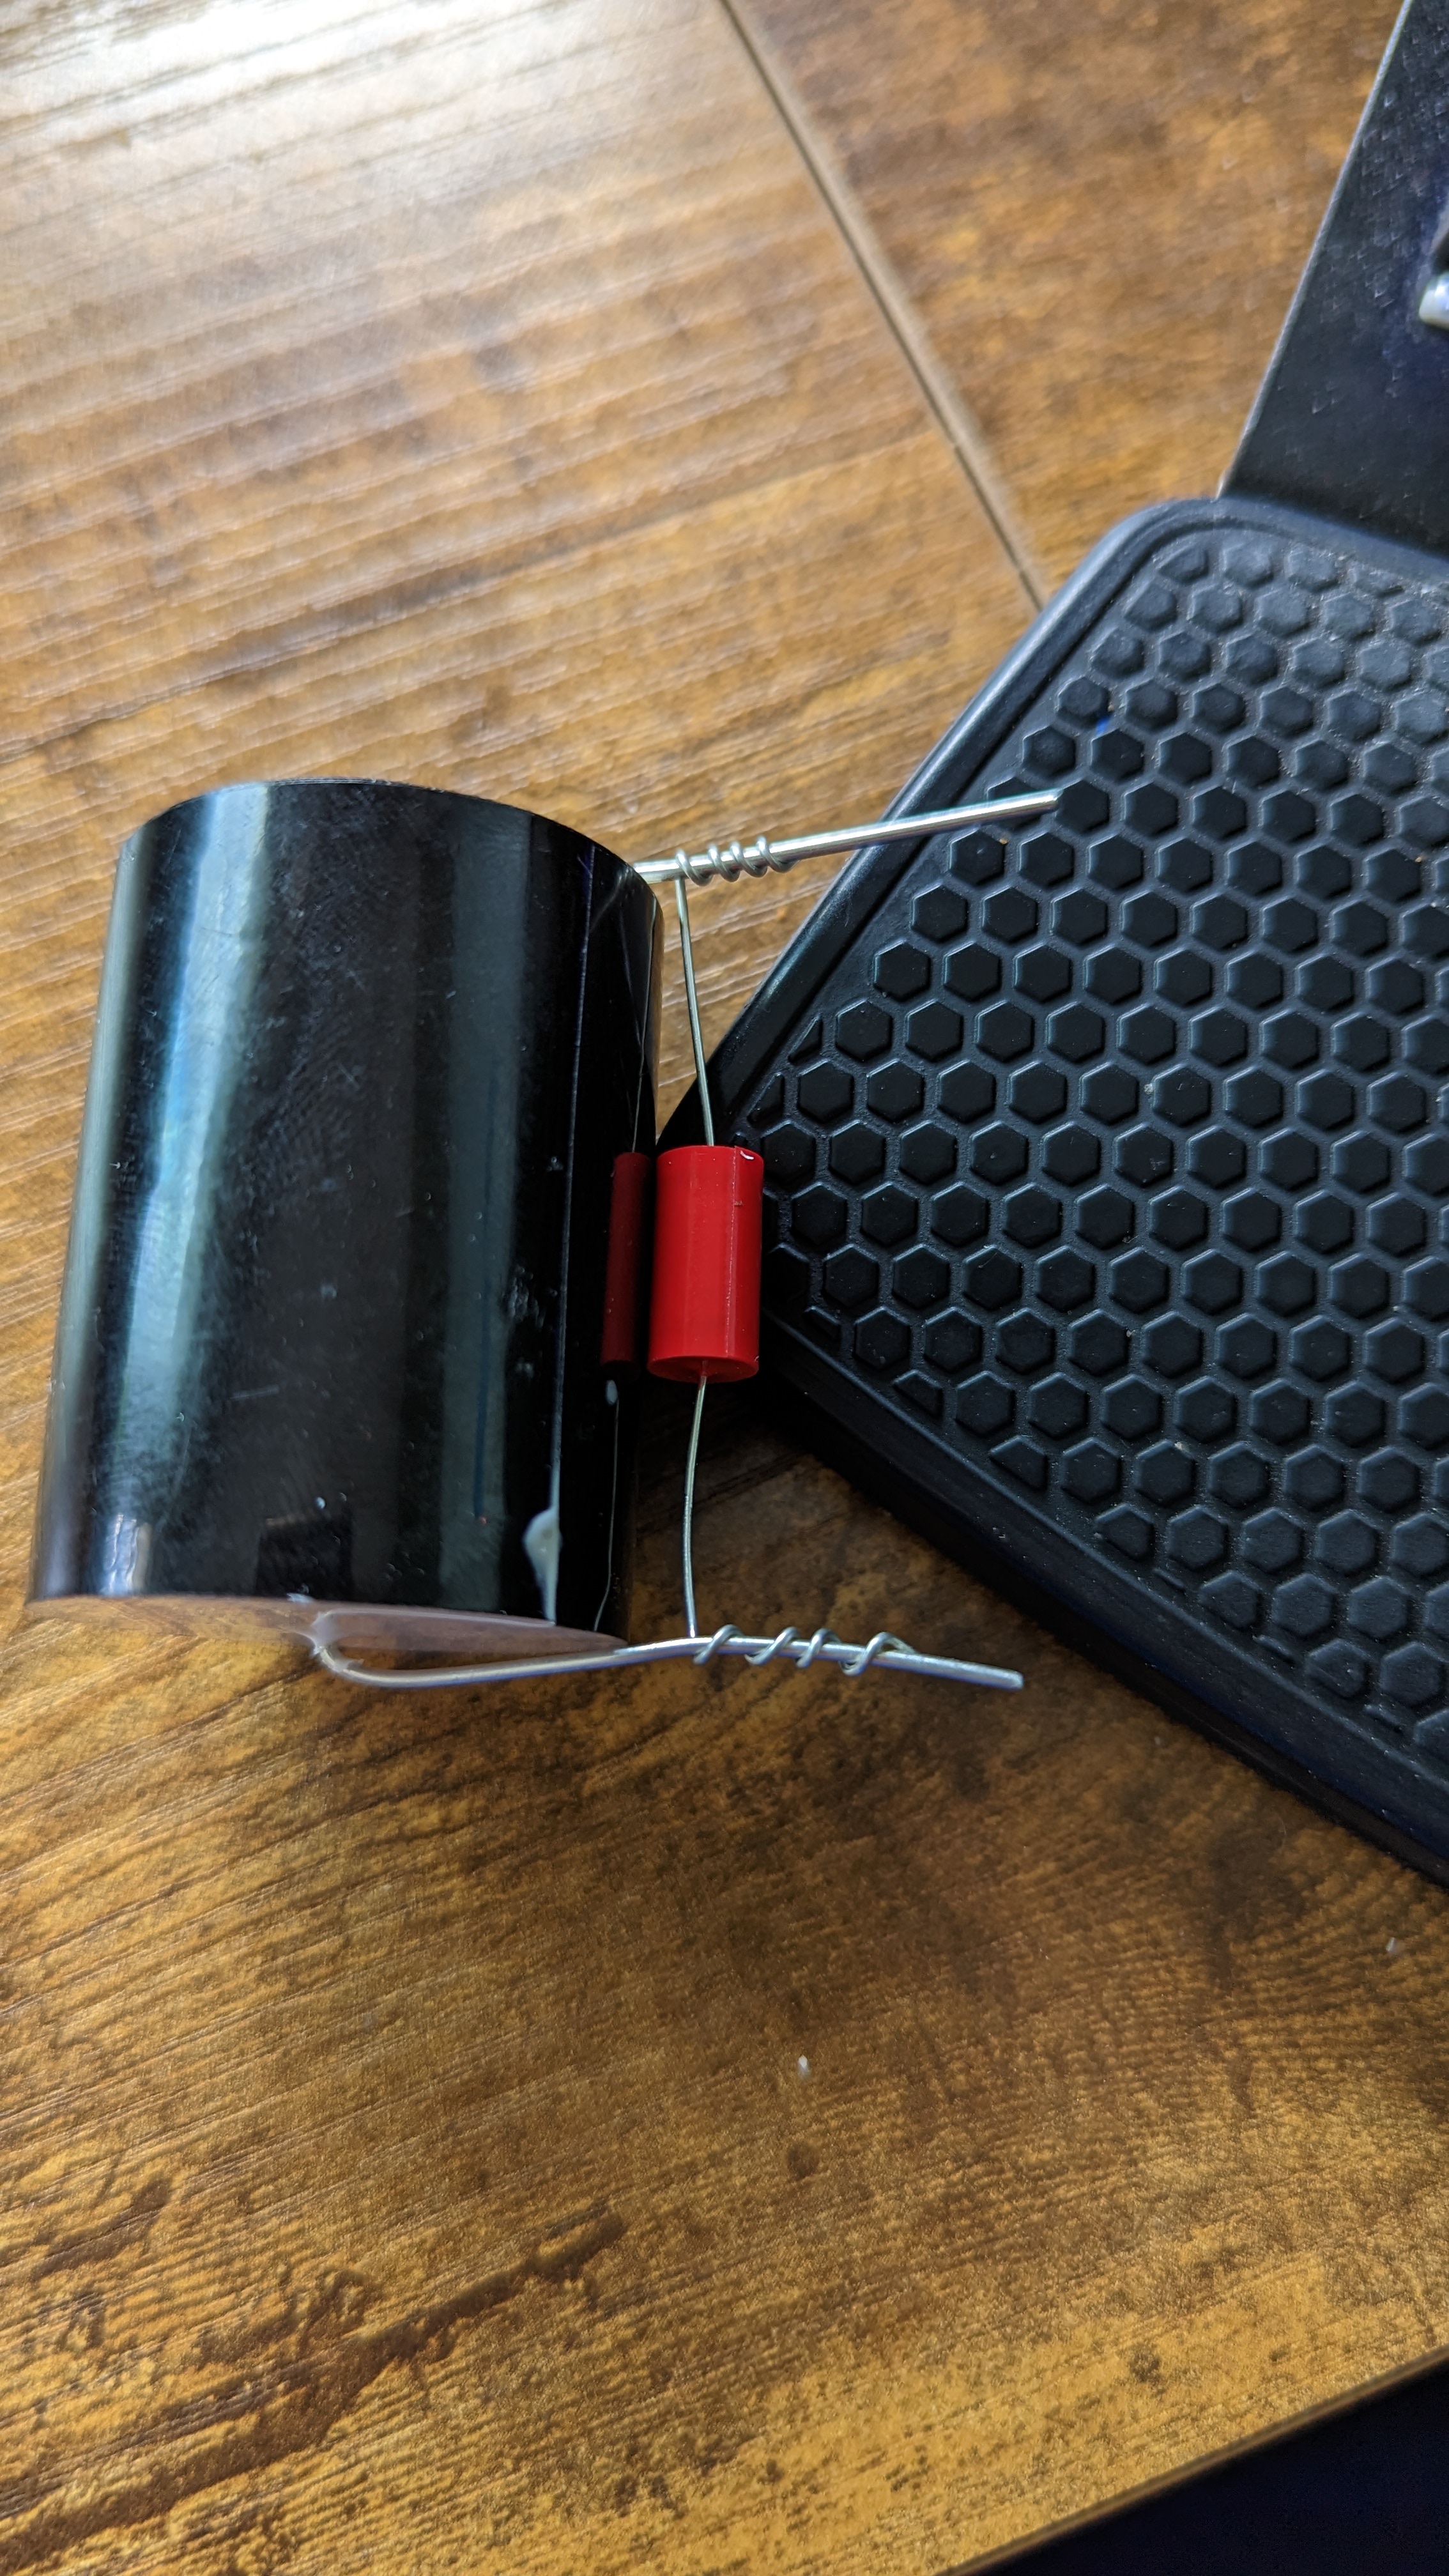
2) Combining some resistors with capacitors
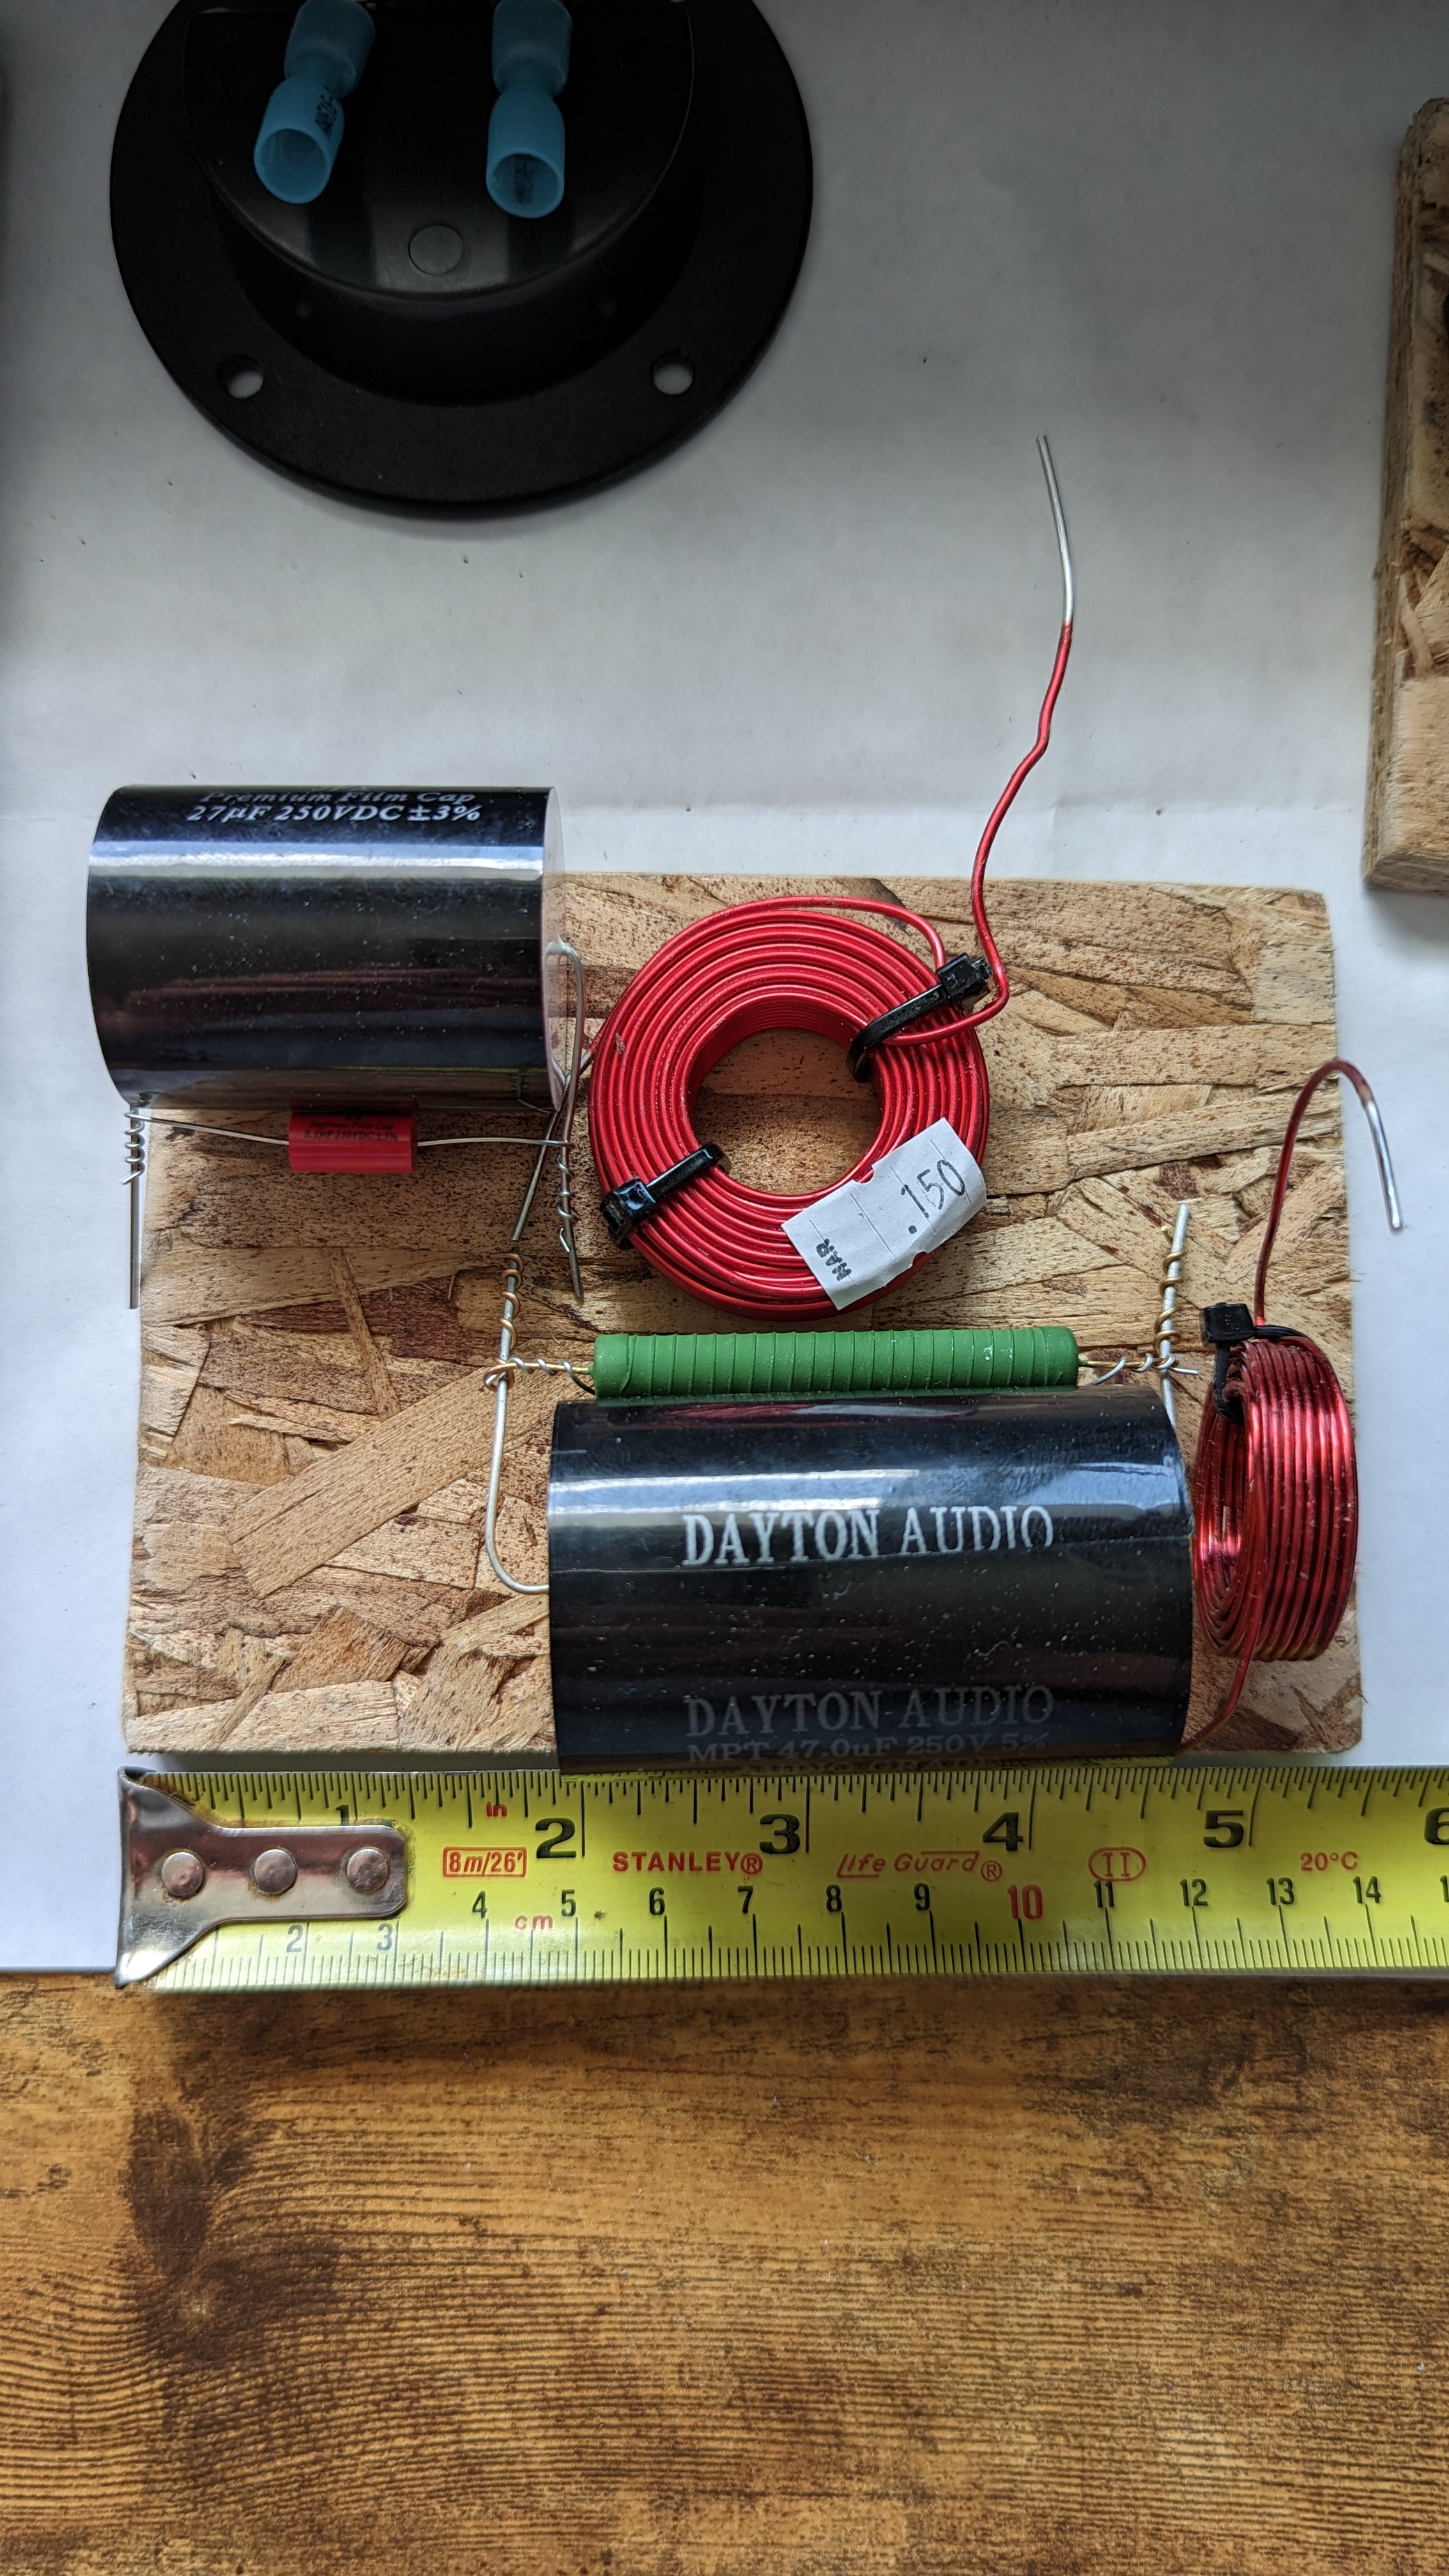
3) Let's see what size board we can fit through the driver opening... looks like 4.5 inches
4) I measured the depth of the inside of the cabinet with the woofer driver in place, gave myself a little buffer, so we have 5.5 inches deep. Here's the layout for Board #1
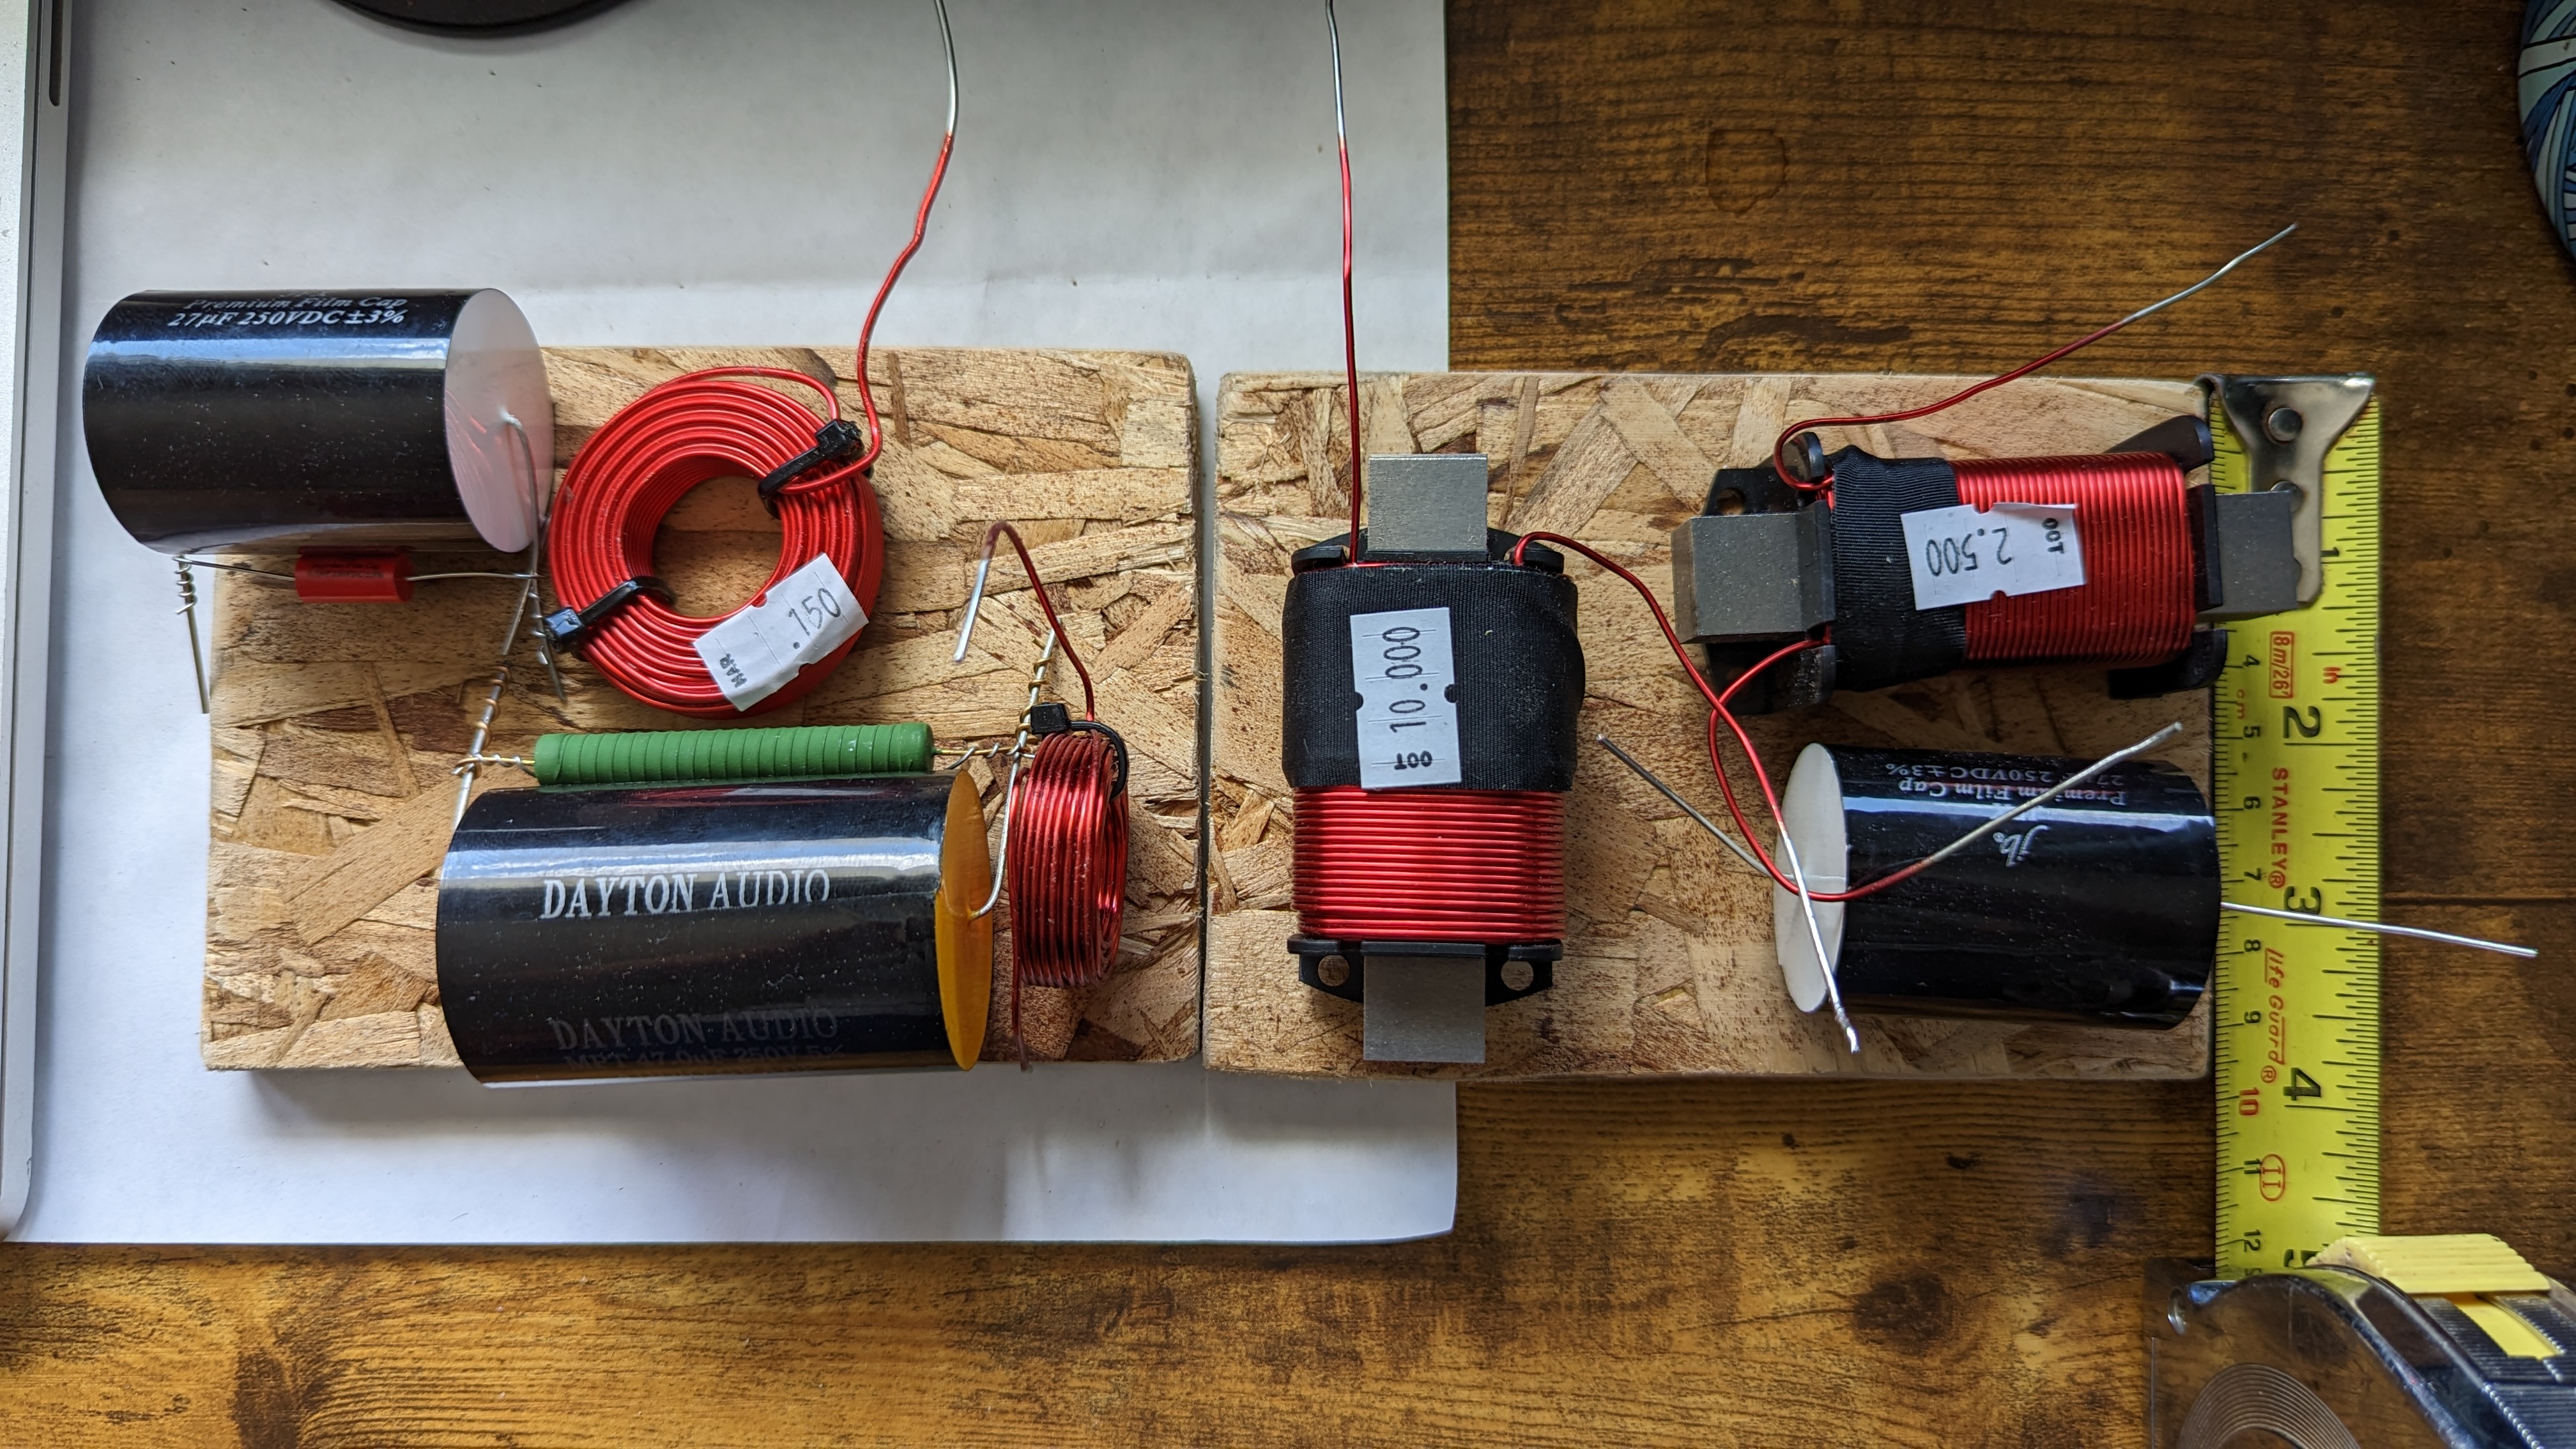
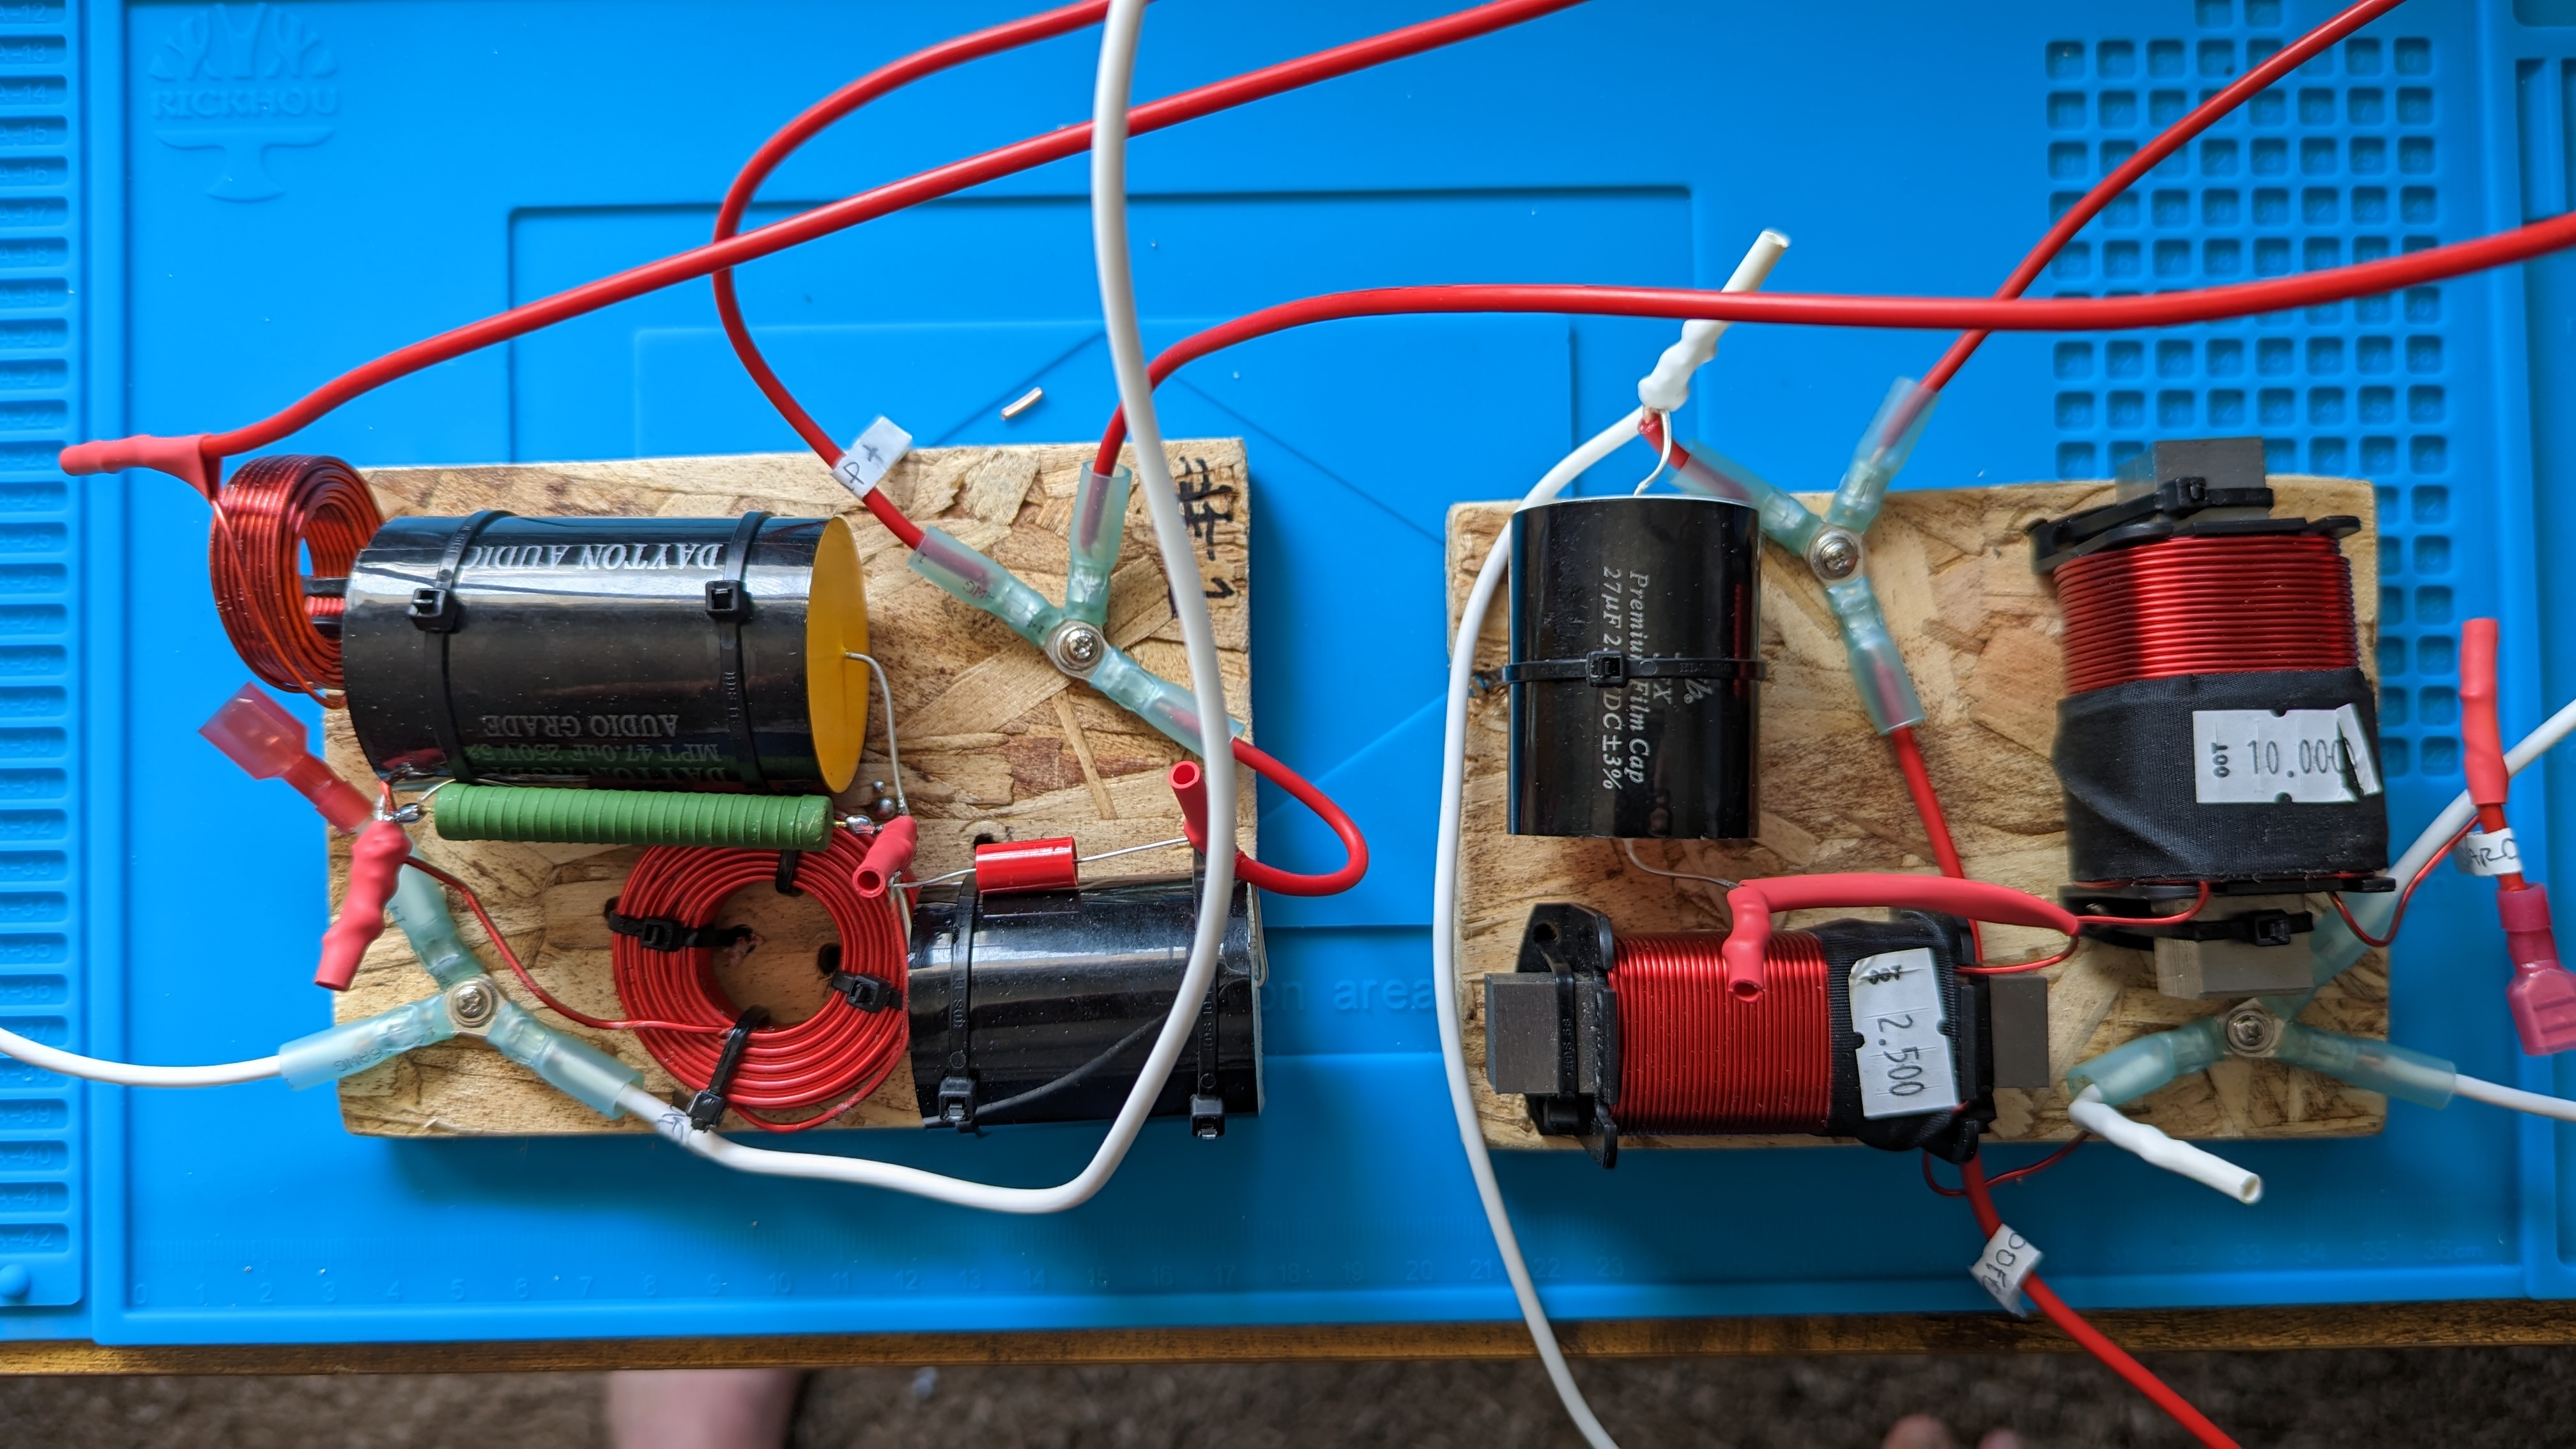
5) Here's all the components laid out on the 2 boards. You can see it's 4 inches to slide through the driver opening on the box. The plan is for Board #1 (on the left) to go behind the right woofer and take connections from the binding post cup. Board #2 (on the right) will go behind the left woofer, so they are reversed in this pic.
6) I marked spots around each component for where I wanted to drill holes for zip ties. Here's the boards with the holes drilled and lightly sanded to prevent splinters
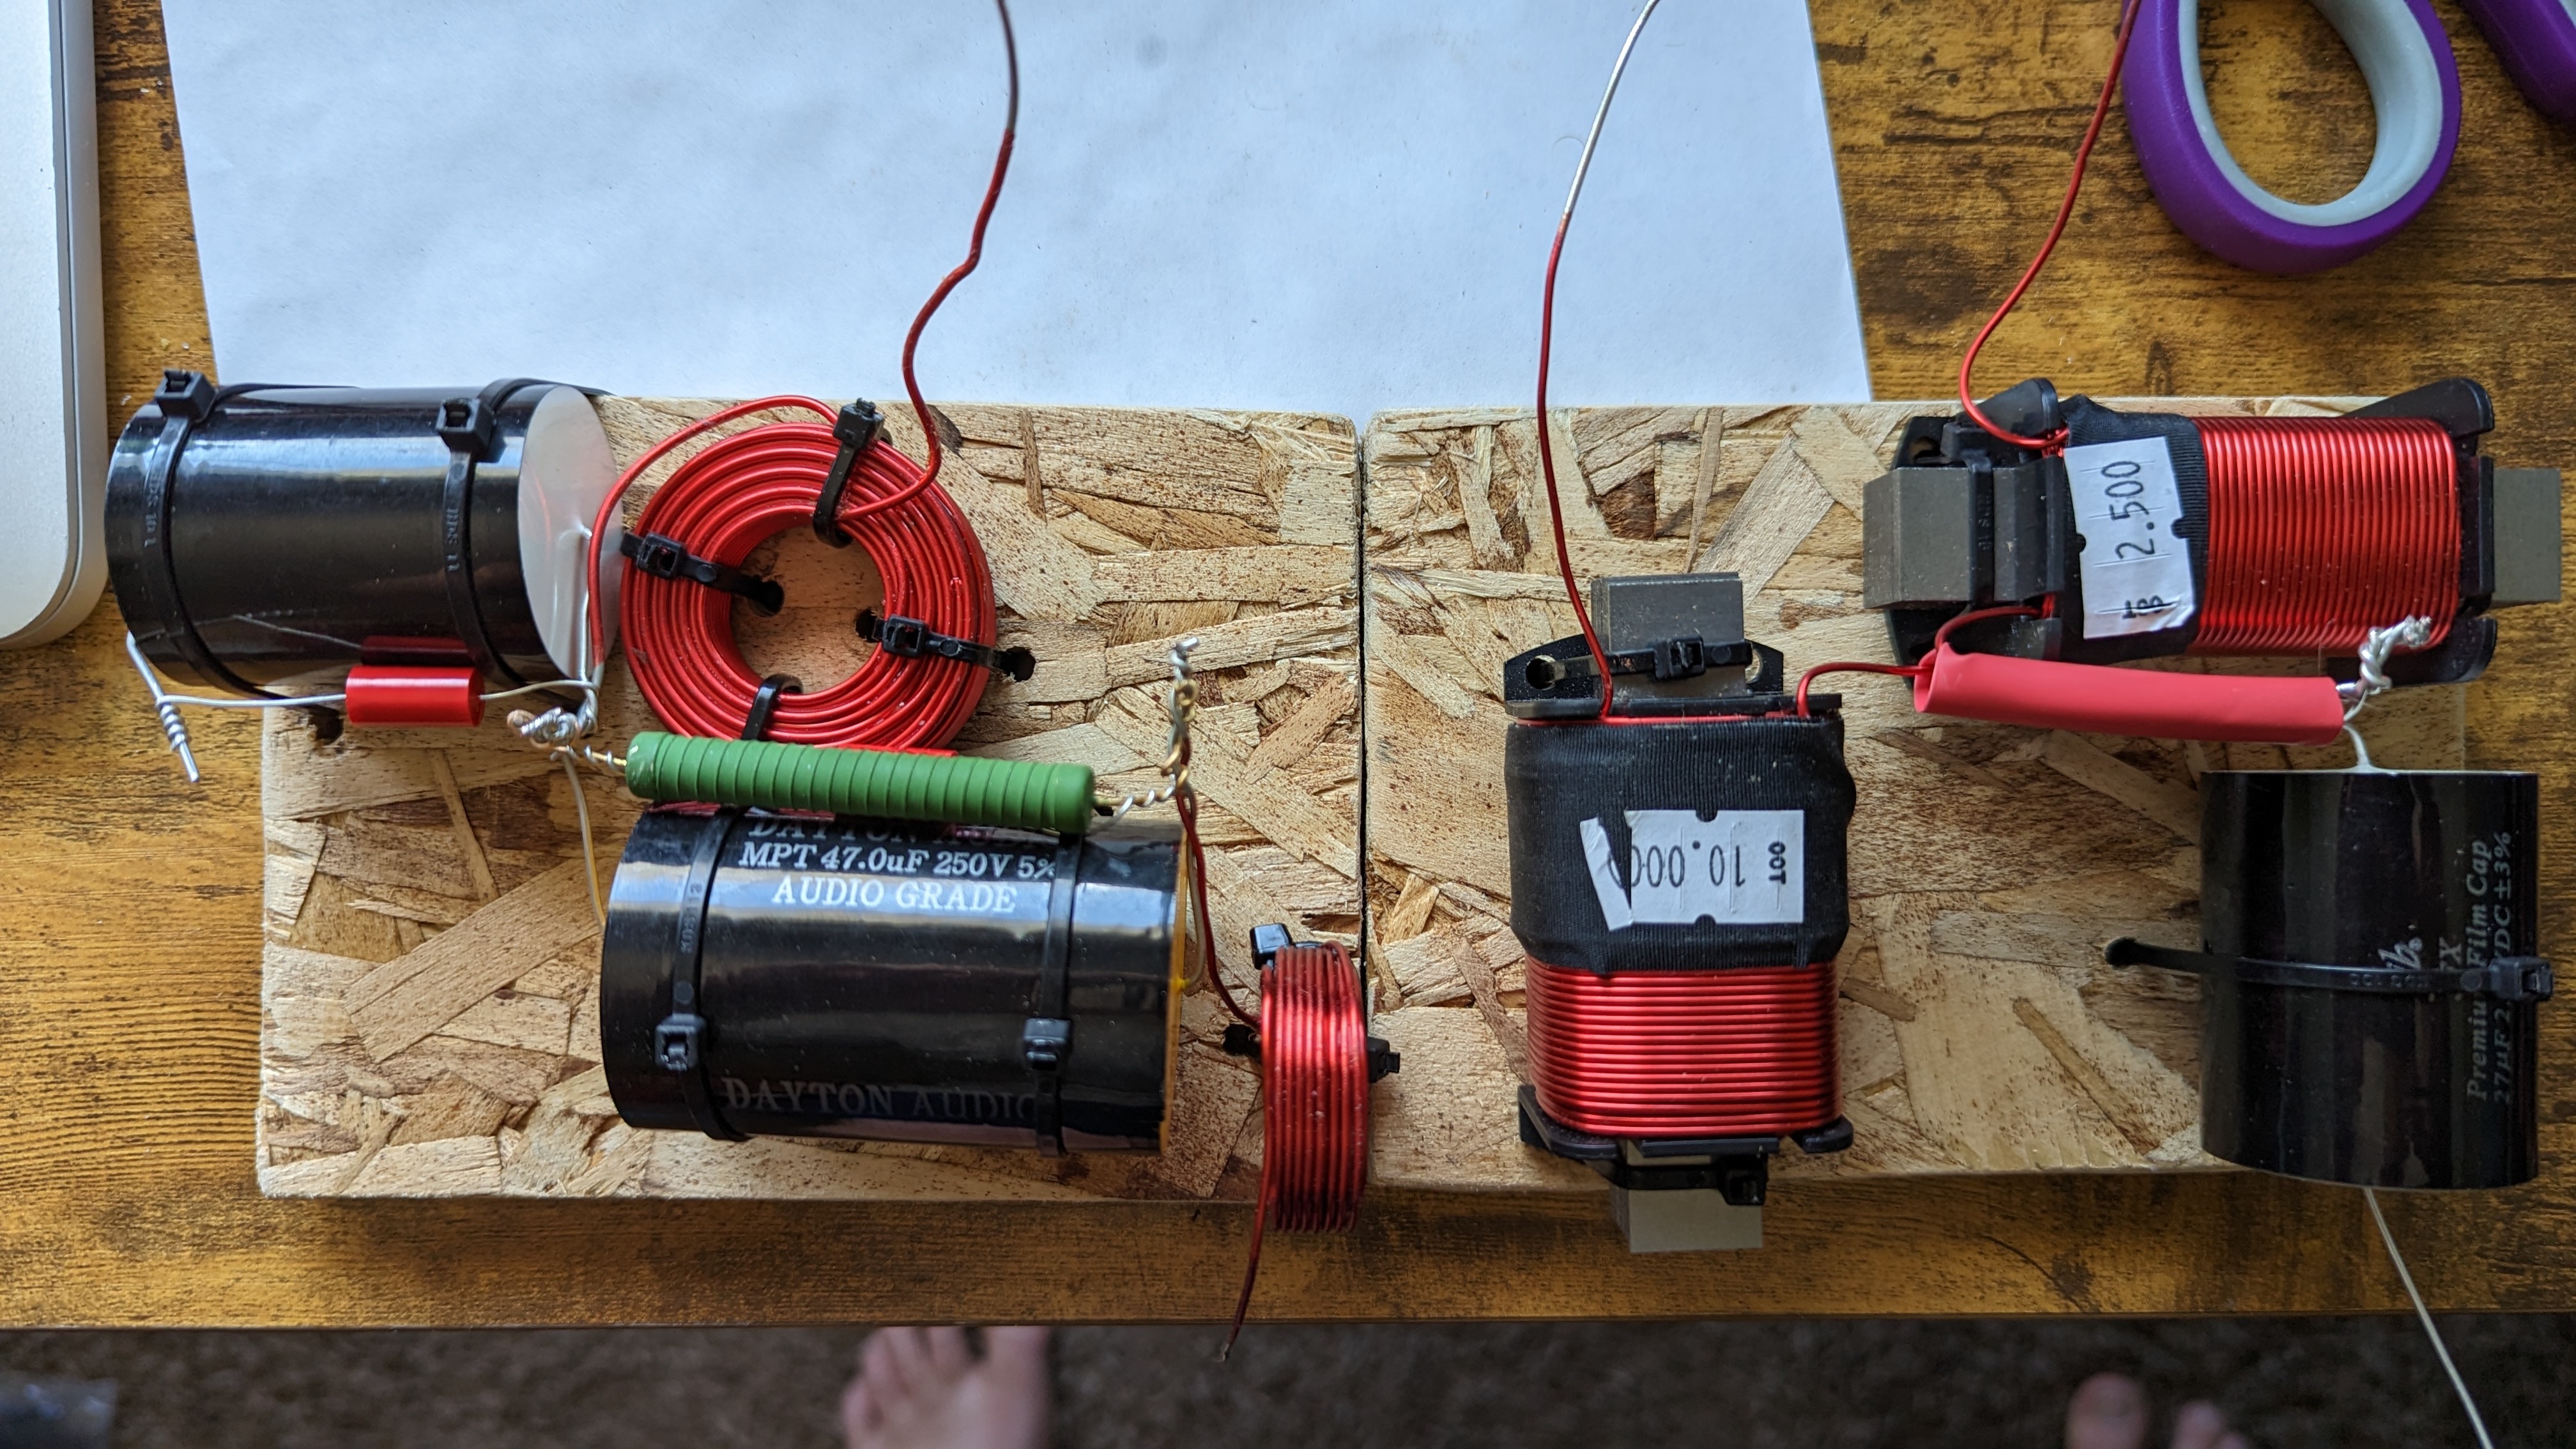
7) A shot with all the components connected and secured to the board with zip ties. Now, we need to wire these things up!
8) Pic of the work area
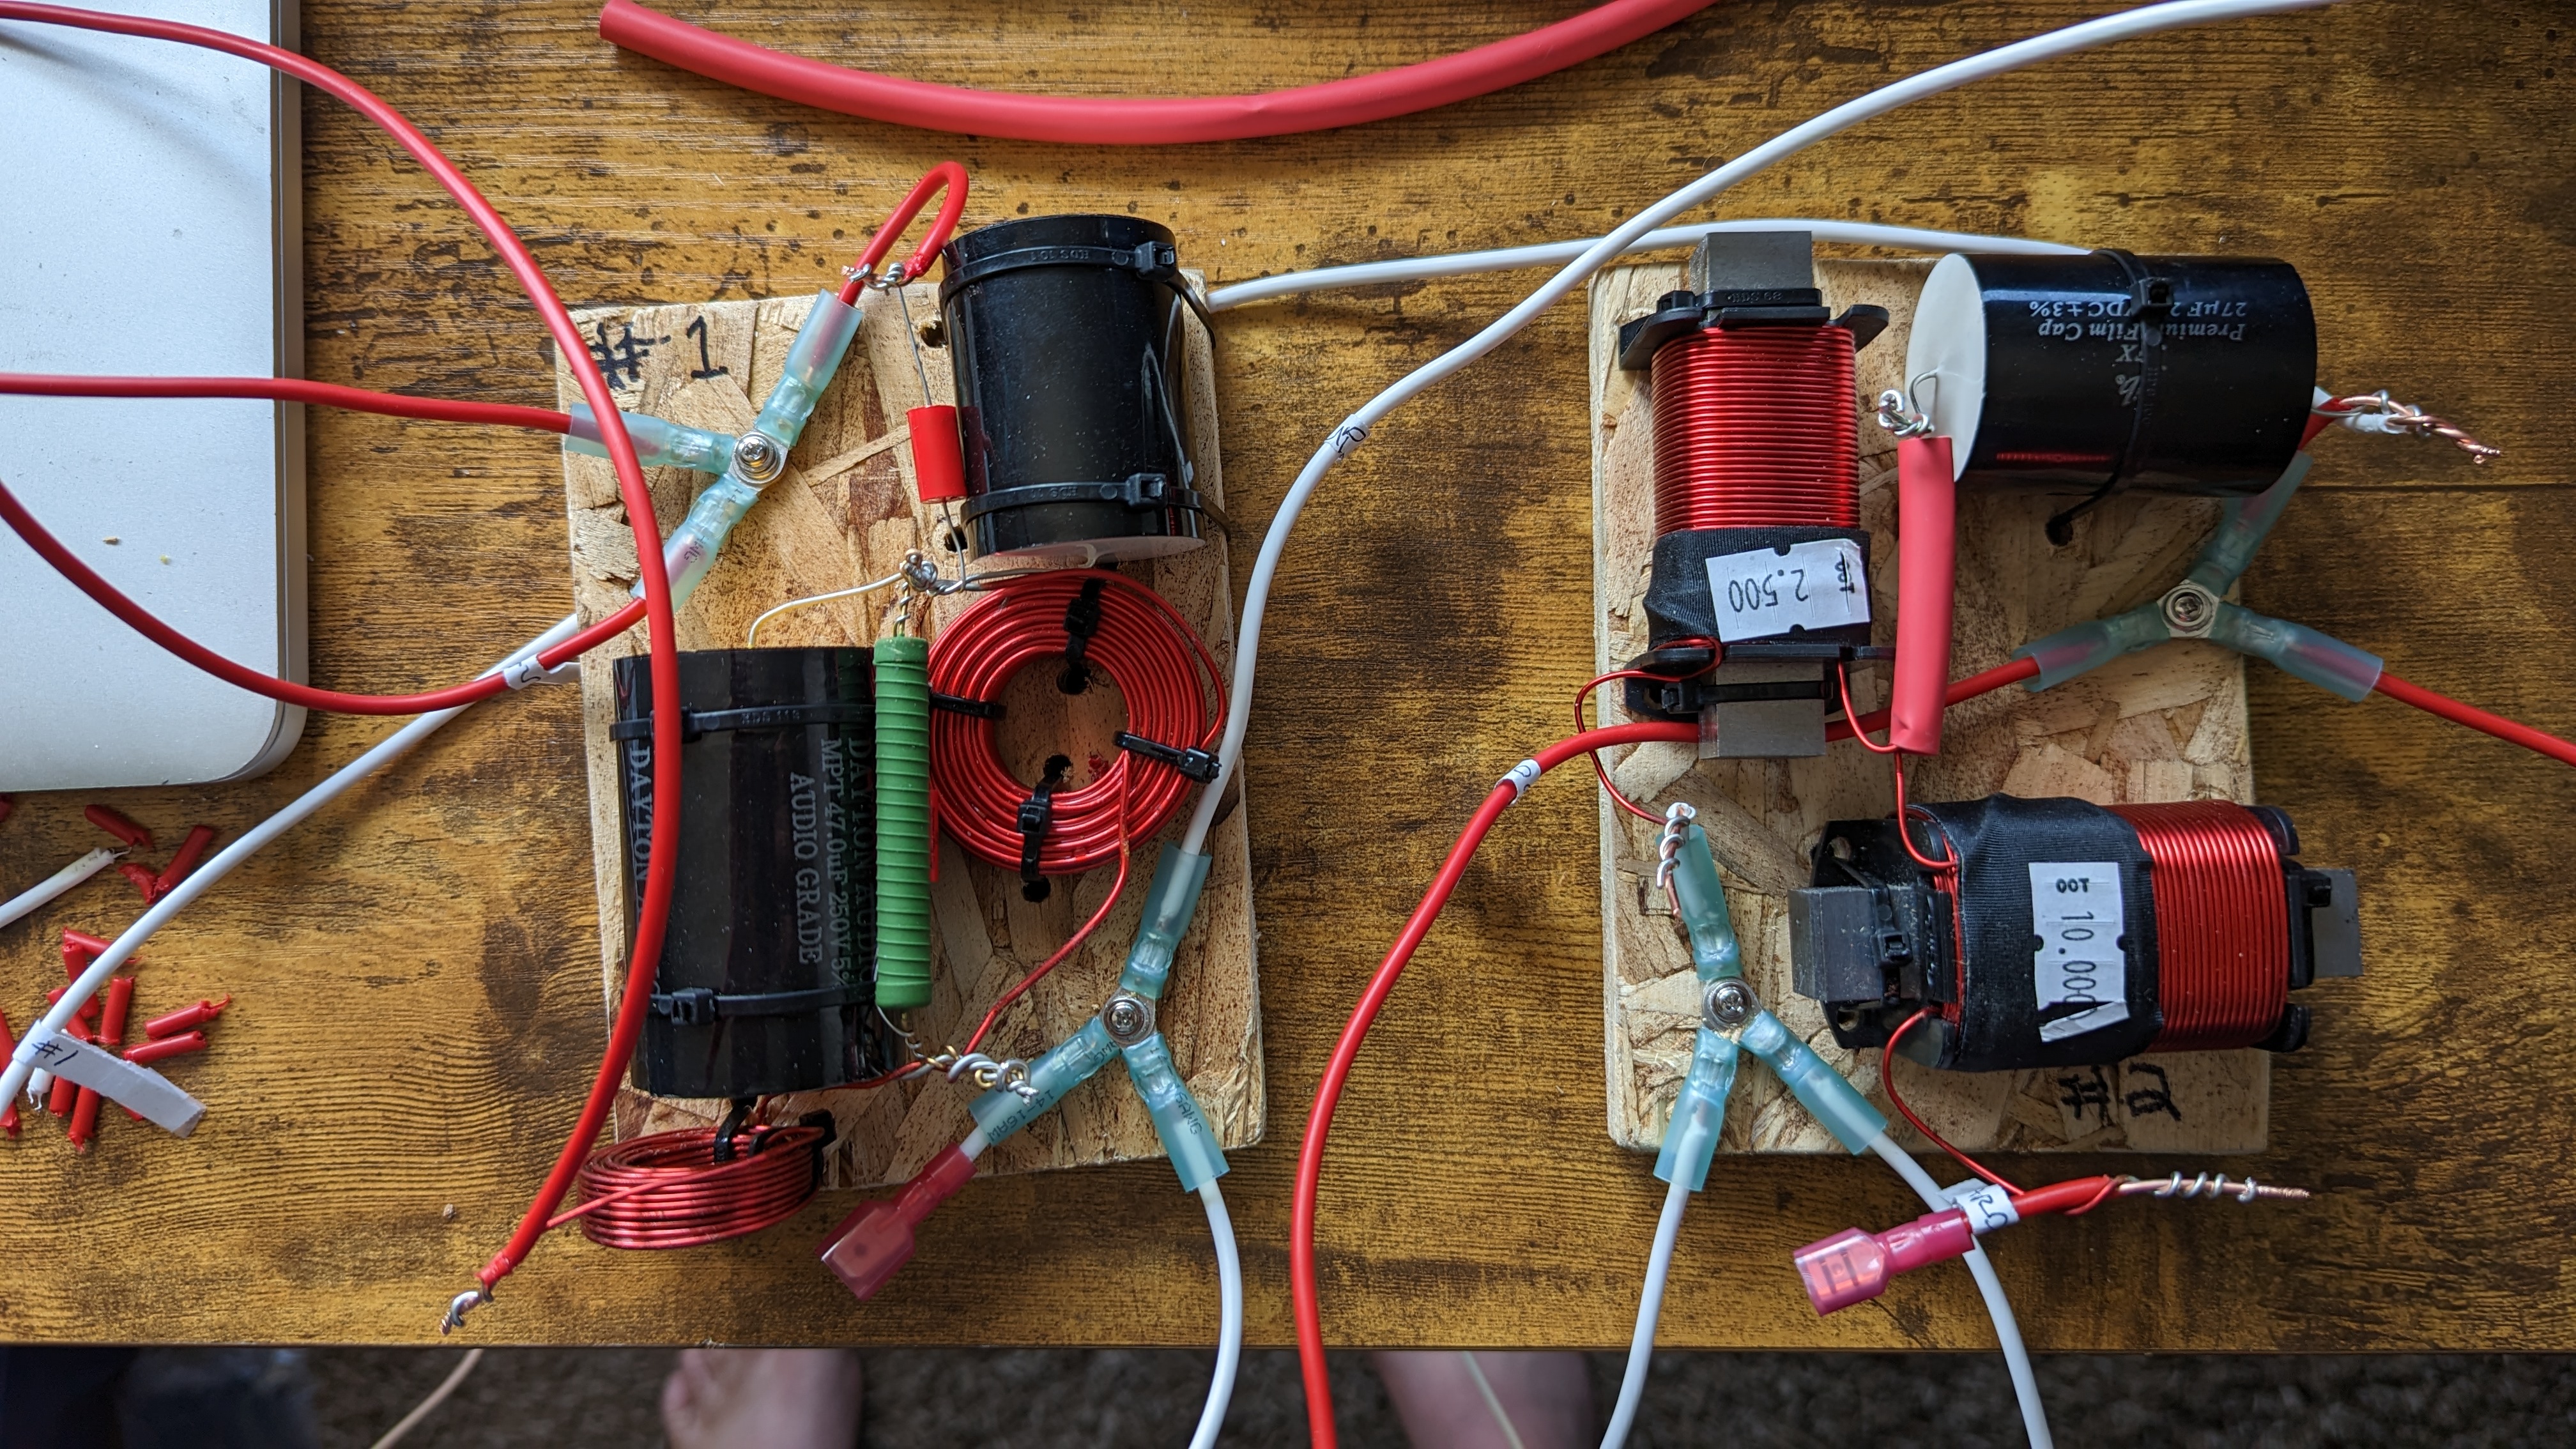
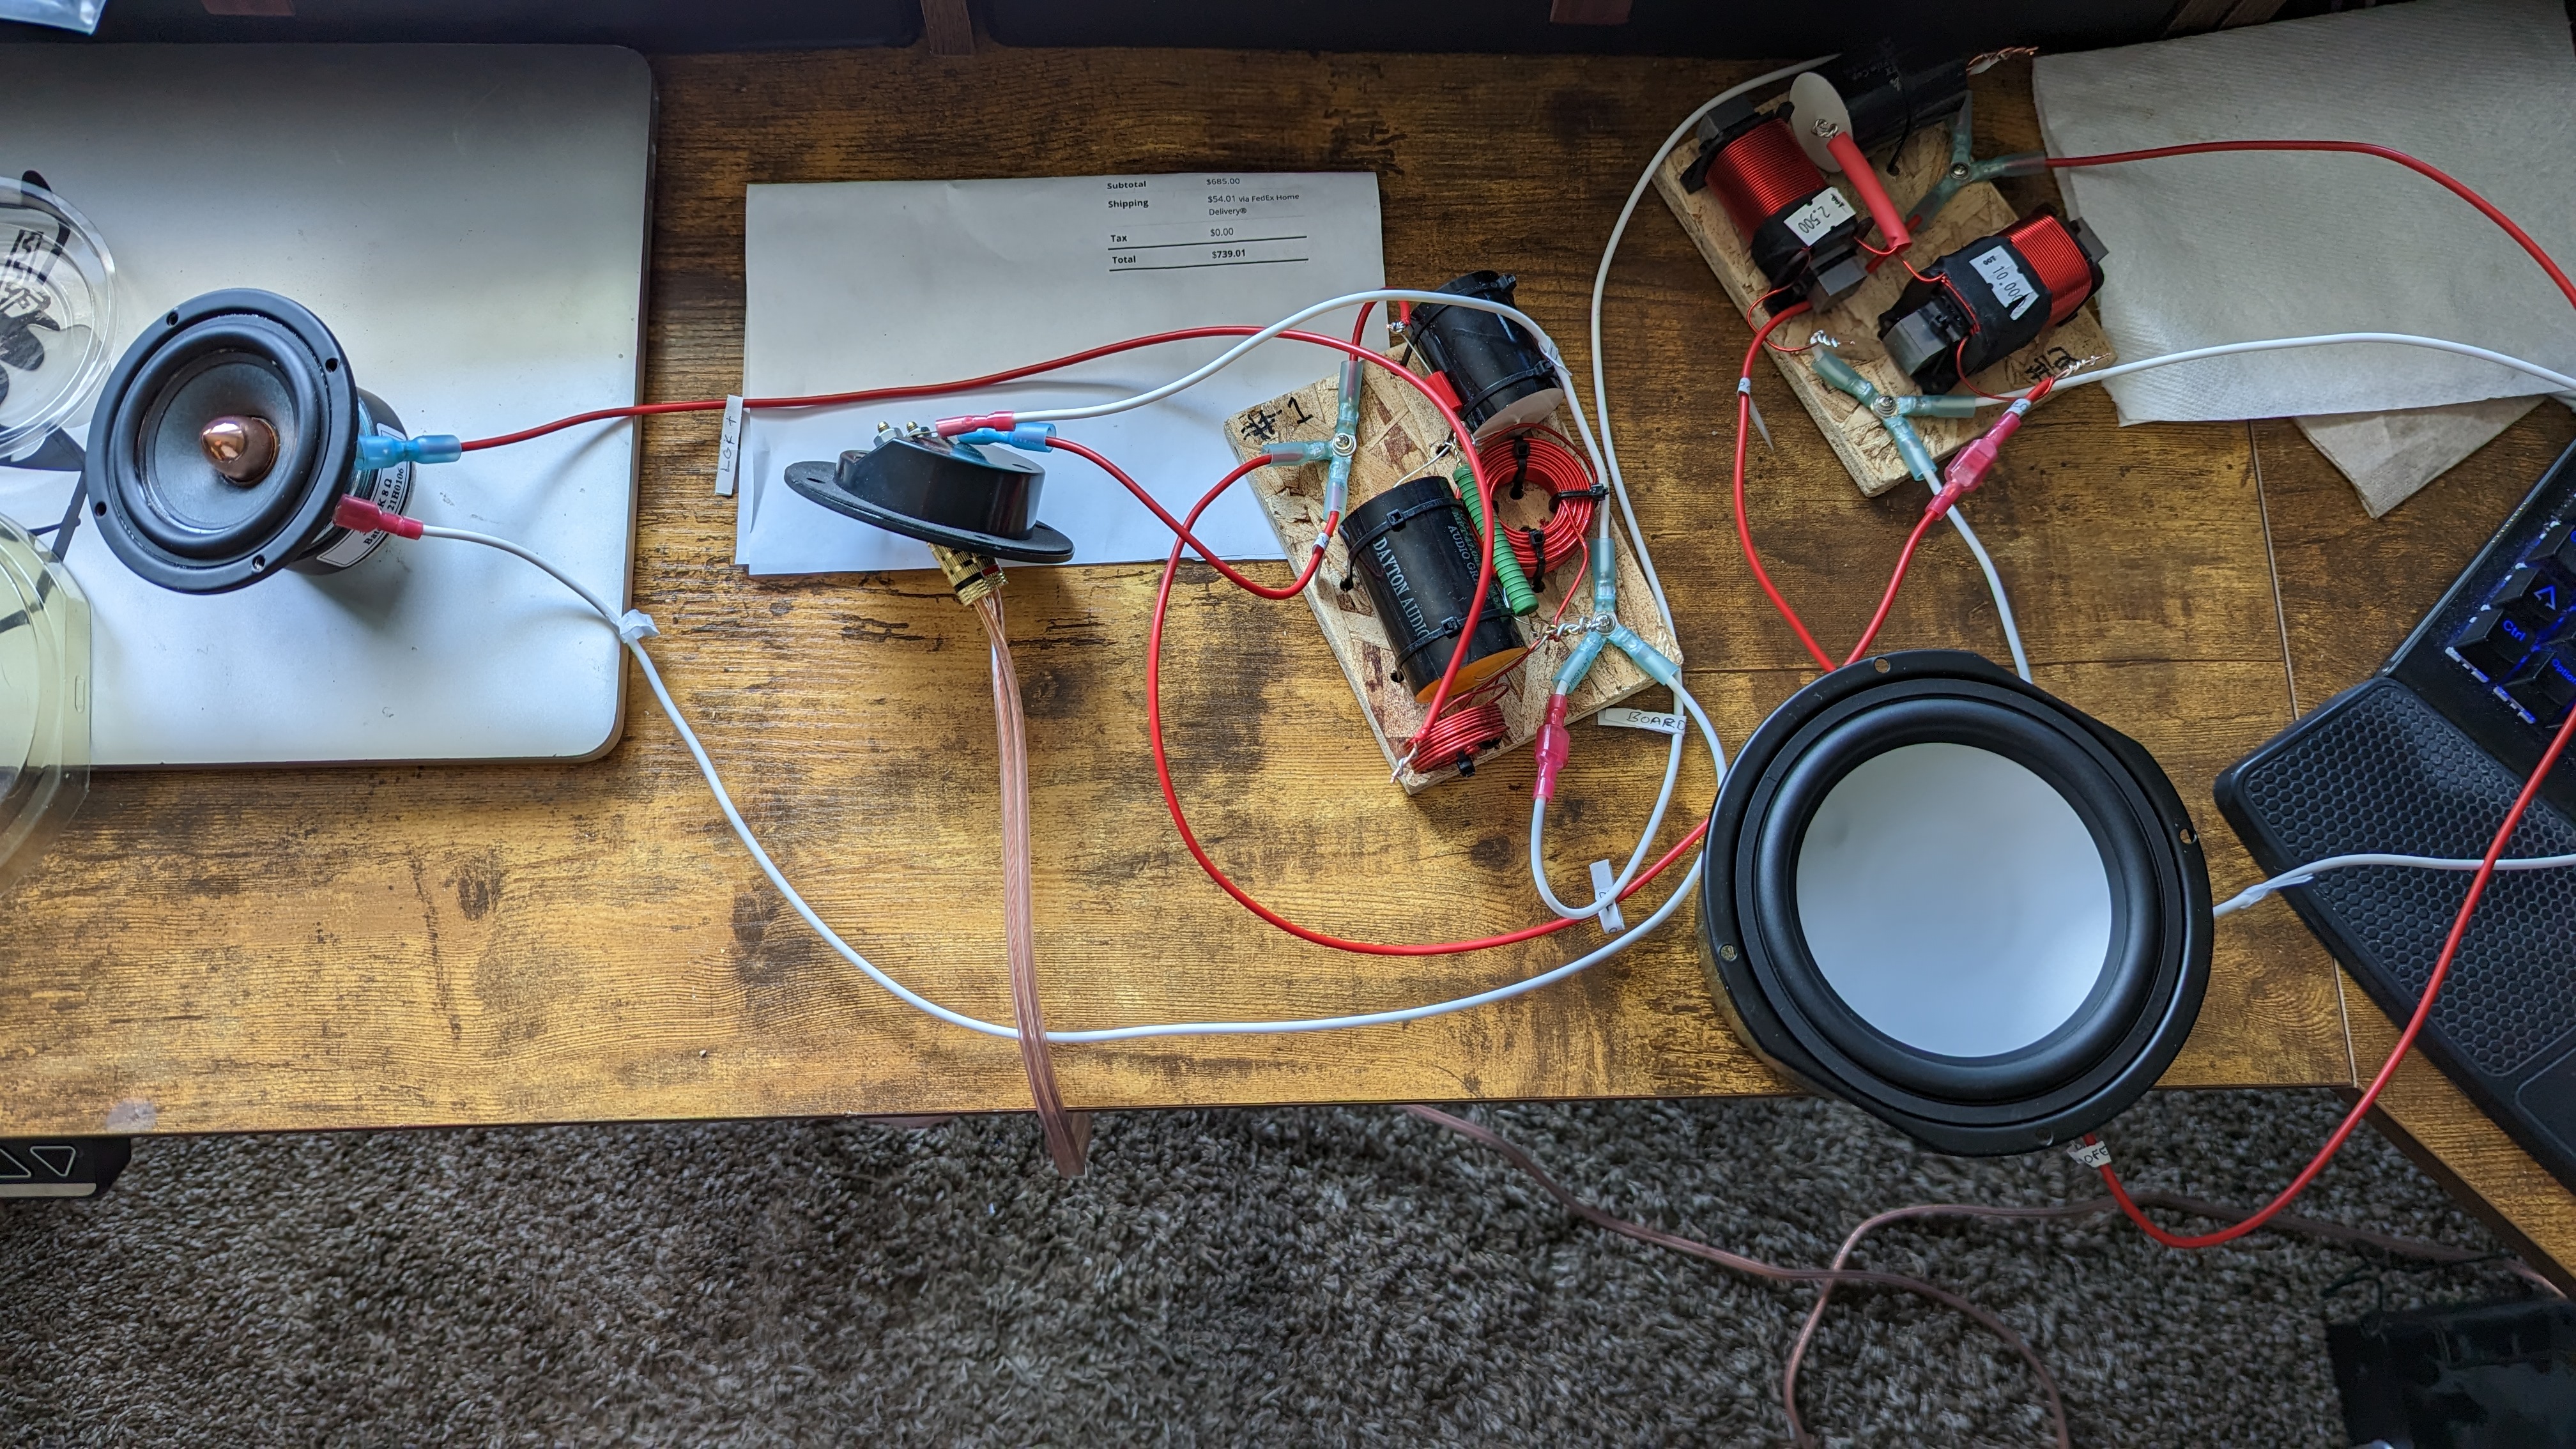
9) Here we have all the wires connected, but haven't soldered anything yet. I used some 3 way crimp connectors to split various positive and negative wire runs, securing those to the boards as well. You can see I've labeled the boards here also.
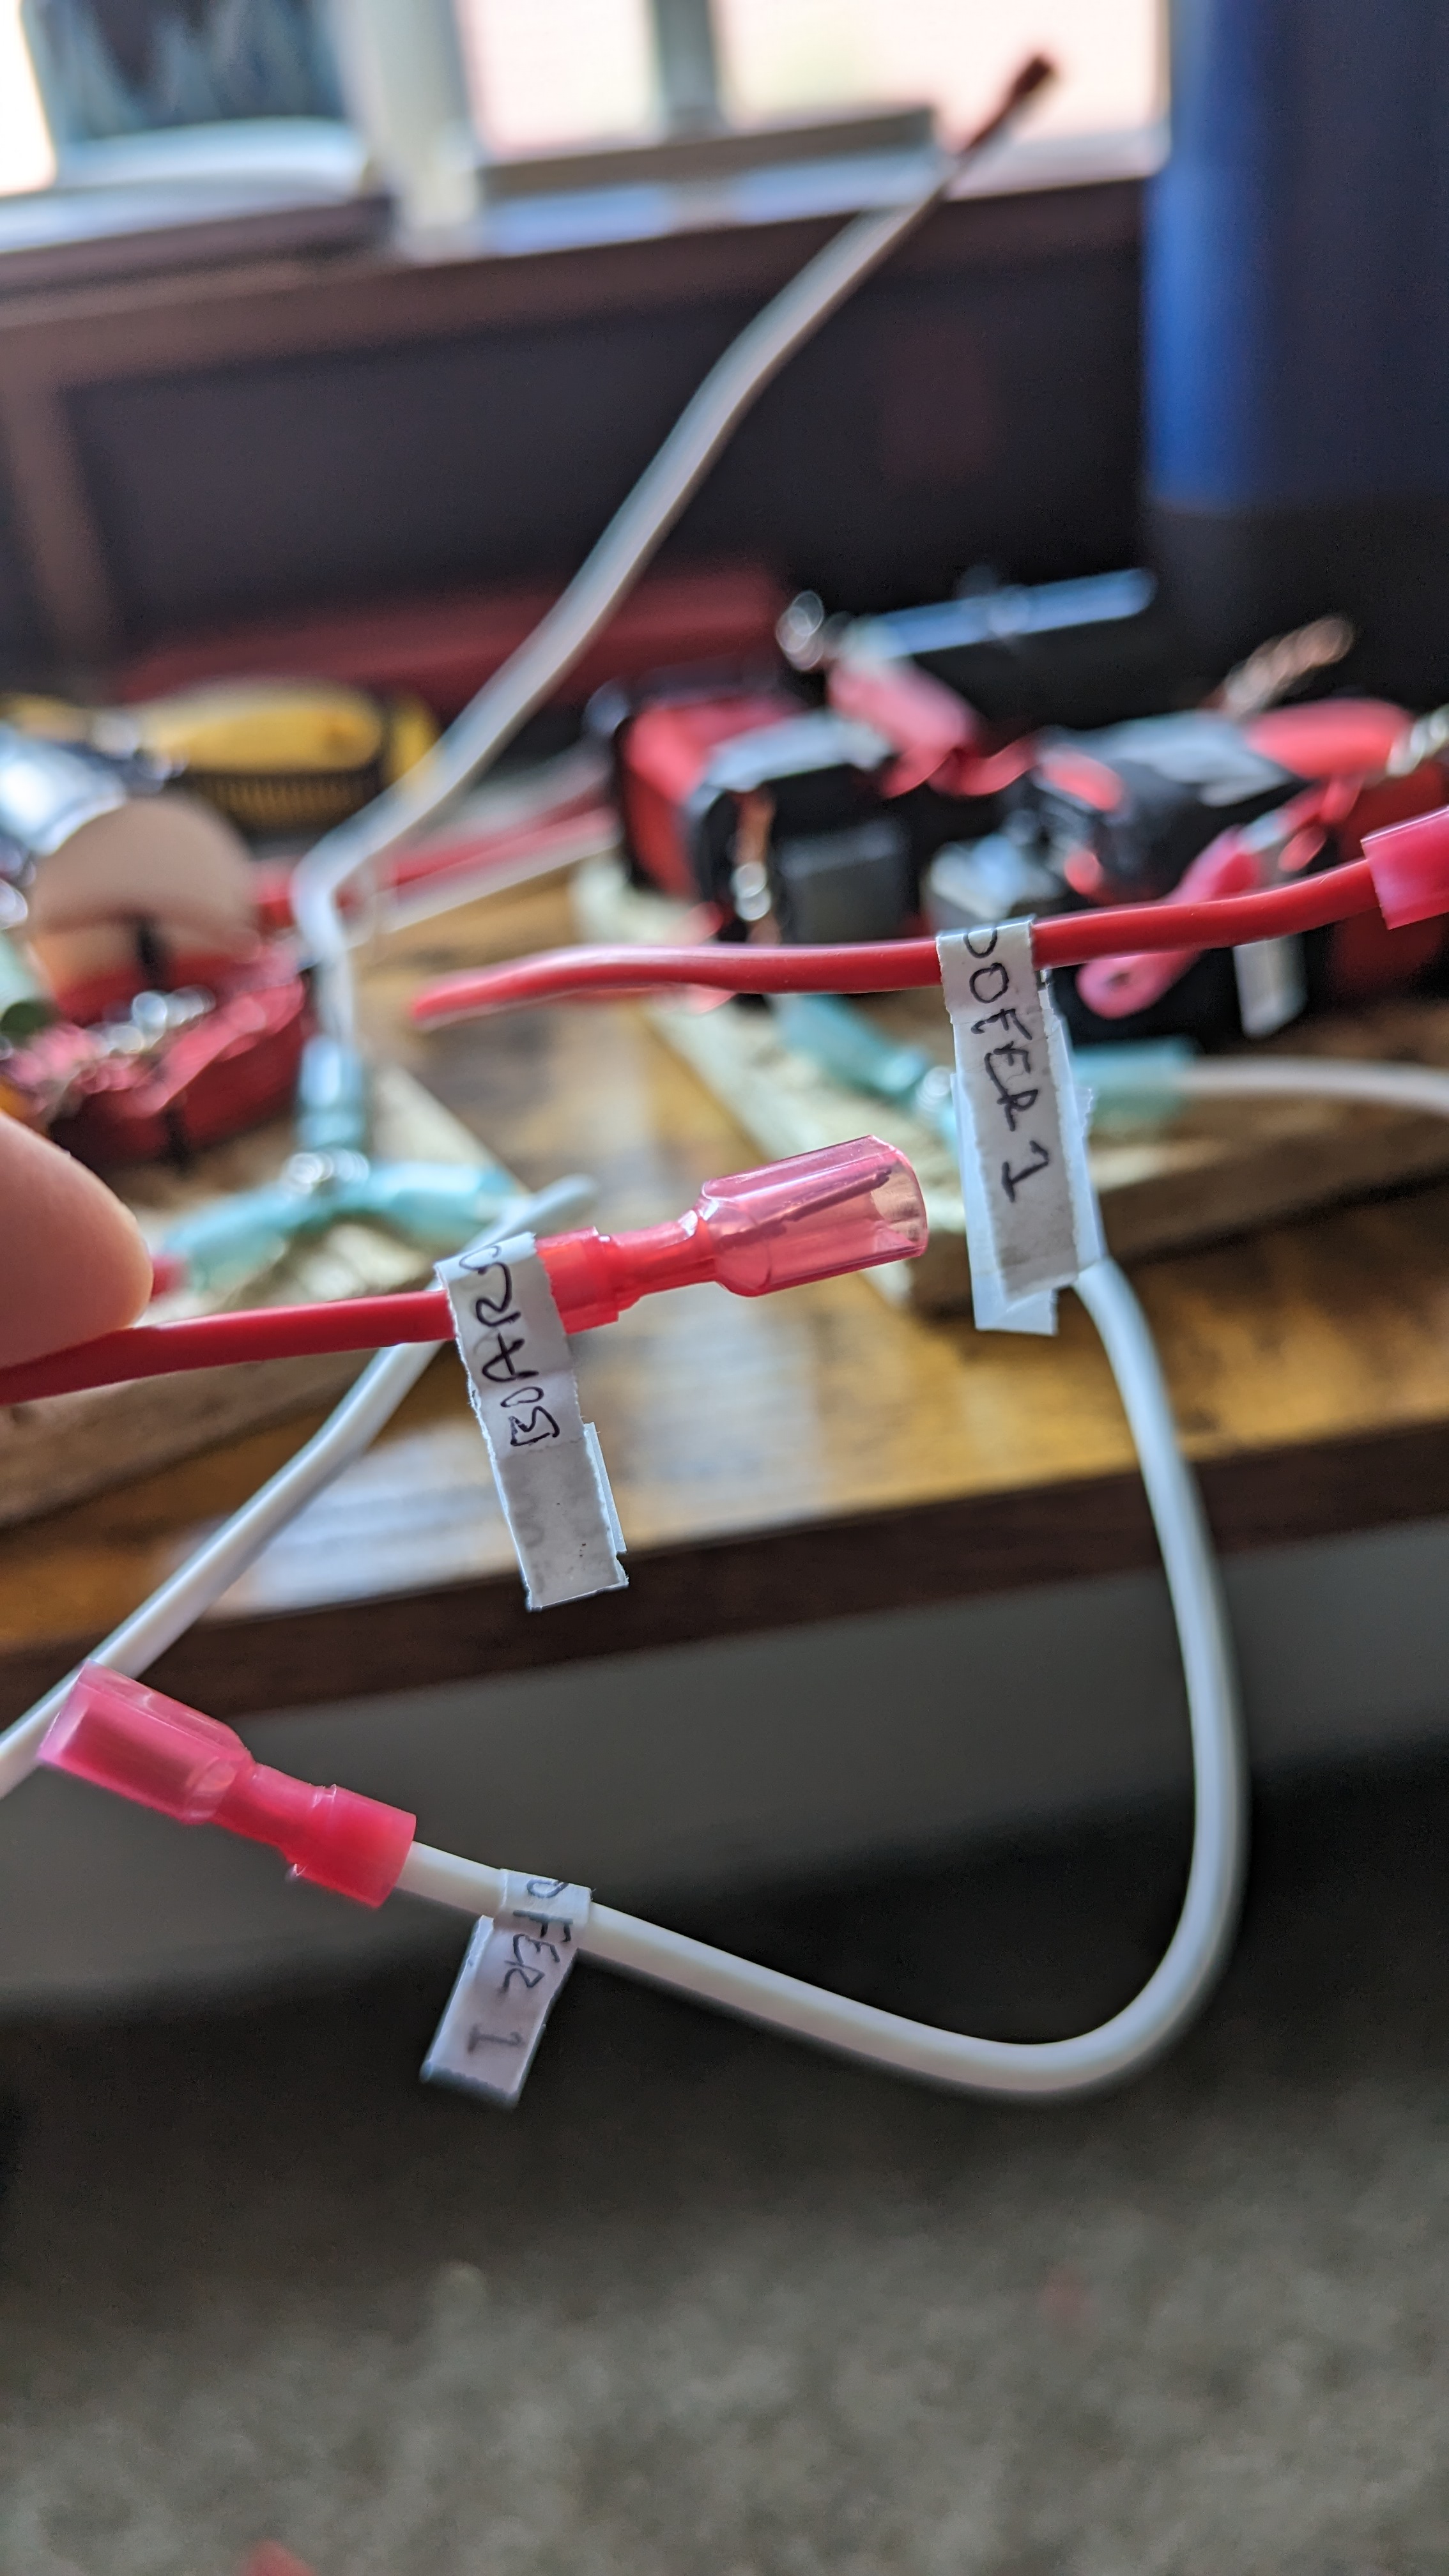
10) I was getting confused with all the wires running everywhere, so I labeled them. This turned out to be an excellent idea!
11) Time to test before we solder and can't take anything apart easily. Yup, it works, we've got sound!
12) Soldering done!
13) Heat shrink tubing added!
14) Time to put the boards into the box. I used double-sided tape to secure them to the back right & back left of the cabinet, directly behind the woofers.
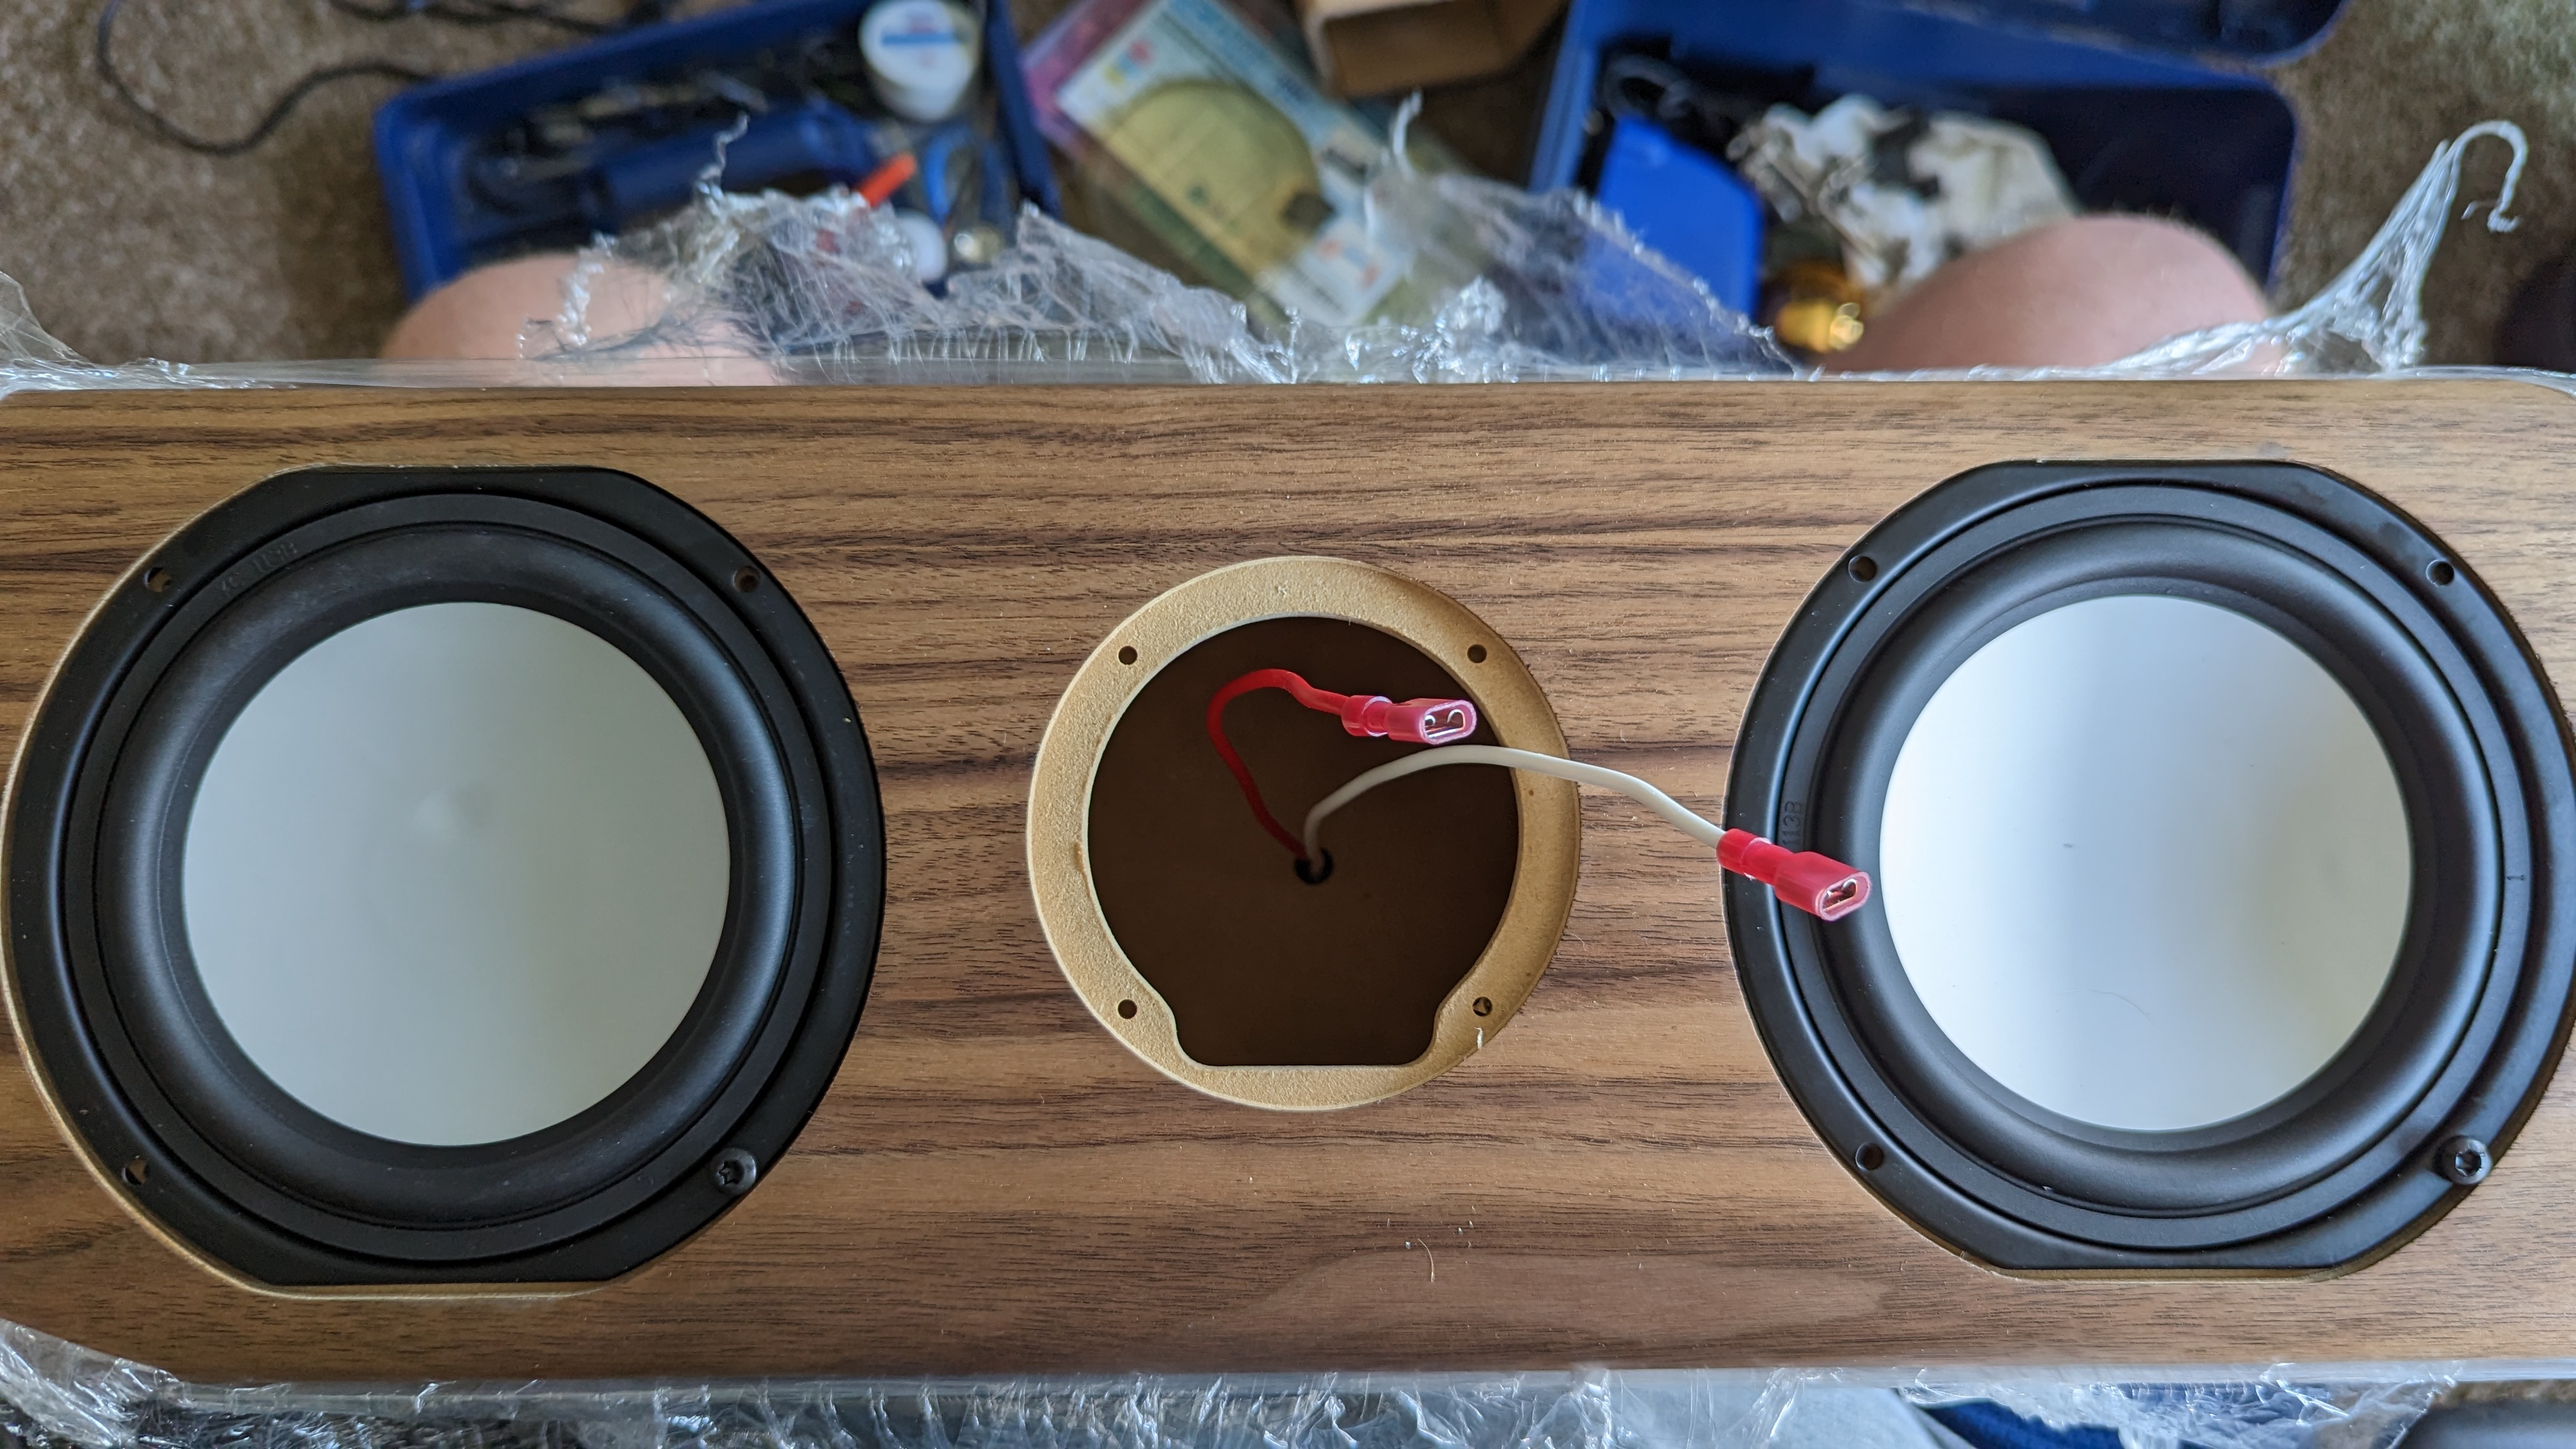
15) I messed up and forgot to take a pic with the boards mounted inside. I also slipped while inserting the left woofer and indented the dust cap slightly. Grrrrrr! I had to drill the hole in the LGK driver (center) box, the crimped wire connectors barely fit!
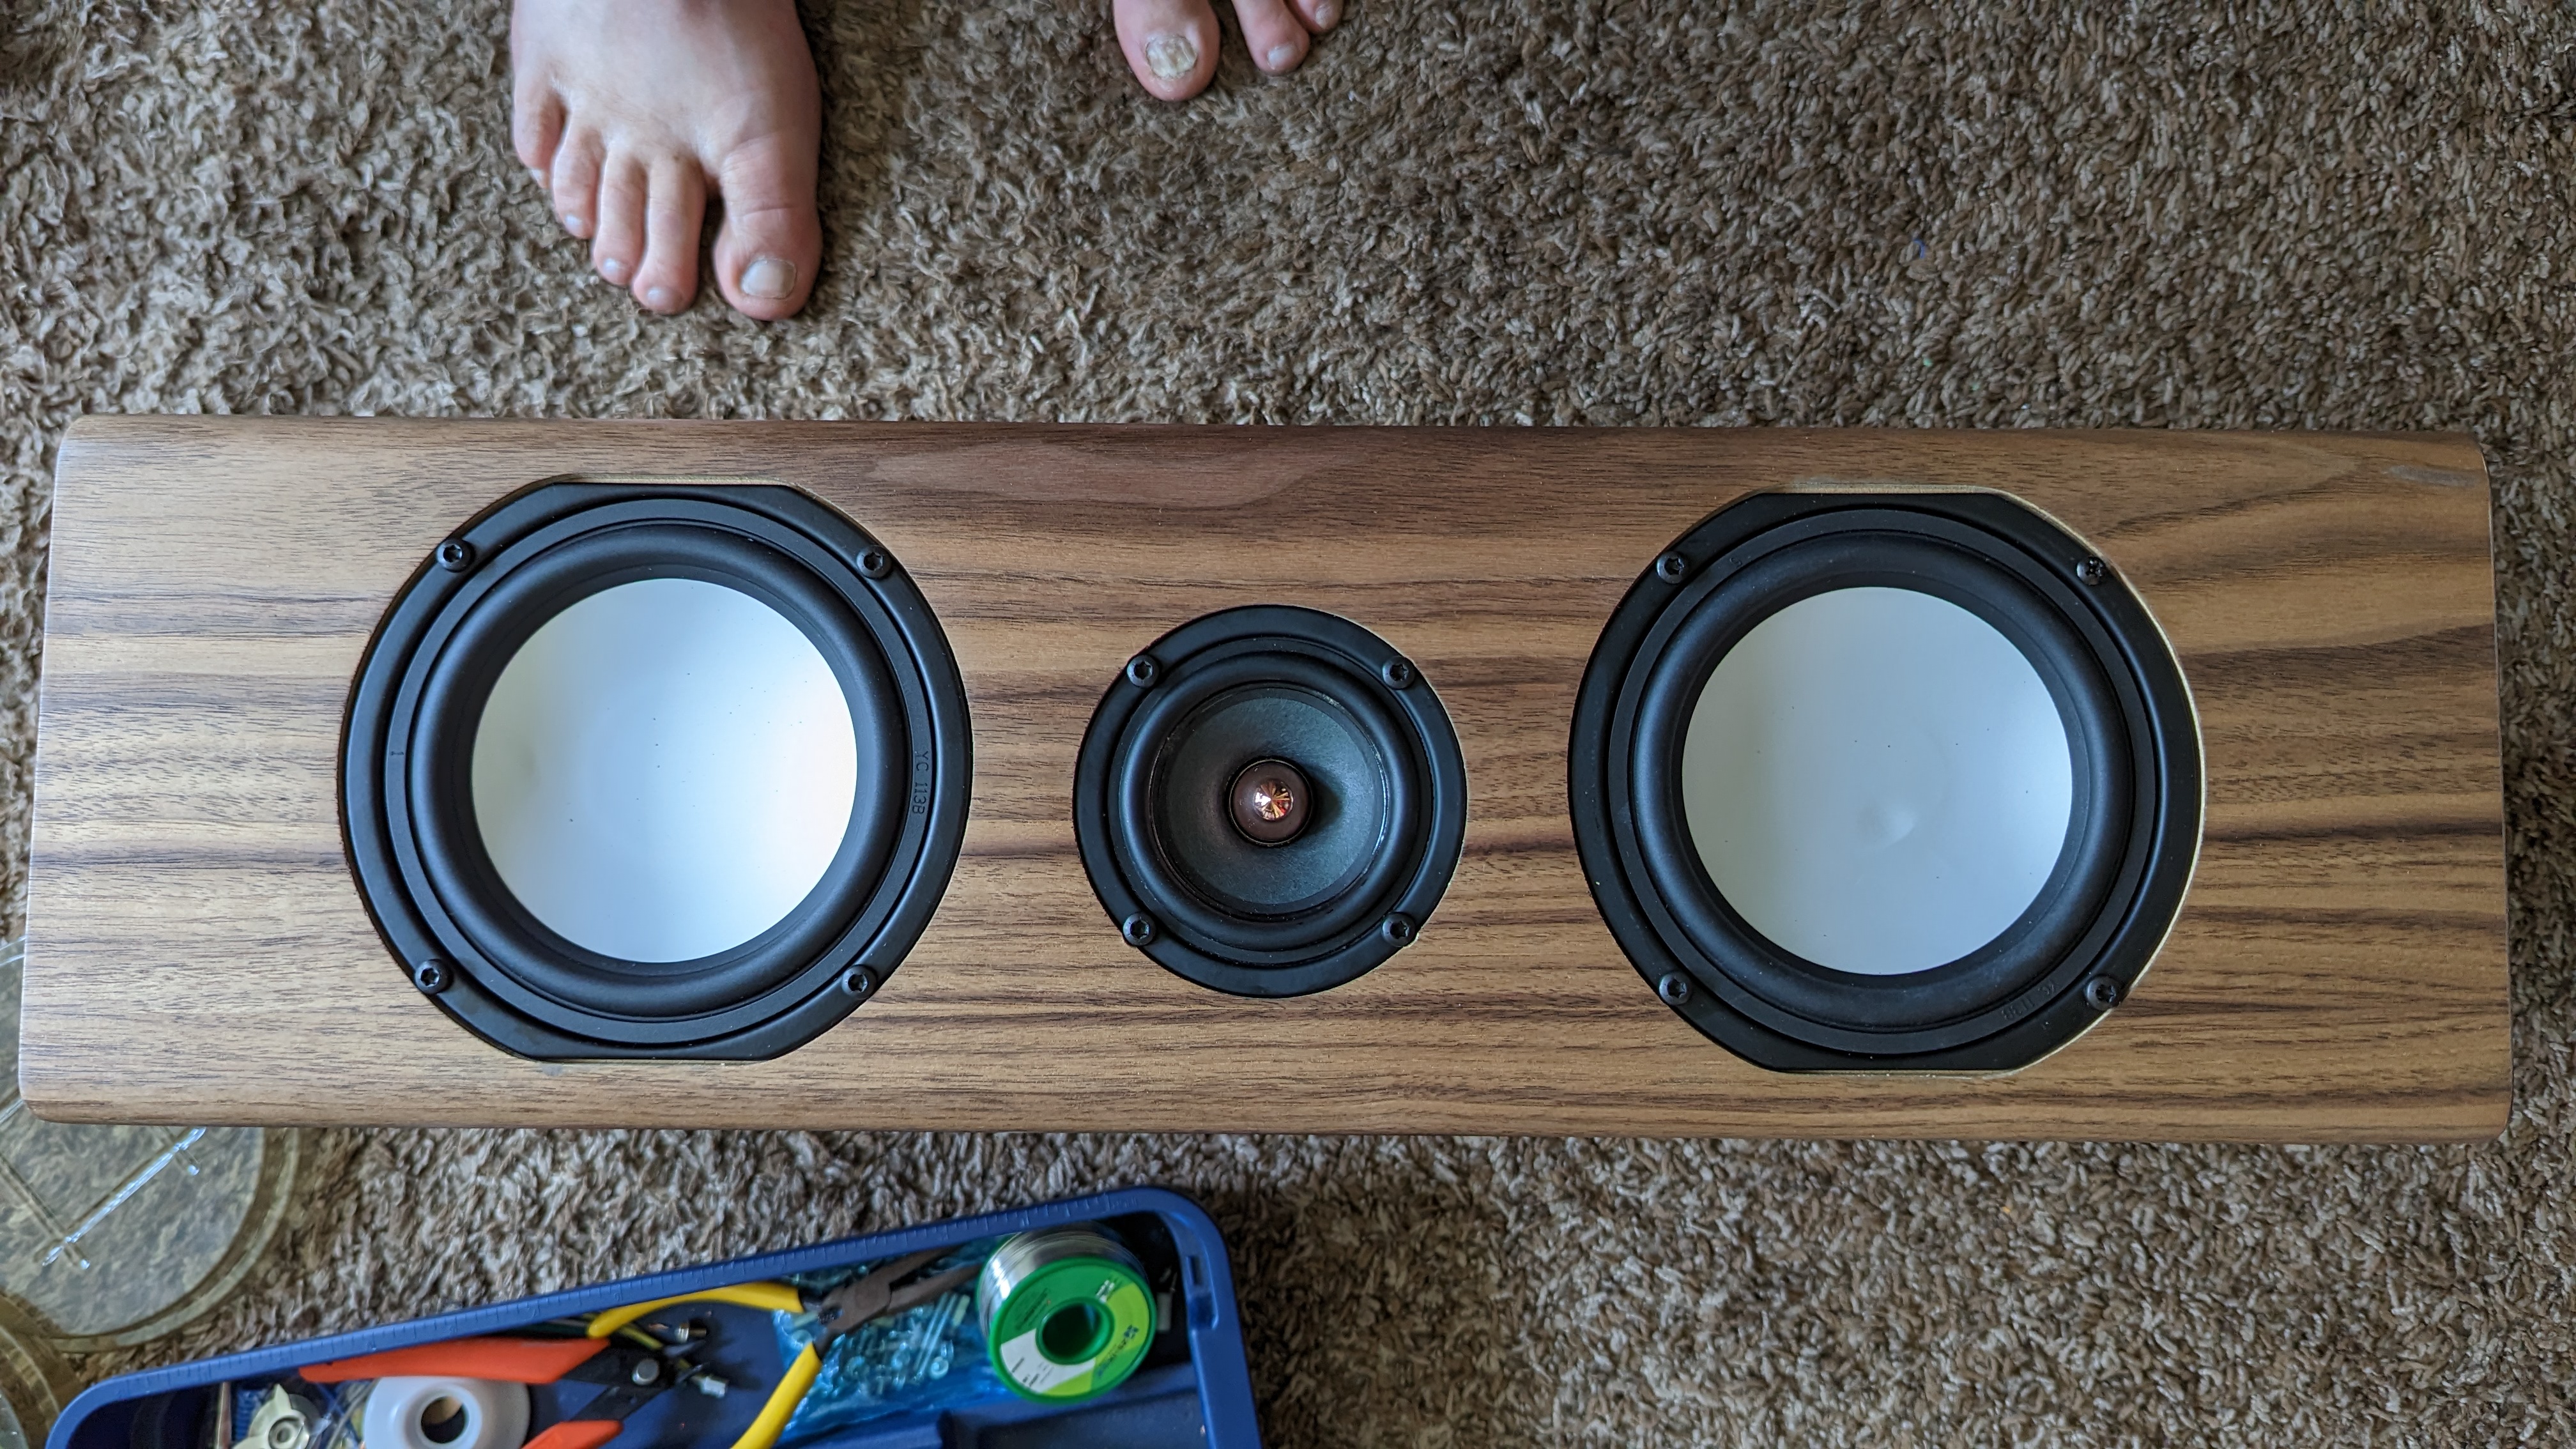
16) Here we are fully assembled
16) Back shot
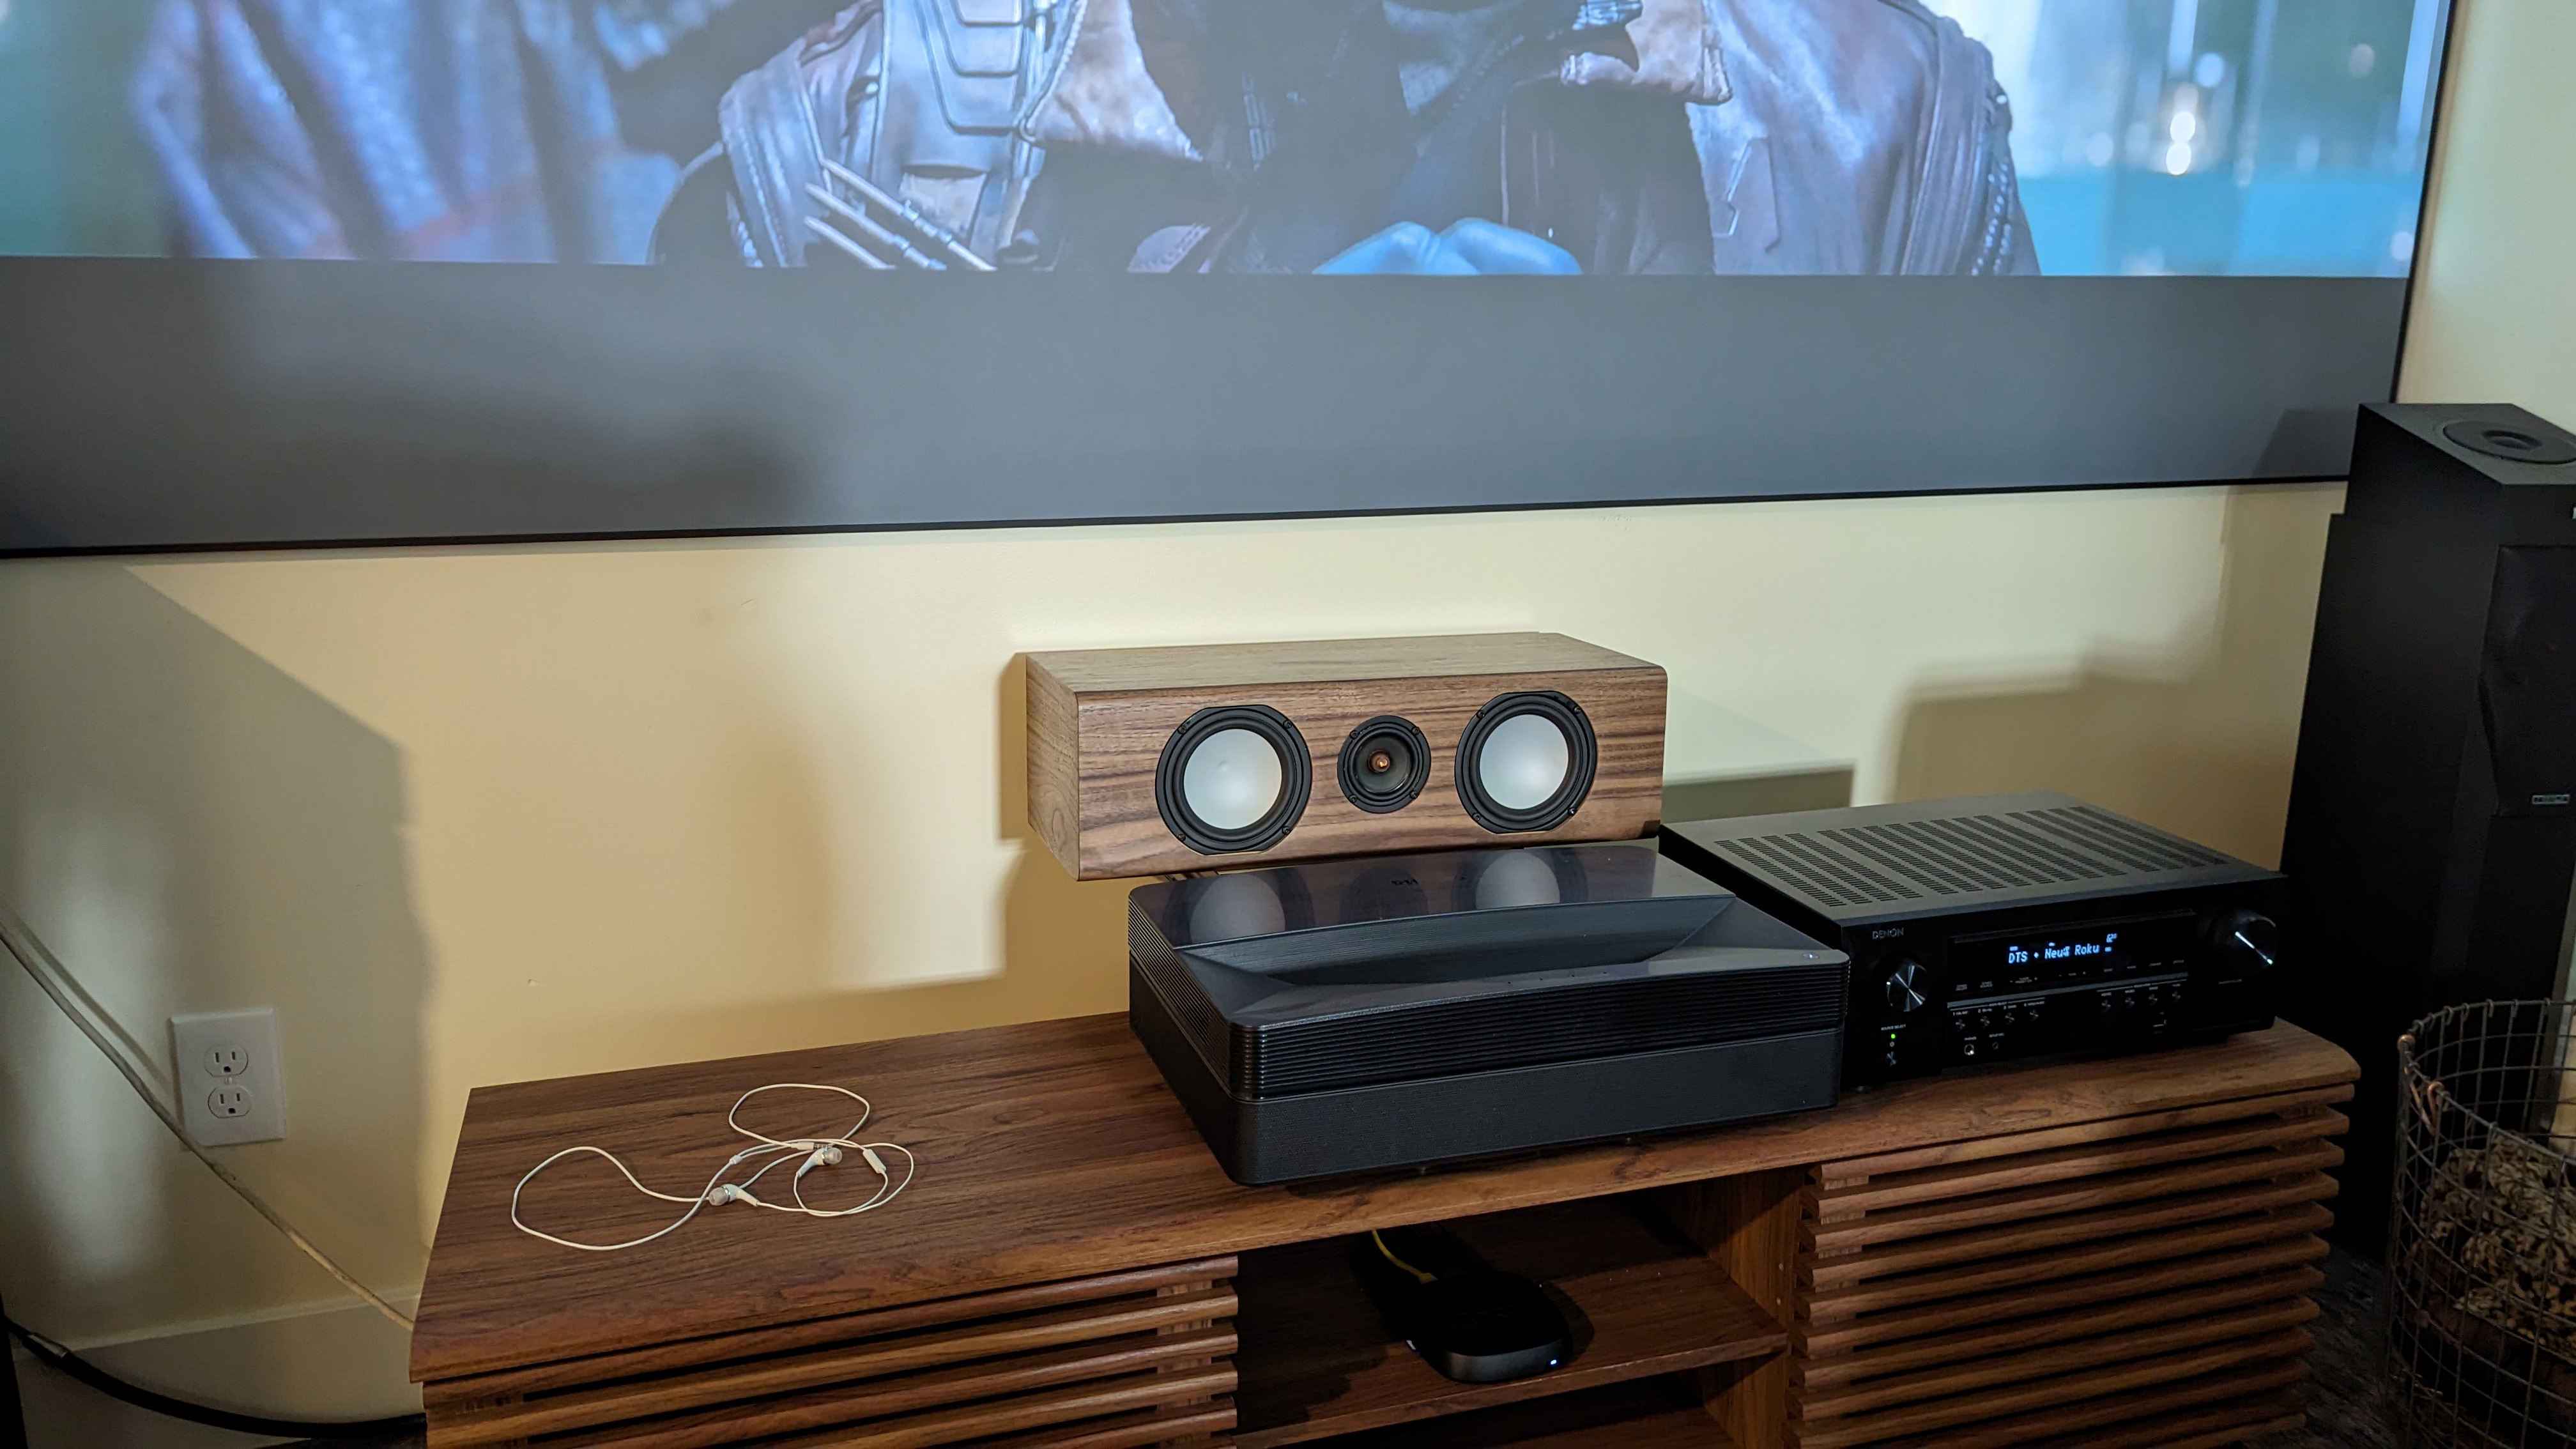
17) Finally complete, hooked into the home theater!
18) Zoom out
19) From the primary listening/viewing position